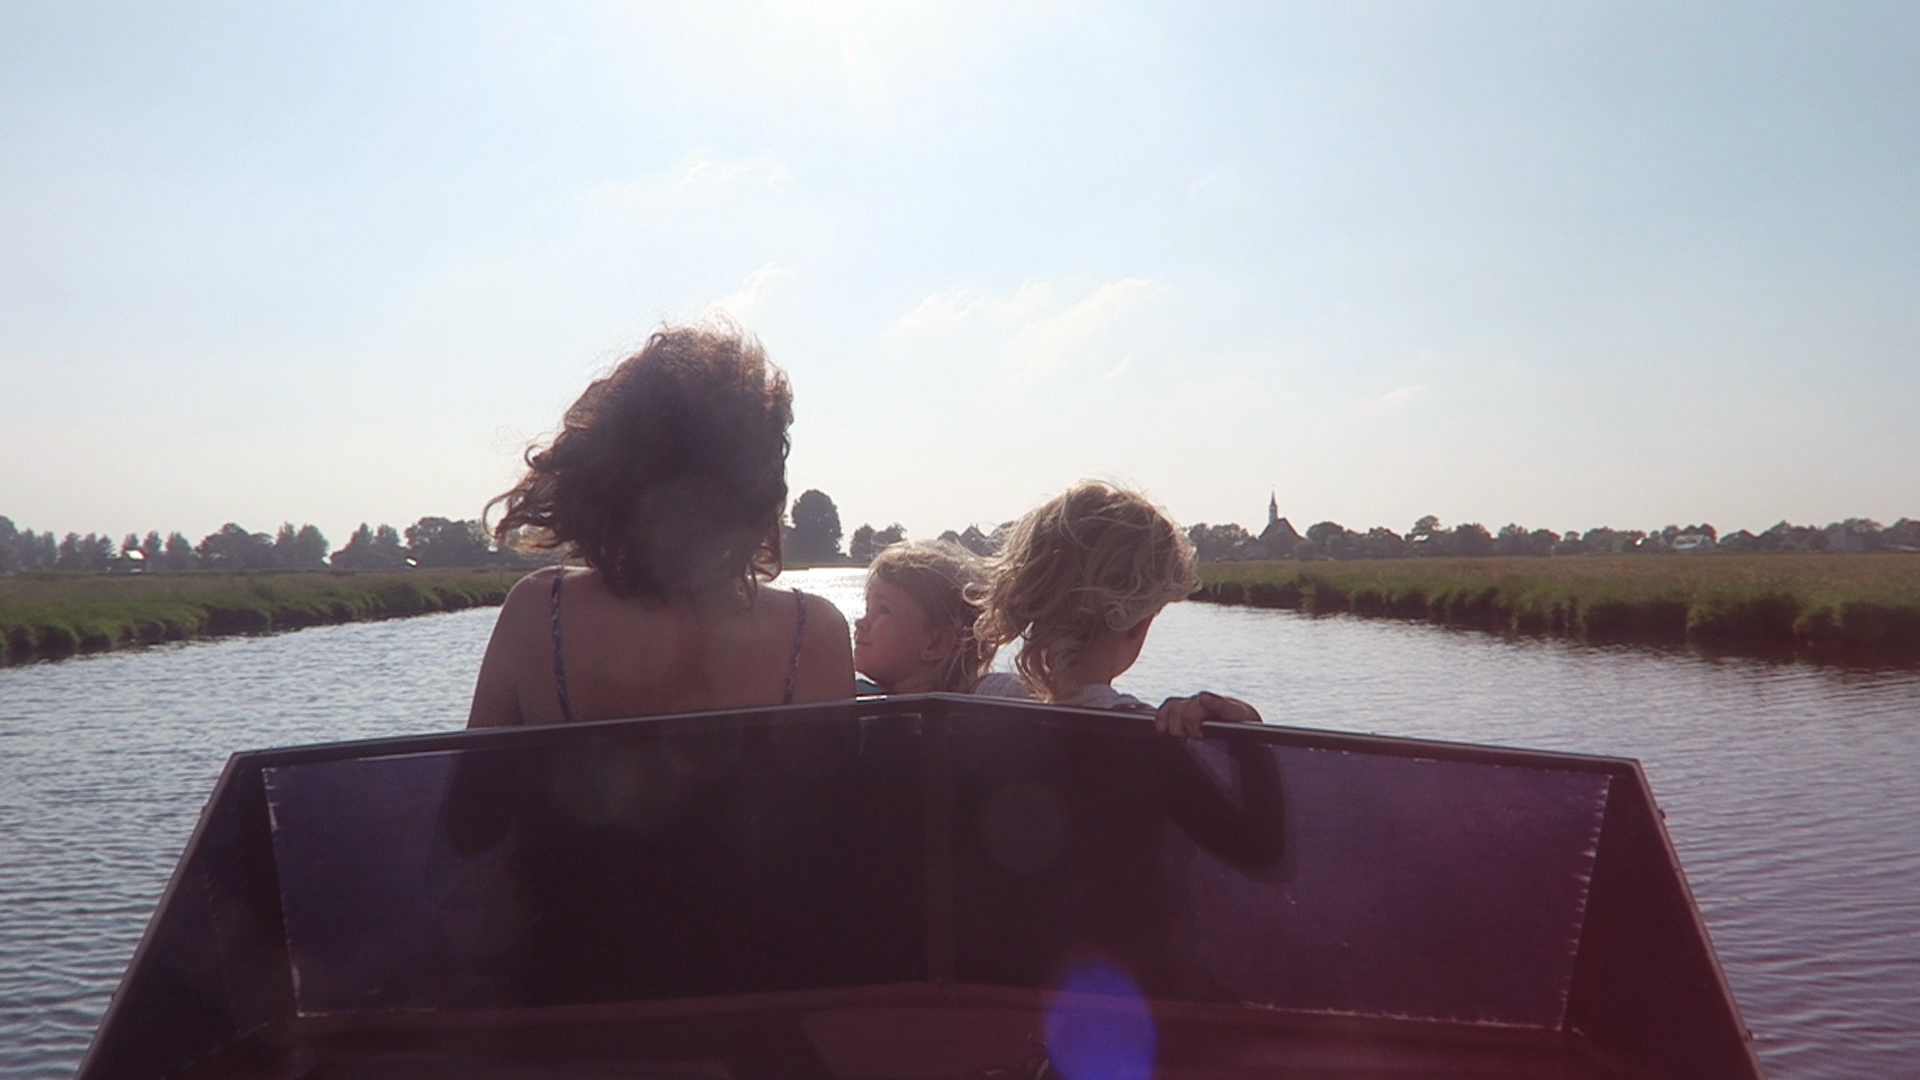
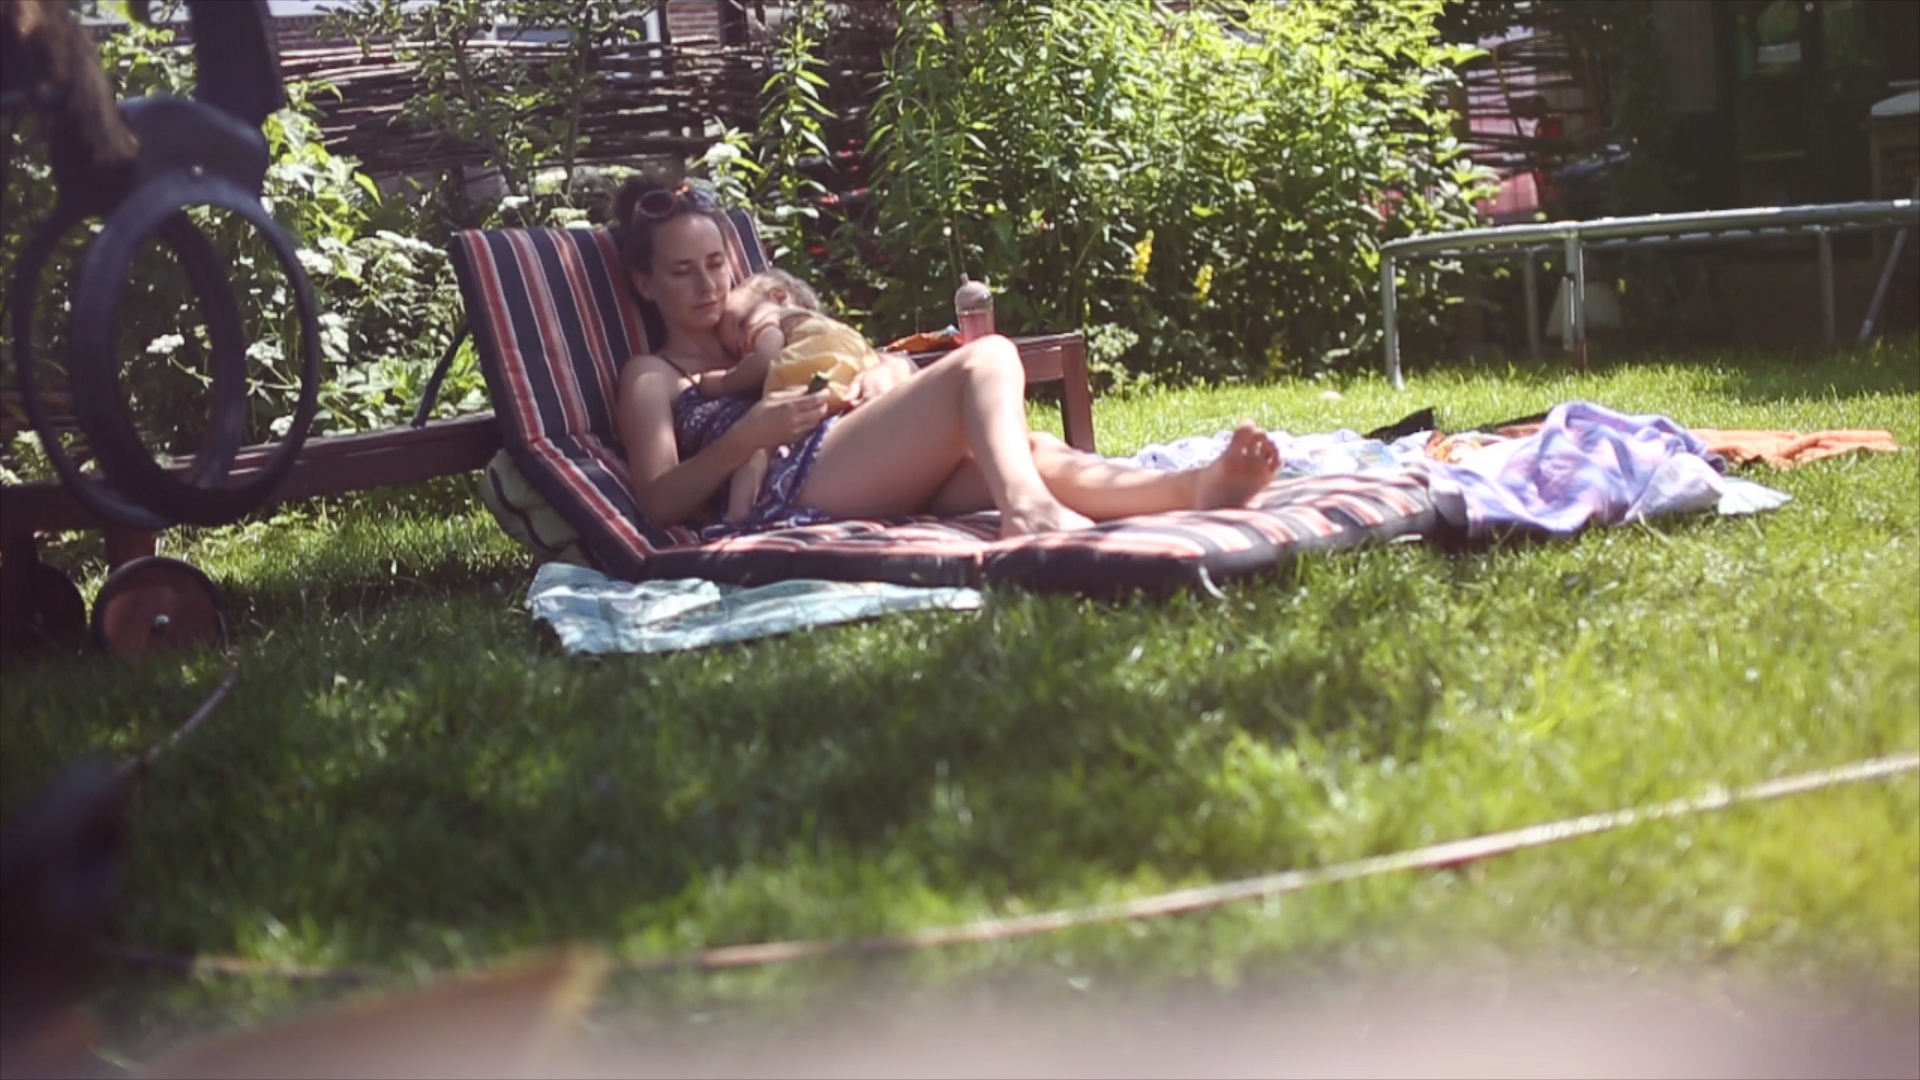
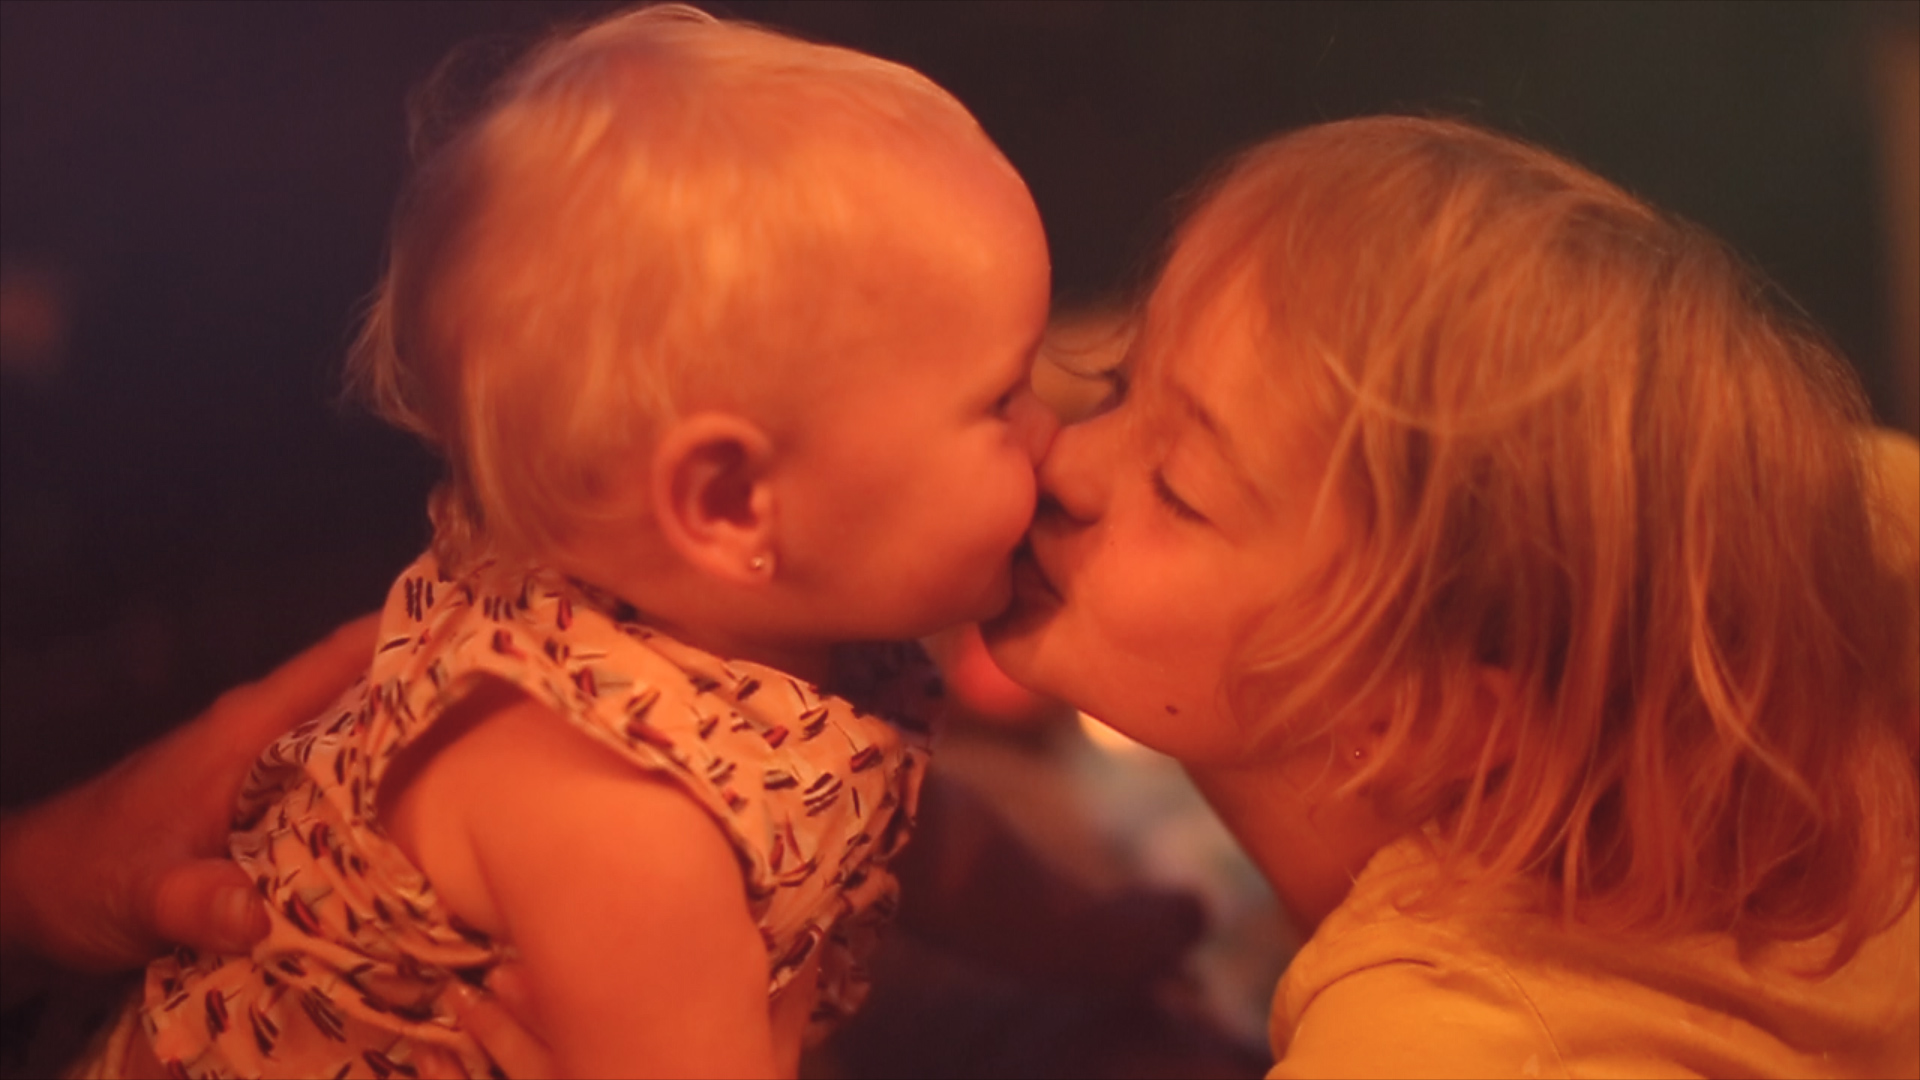
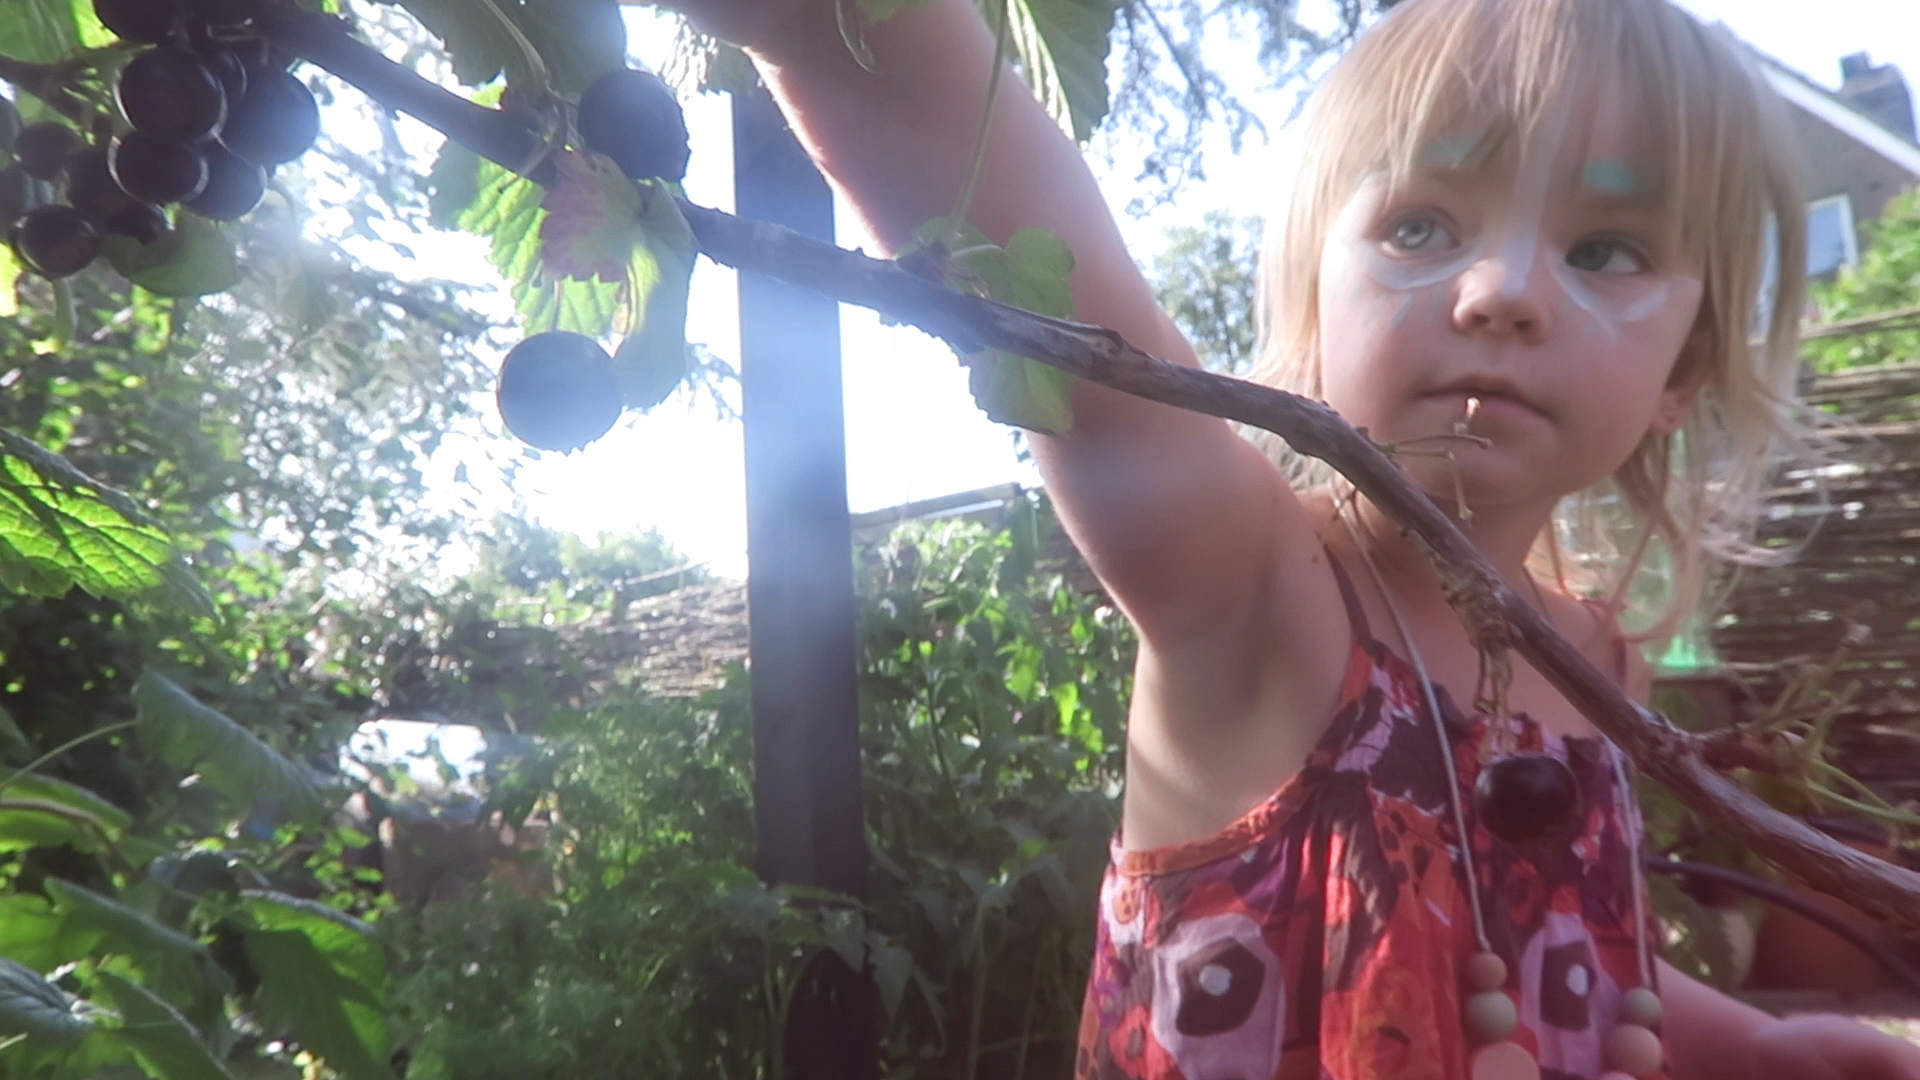
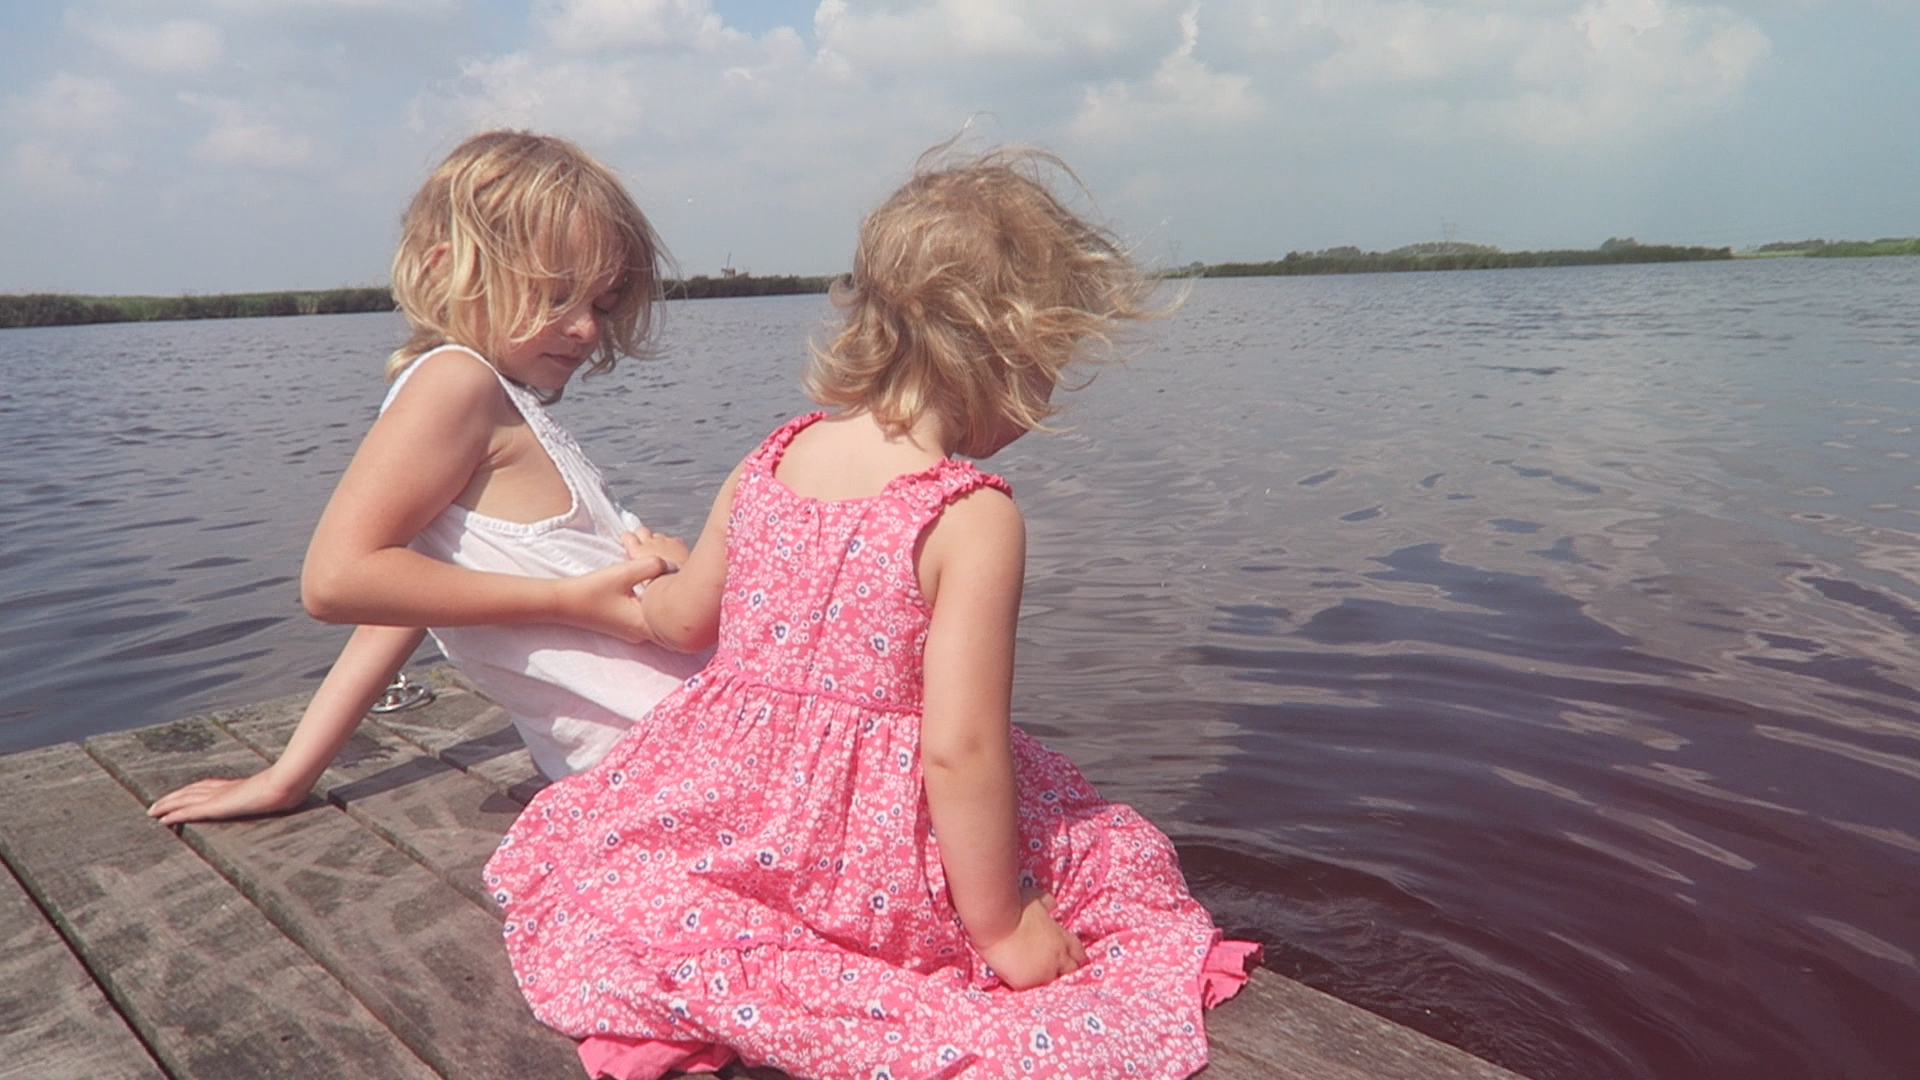
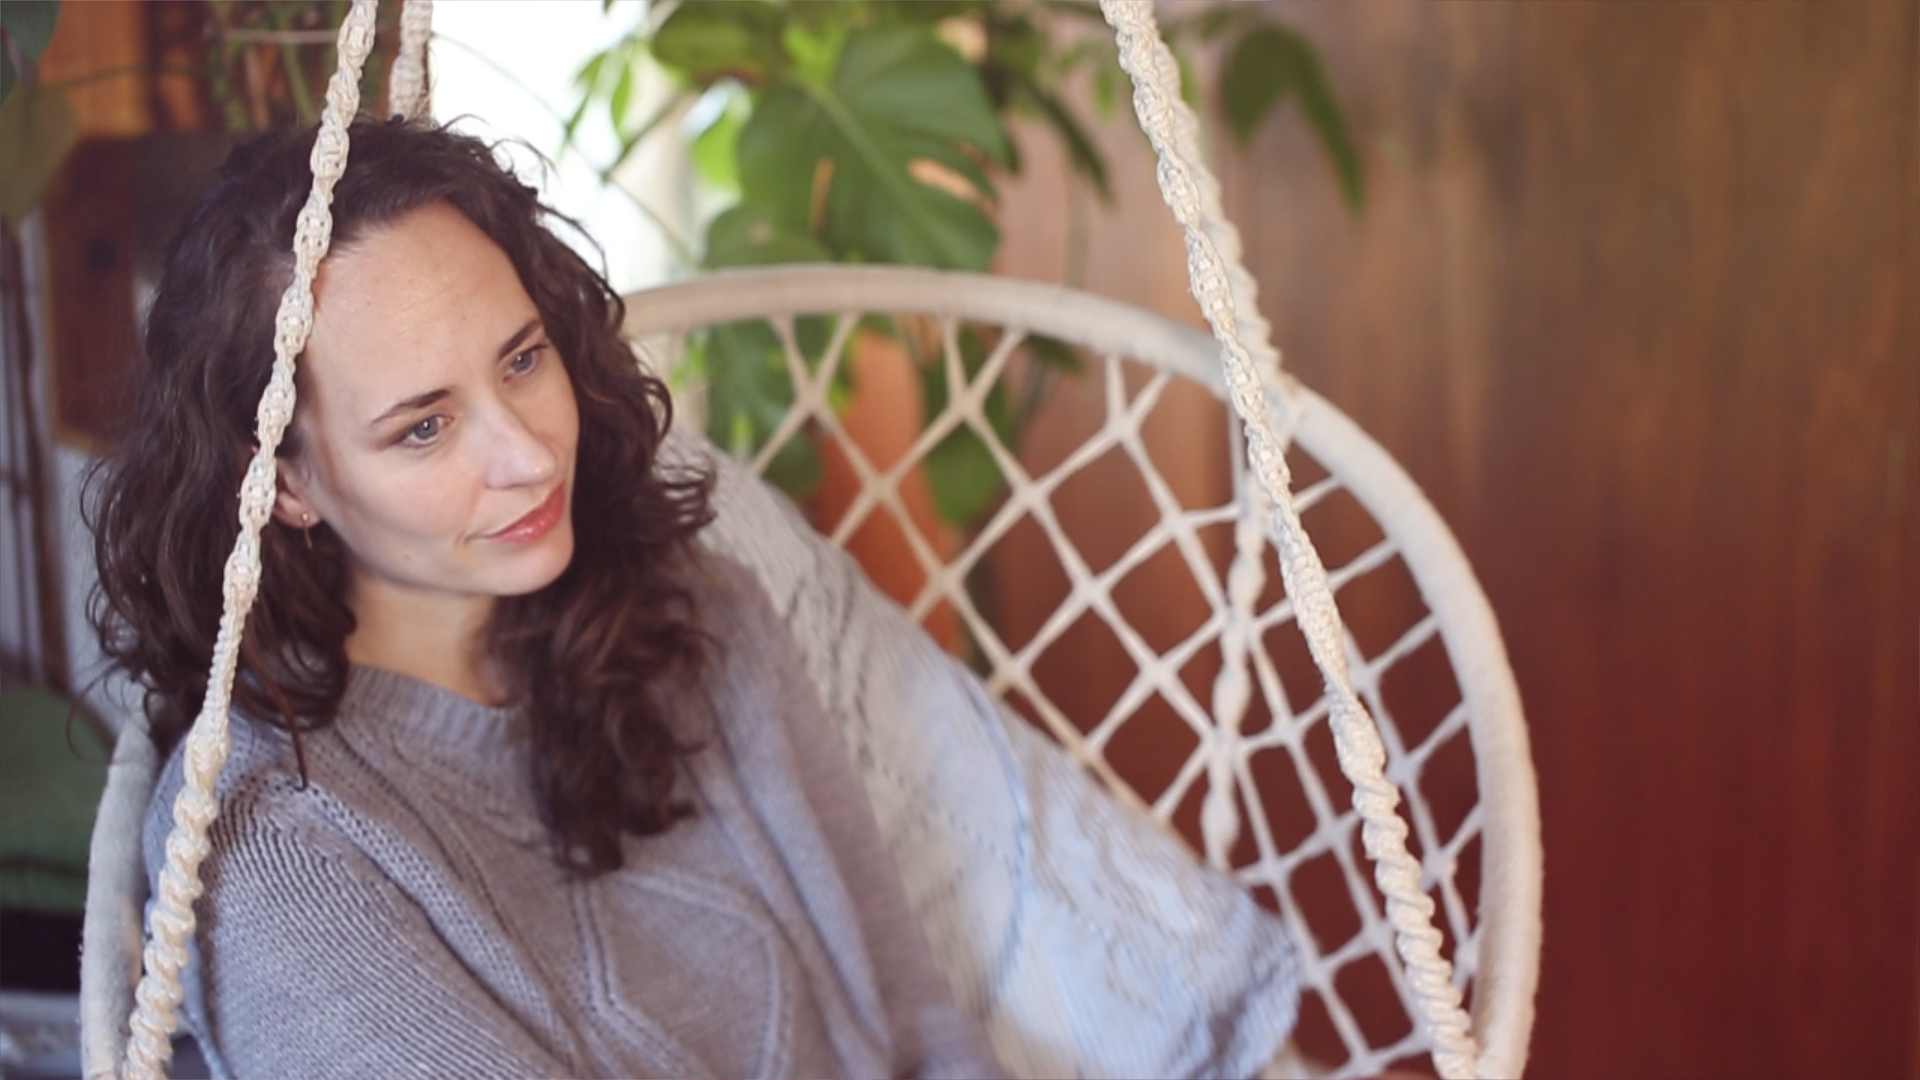
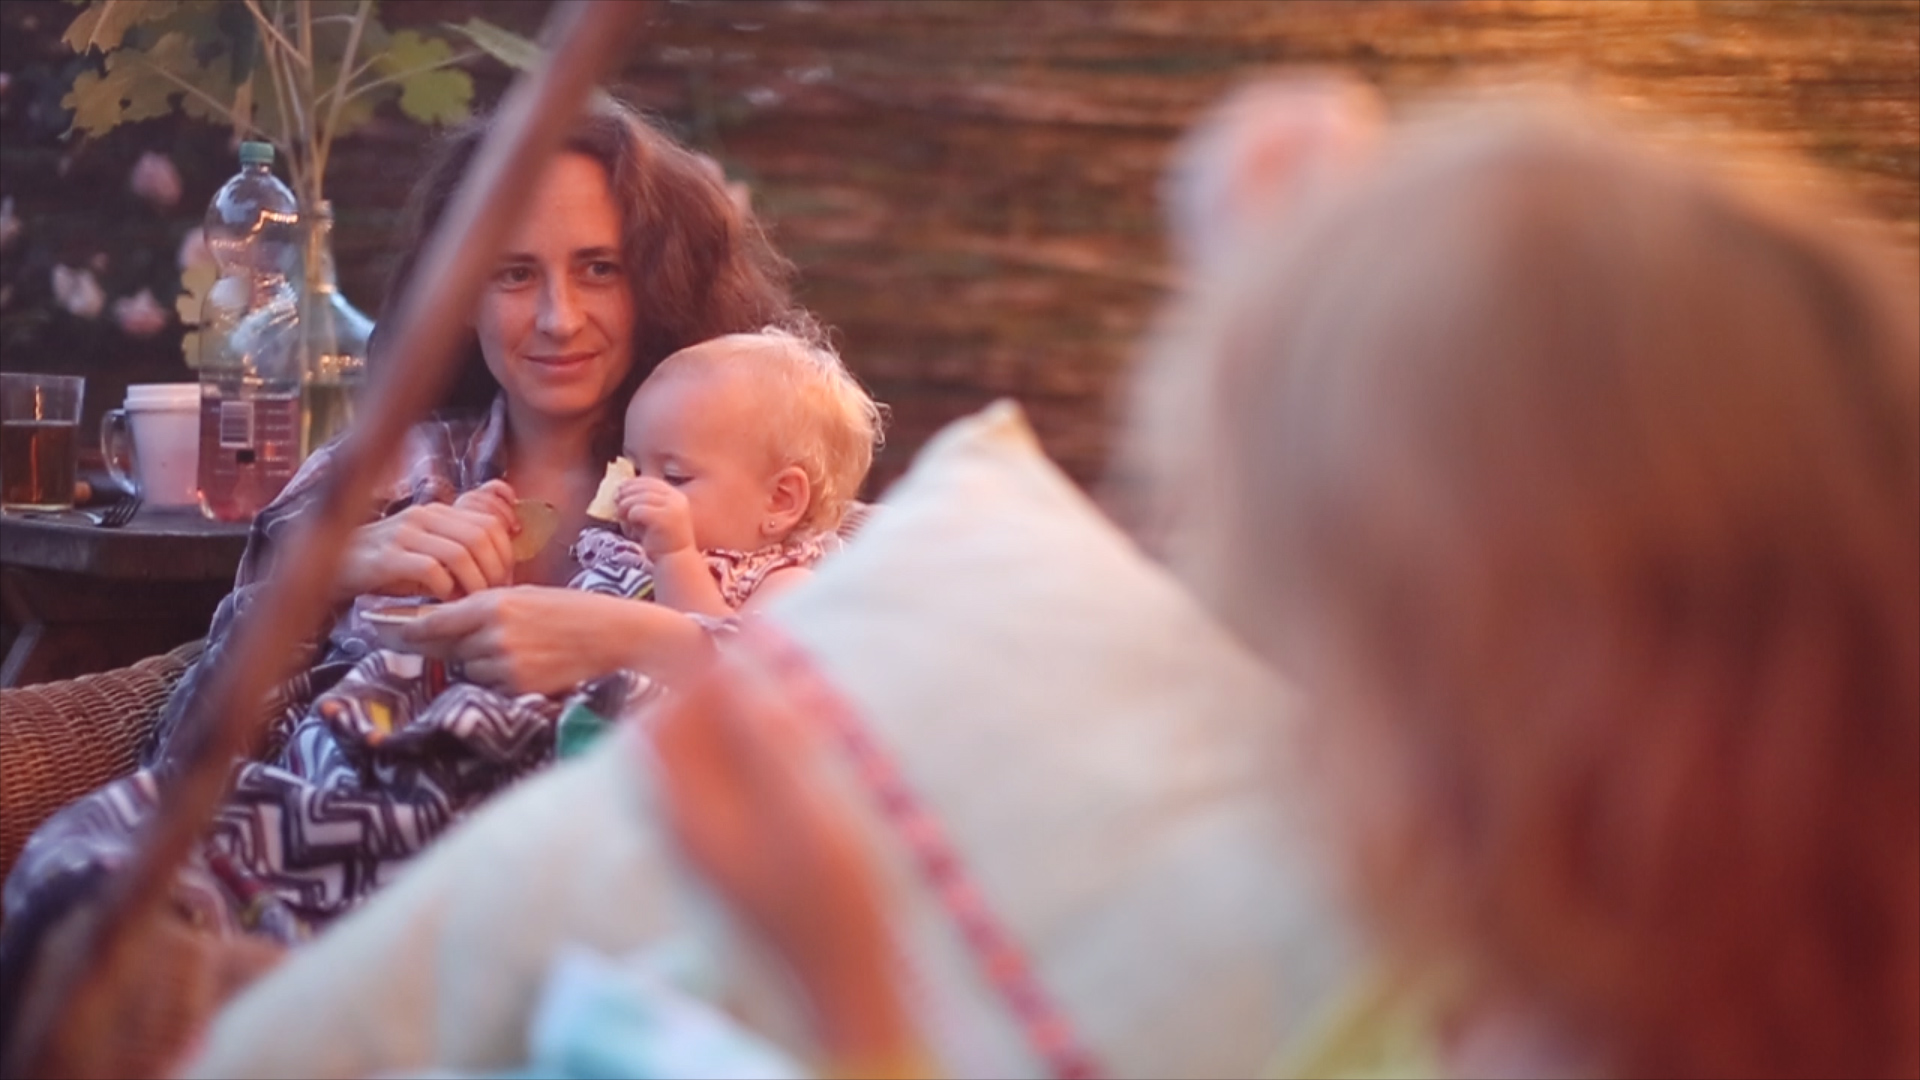
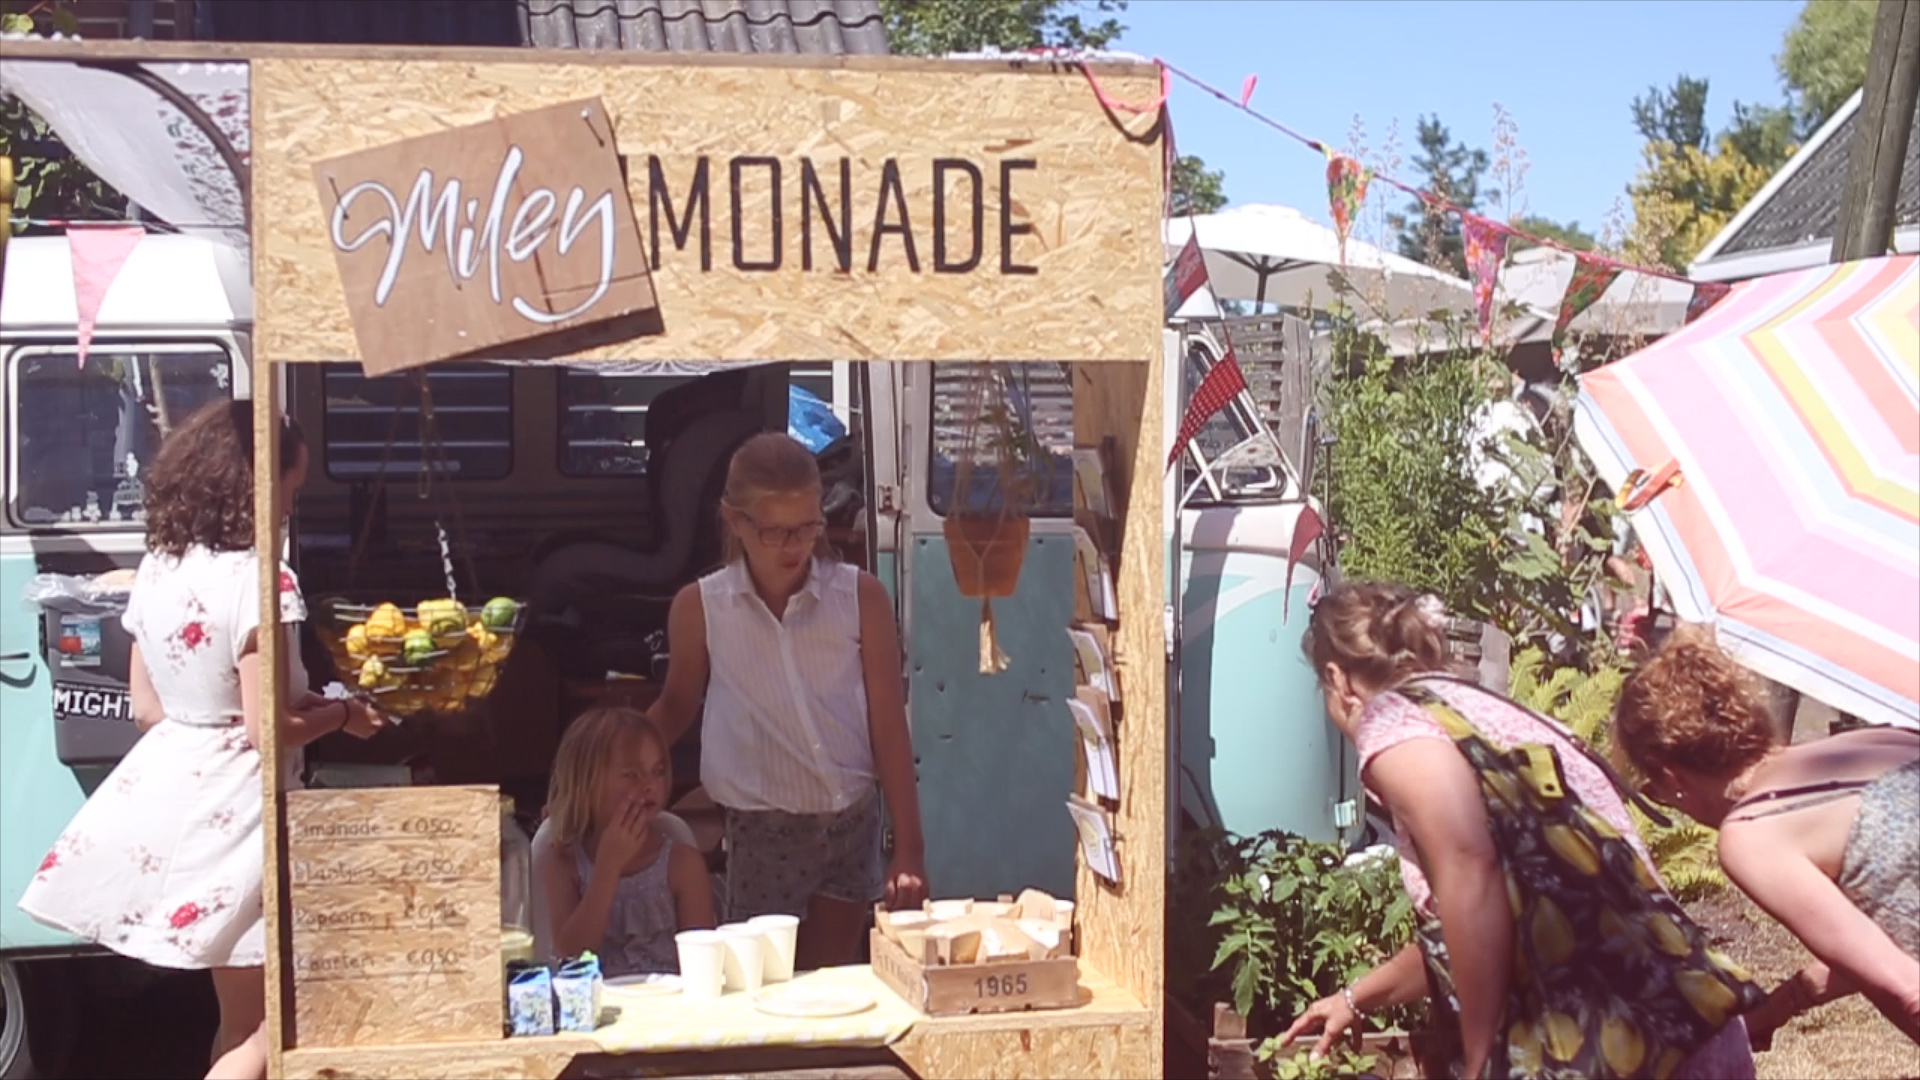
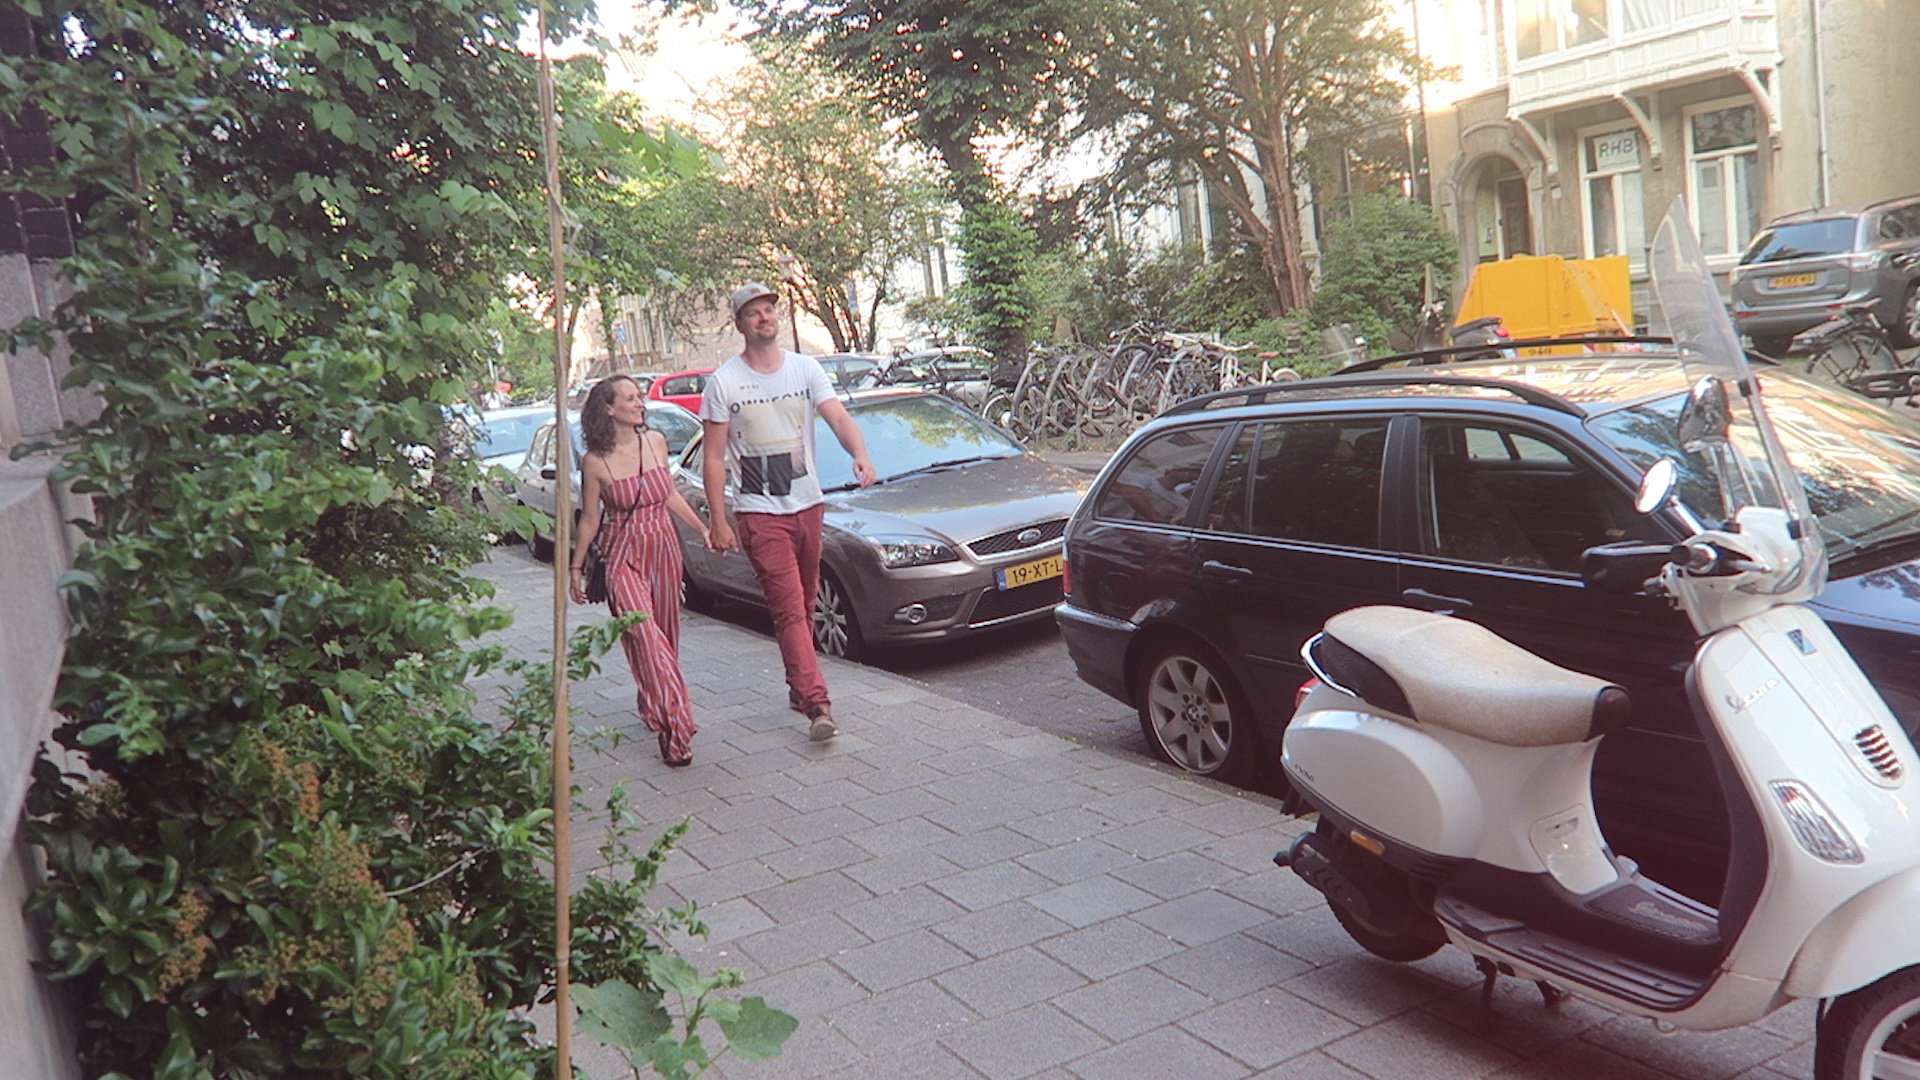
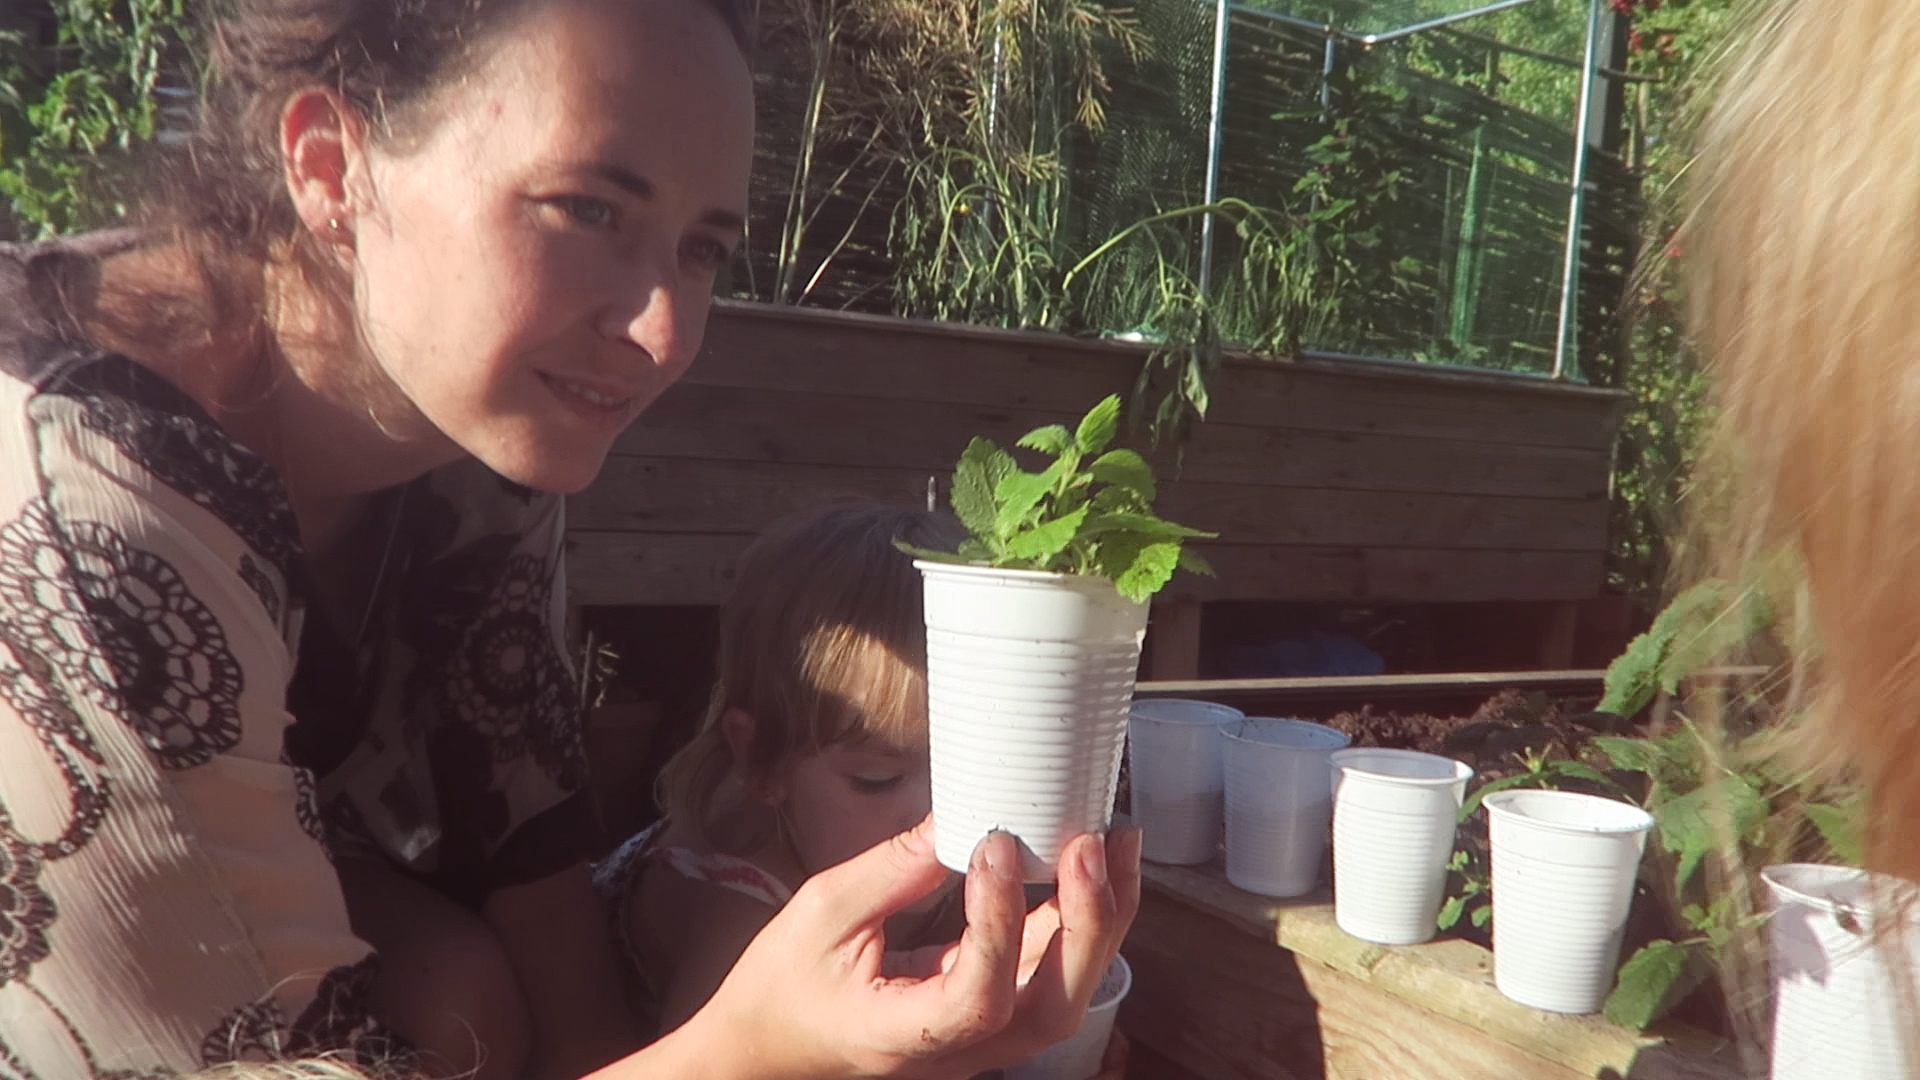
VLOG: June 2018 – sunshine and blackberries

Month VLOG june 2018 – Get ready for another monthly overview of 2018

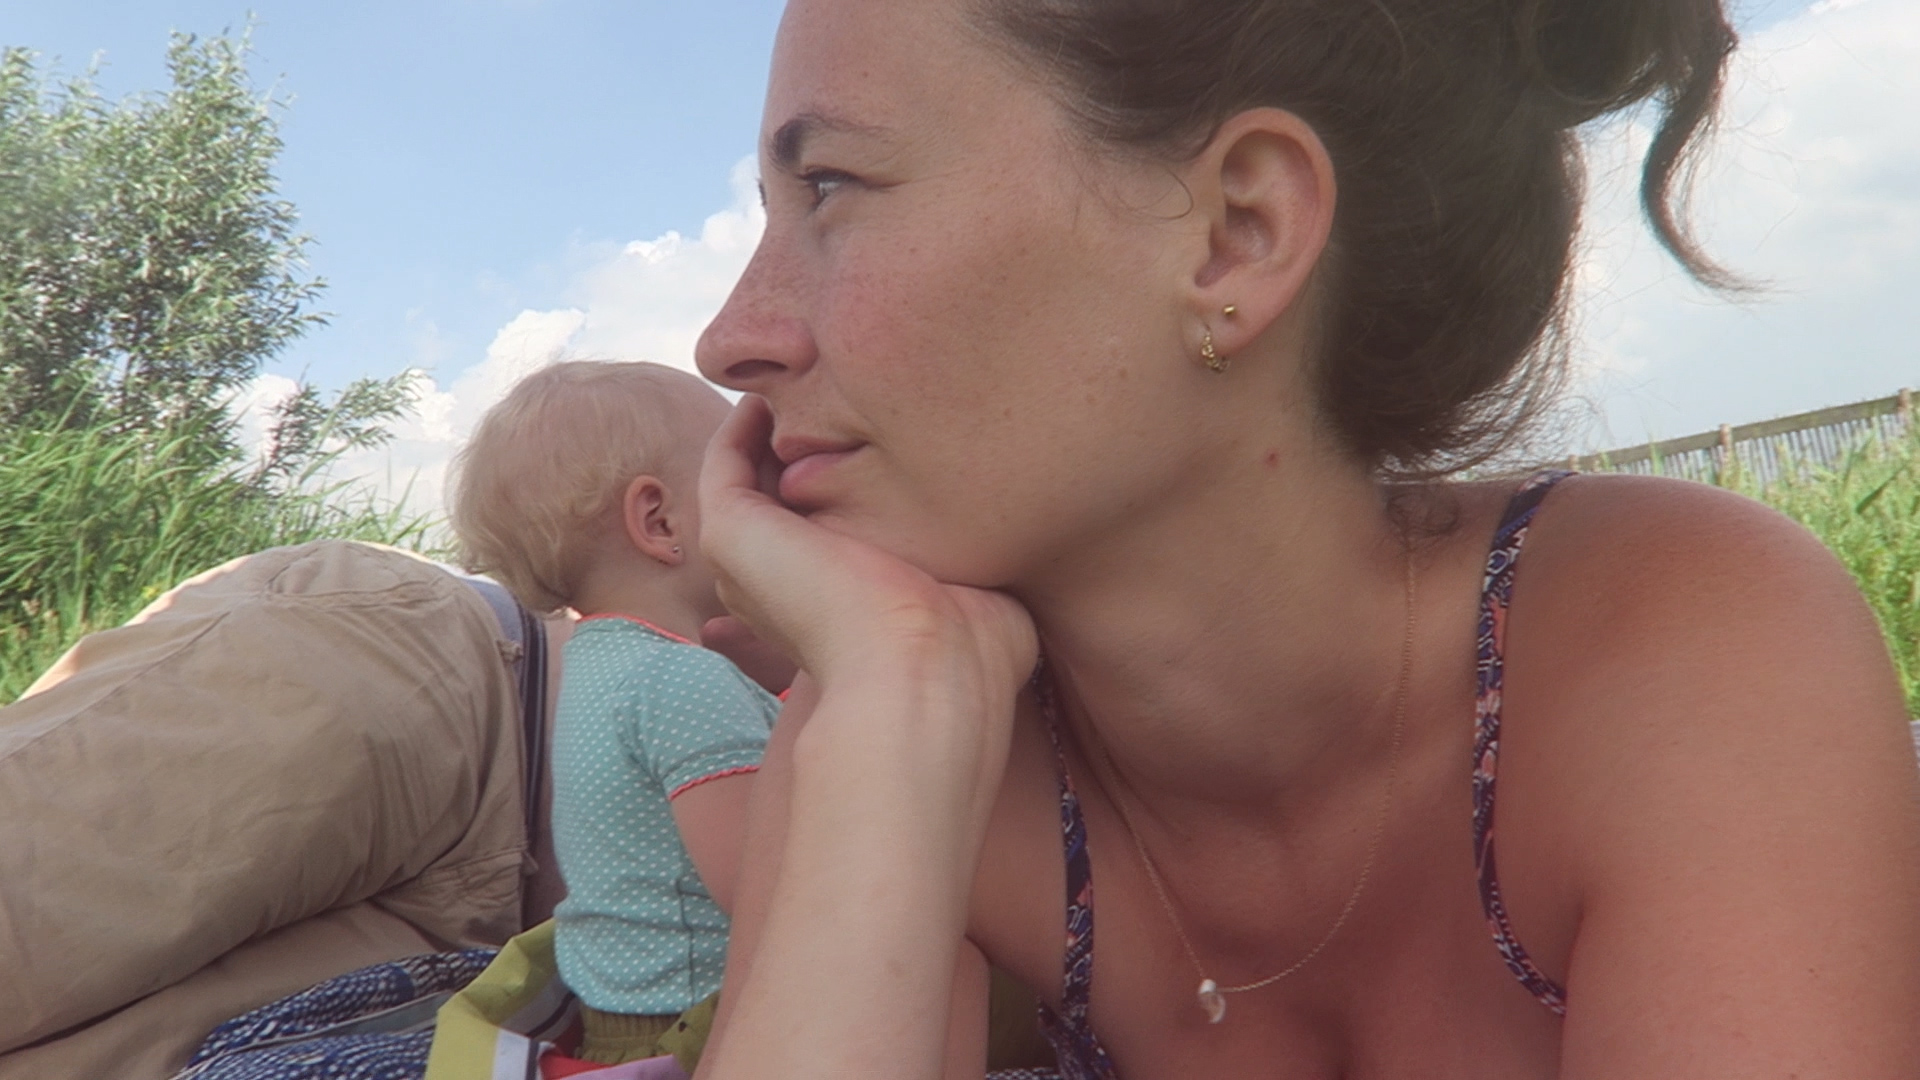
This throwback monthly overview we look back at a month filled with sunshine and day’s in the garden. 

We are changing our vlog-concept for 2019.
So there will be a monthly overview for every month of 2018 but for 2019 we are doing it a bit diverently. I will tell you all about it at the end of this vlog!


Check a month in the live of our family and be sure to subscribe to be updated on all new uploaded video’s!

Share this blog post

[supsystic-social-sharing id='1']

VLOG: June 2018 – sunshine and blackberries

TAGS:
[st-tag-cloud]

COMMENTS:

You might also like to read:

[related-posts-thumbnails]

Getting a greener home

Energy friendly home
Living in a small home of only 50 square meters (=538 square feet) is one of the choices we’ve made to be more sustainable as a family. But because this is a home build in 1952, the Insolation was not what we wanted it to be. So in the last couple of years, we made some big steps in improving the insolation of our home.

For instance, we got double glazing in our windows in 2014, we insolated the roof back in 2017 (watch this dutch vlog from back then), and Insolated the crawling space under our home in 2018 (see this Englisch vlog), and we have LED lighting in our home.

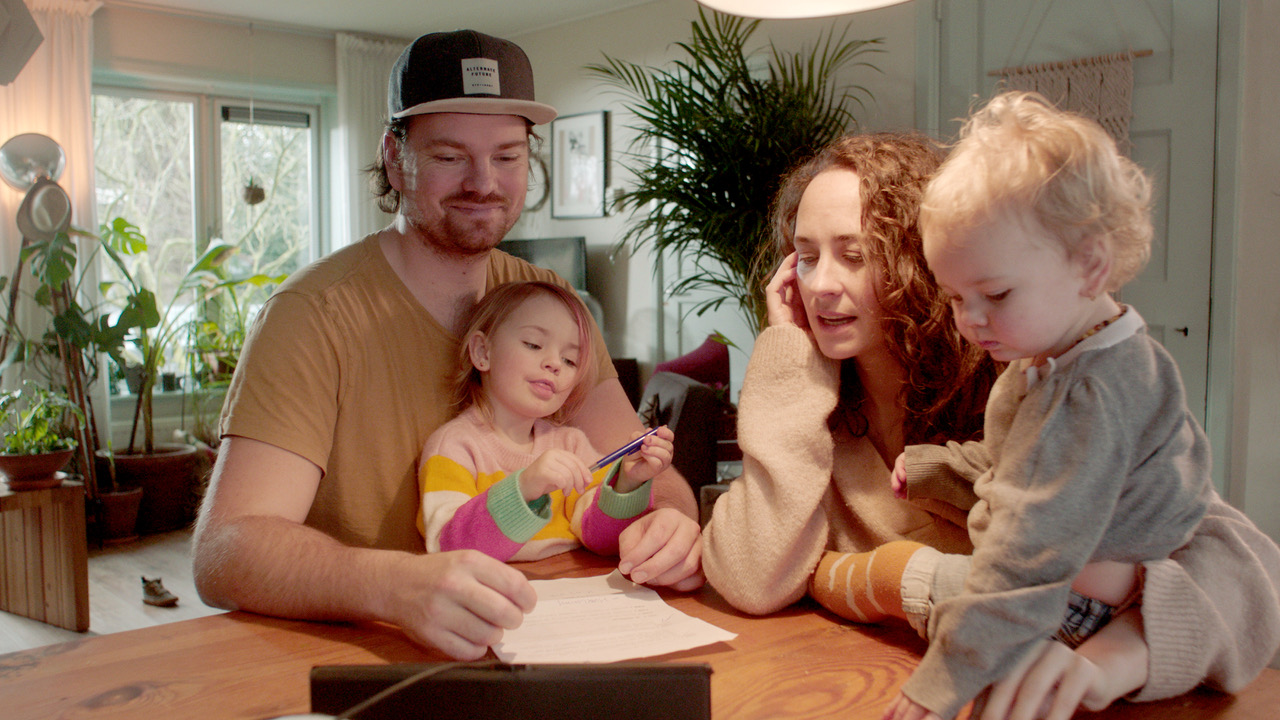
This whole process is really expensive so we are taking one step at the time and every single change is taking us a little bit closer to our eco-friendly home dream.

Next steps we hope to take very soon:
-Insolating the double brick outside walls.
-Energy management system to track how much we use.
-Solar panels.
-Floor insolation.
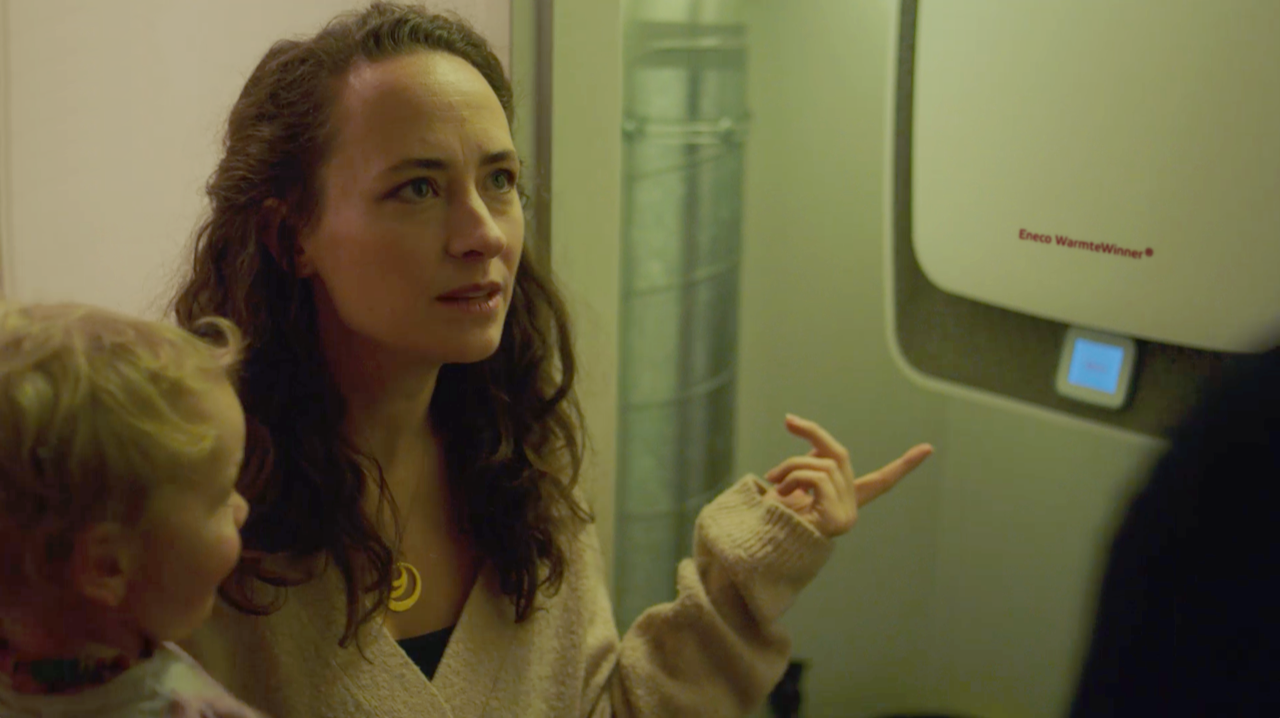
-Heat pump hybrid system. (And Floor heating to make it more effective)

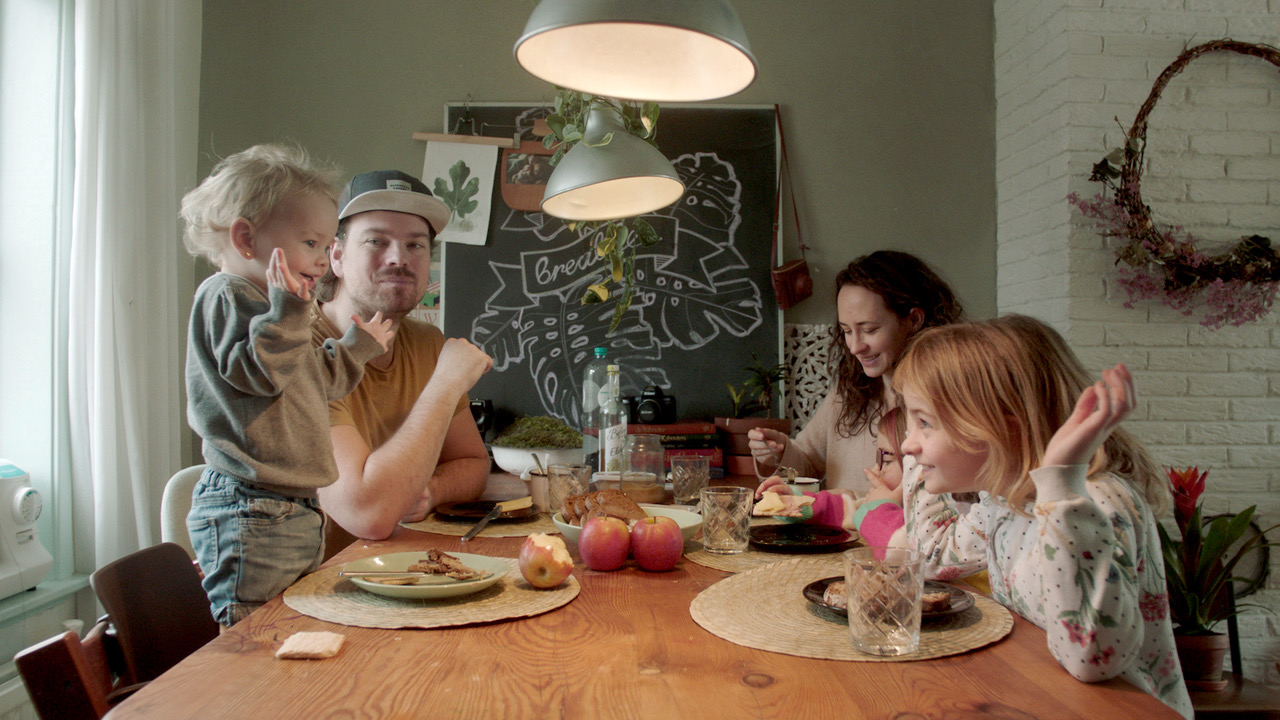
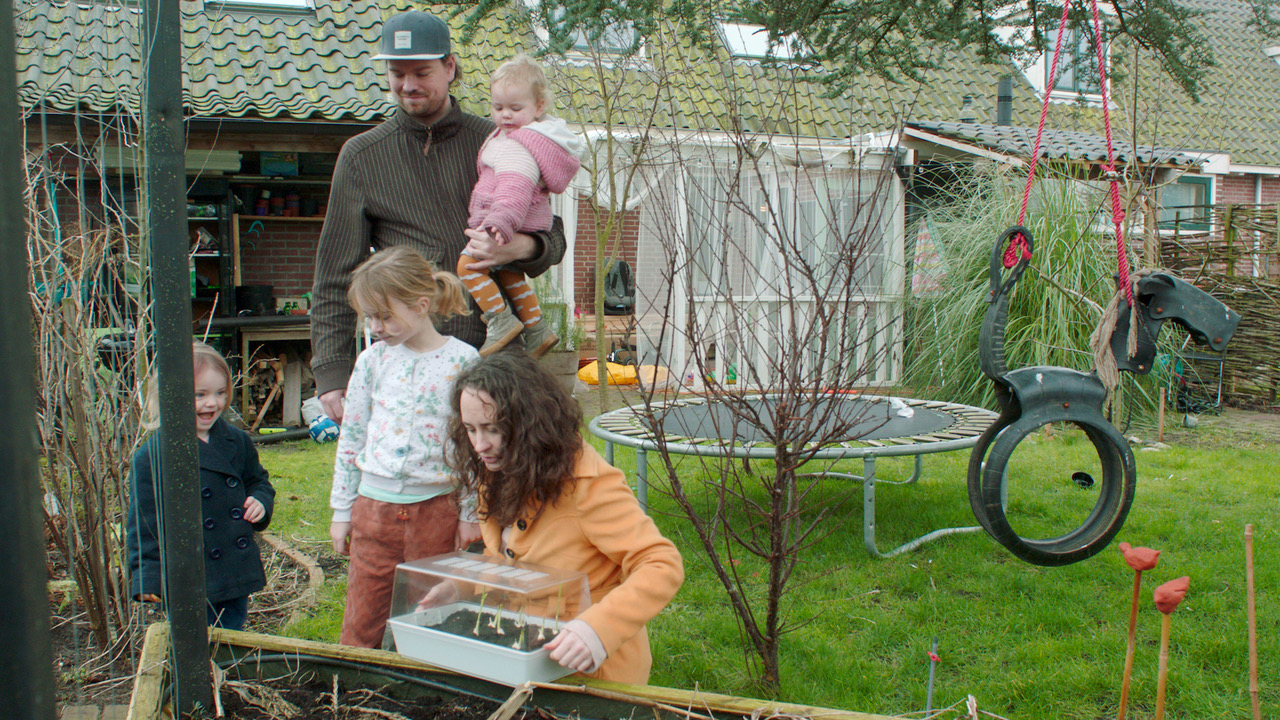
Because we are just a bunch of hippies on an eco-friendly mission Eneco asked if we were interested in a collab with them. So we did! We visited another family who is a few steps ahead of us and already has a lot of the eco-friendly solutions we are dreaming of in their home! Oh my! We are loving it!

And they had such a great family with two lovely little boys and a playful dog. We had a great time with them.
We were invited to stay for dinner so we did! Tiny little bummer to see all those throw-away plastic take-out containers on the table, but I guess our eco-crazy hippie standard is next level for most people. And they were certainly more energy-friendly than us! We all do what we can. baby steps.  So we all enjoyed the food and the lovely company.

Eneco made a lovely video of our visit! (Sorry, it’s only in dutch) You can check it out down here:

We went back home feeling inspired! Hopefully some day in the near future we get to have that energy-green home we are dreaming of. Until then I’m just making it greener with all of my plants!

Love,
  Jolanda, Michiel,
Miley Haley & Quinn

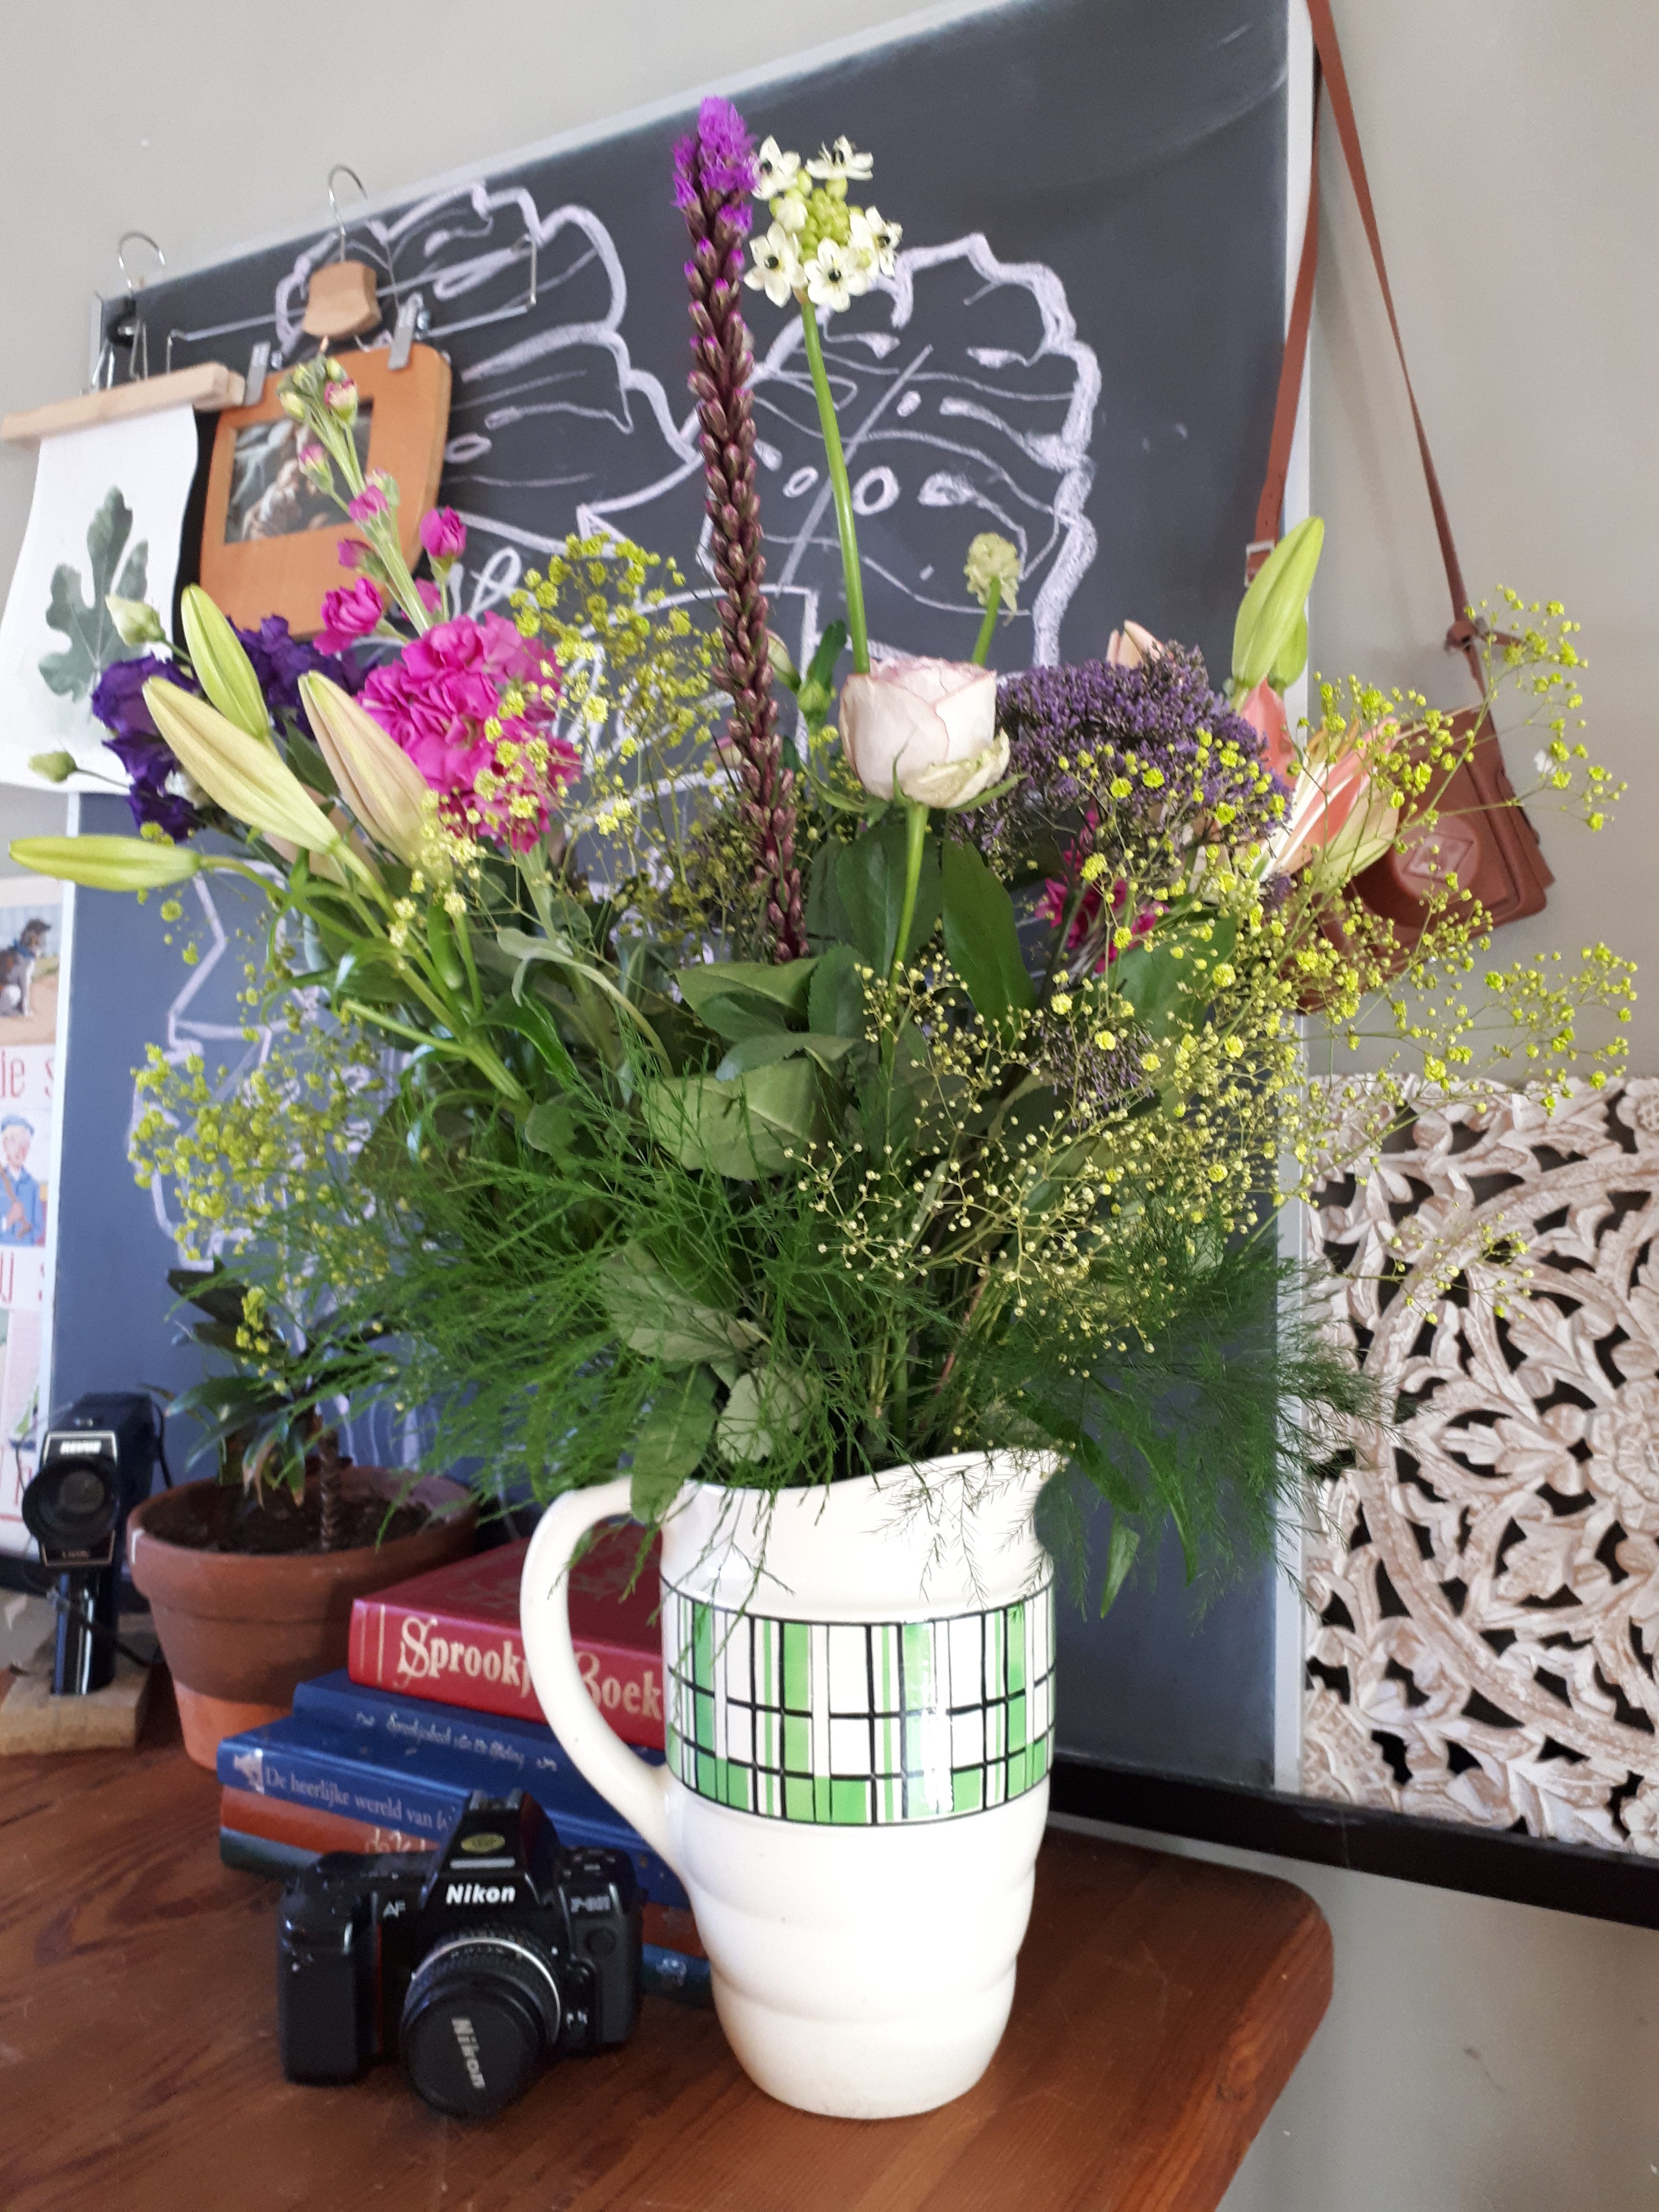
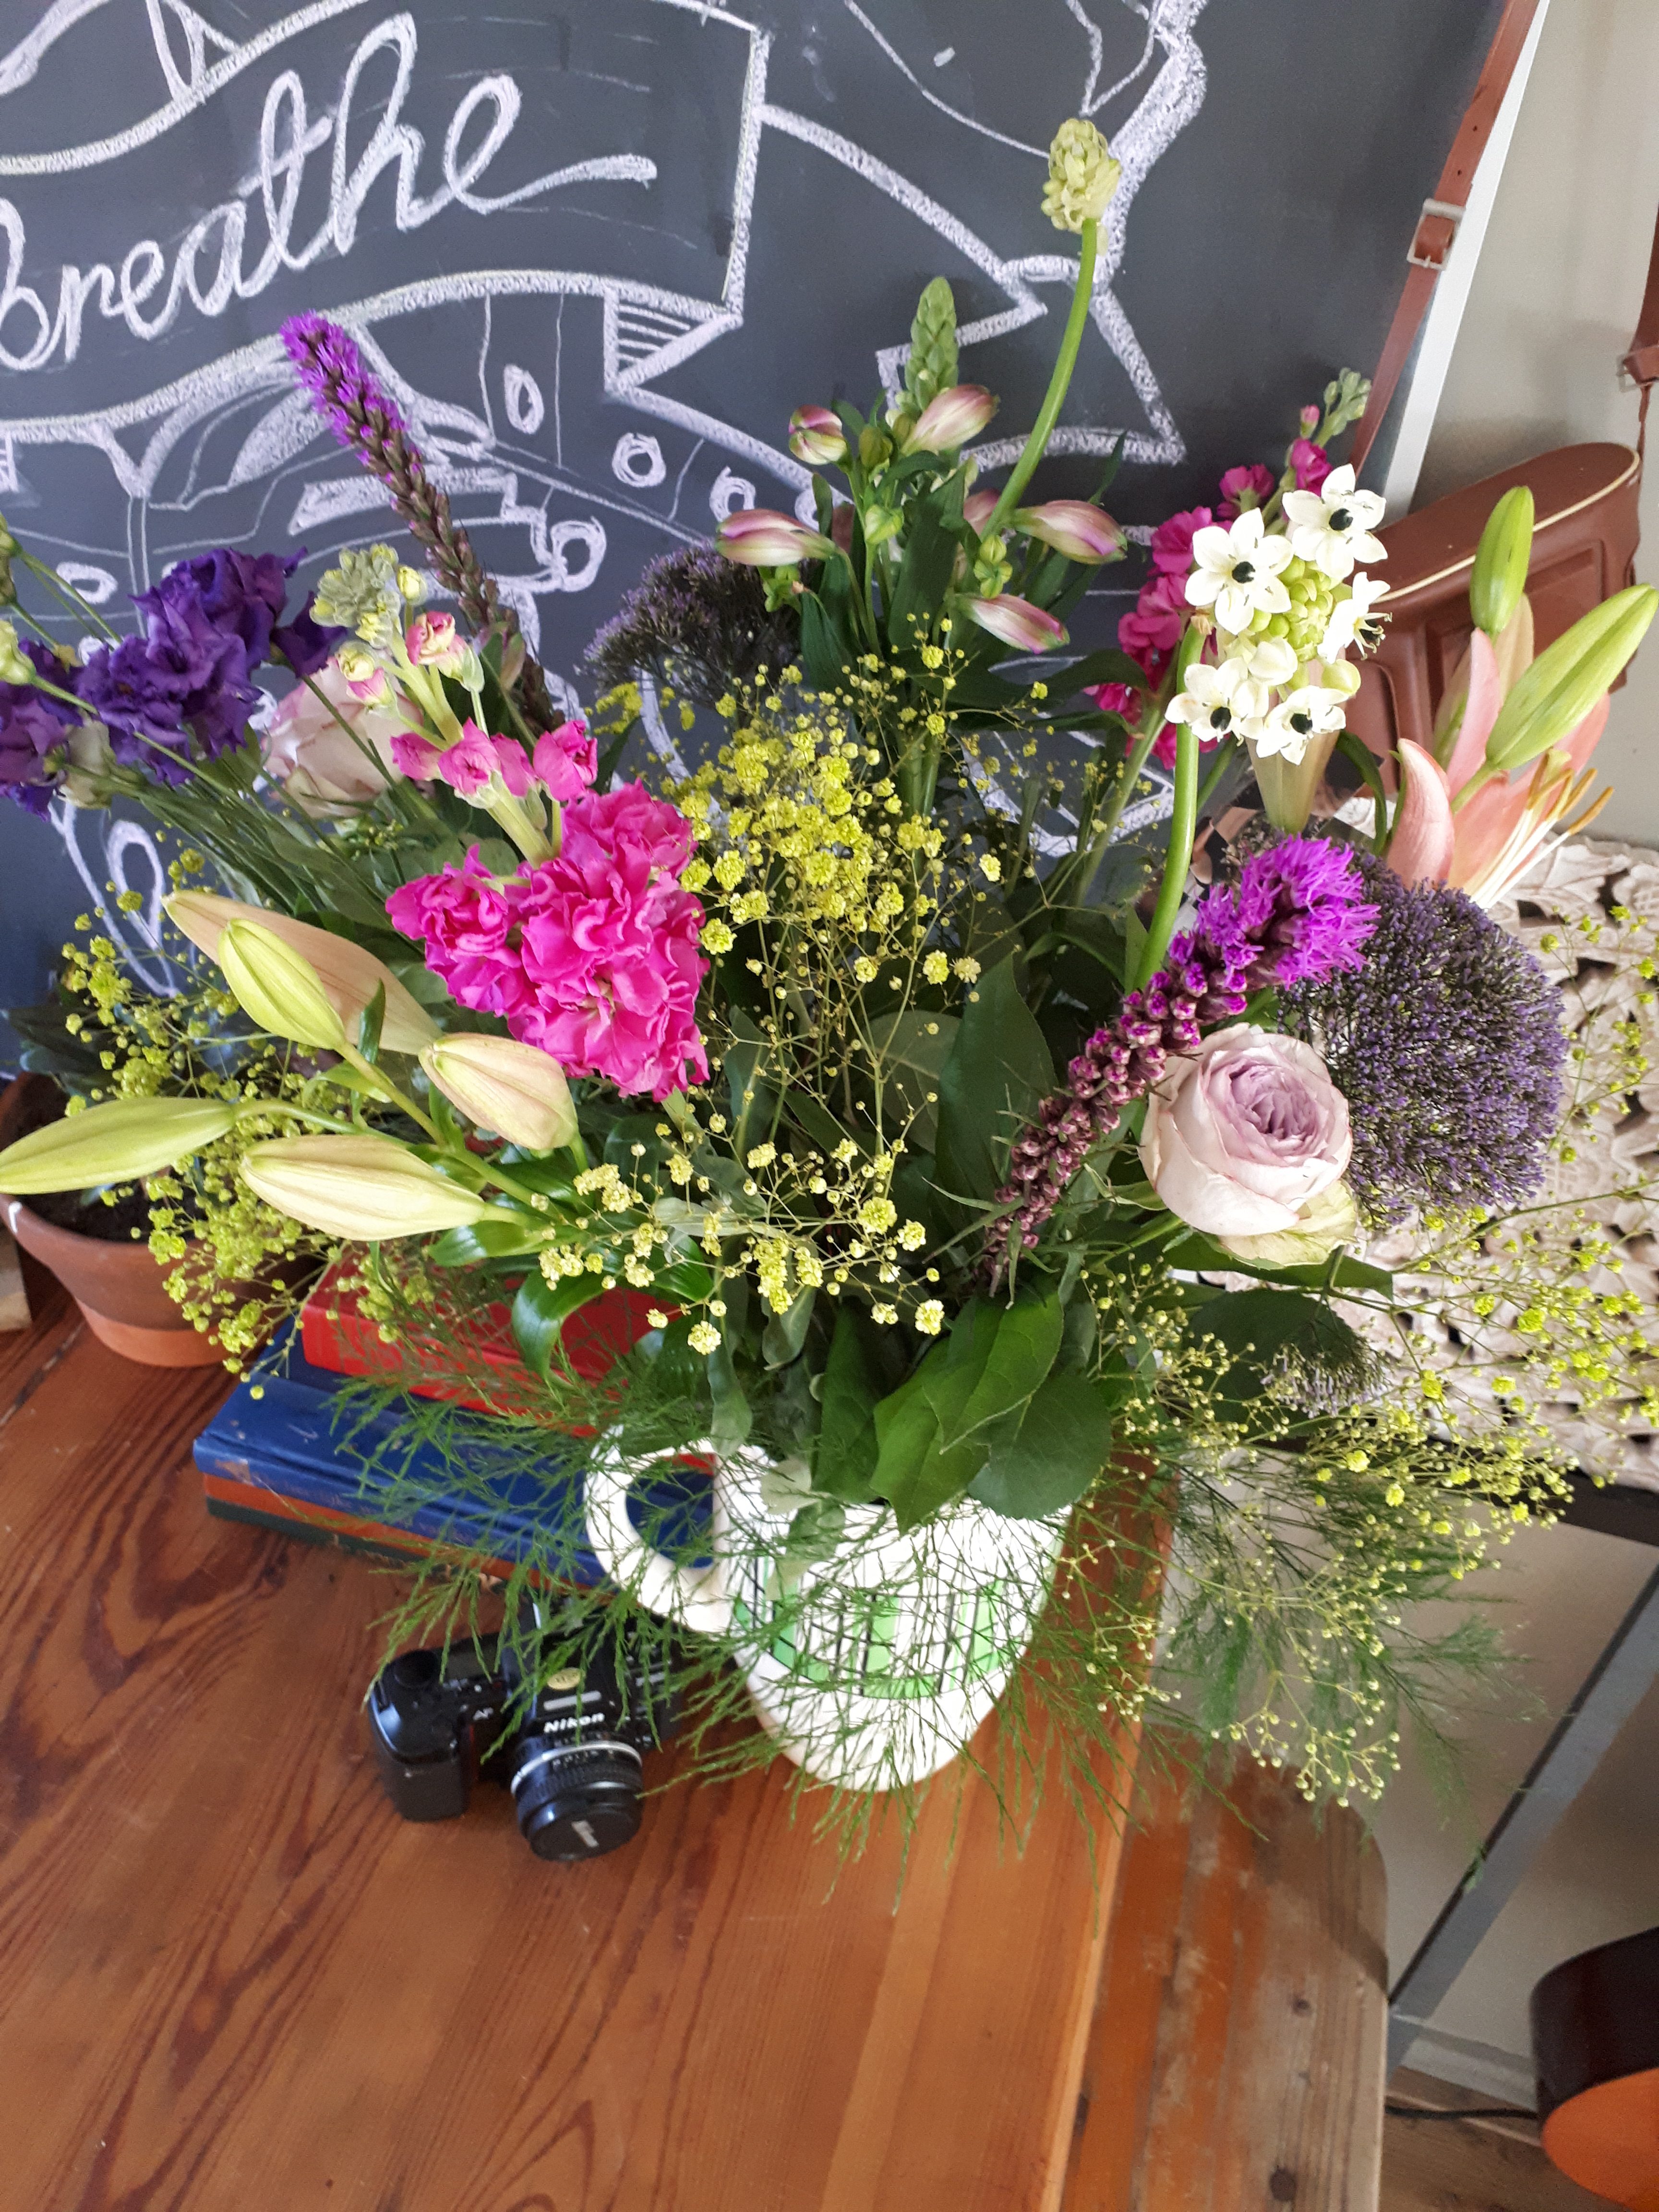
Oh, and p.s. Thanks for the levely flowers Eneco! So thoughtfull love it!

Share this blog post

[supsystic-social-sharing id='1']

Getting a greener home

TAGS:
[st-tag-cloud]

COMMENTS:

You might also like to read:

[related-posts-thumbnails]

How to cut your own curls

How I Cut My Own Curly Hair in this DIY Curly hair routine.

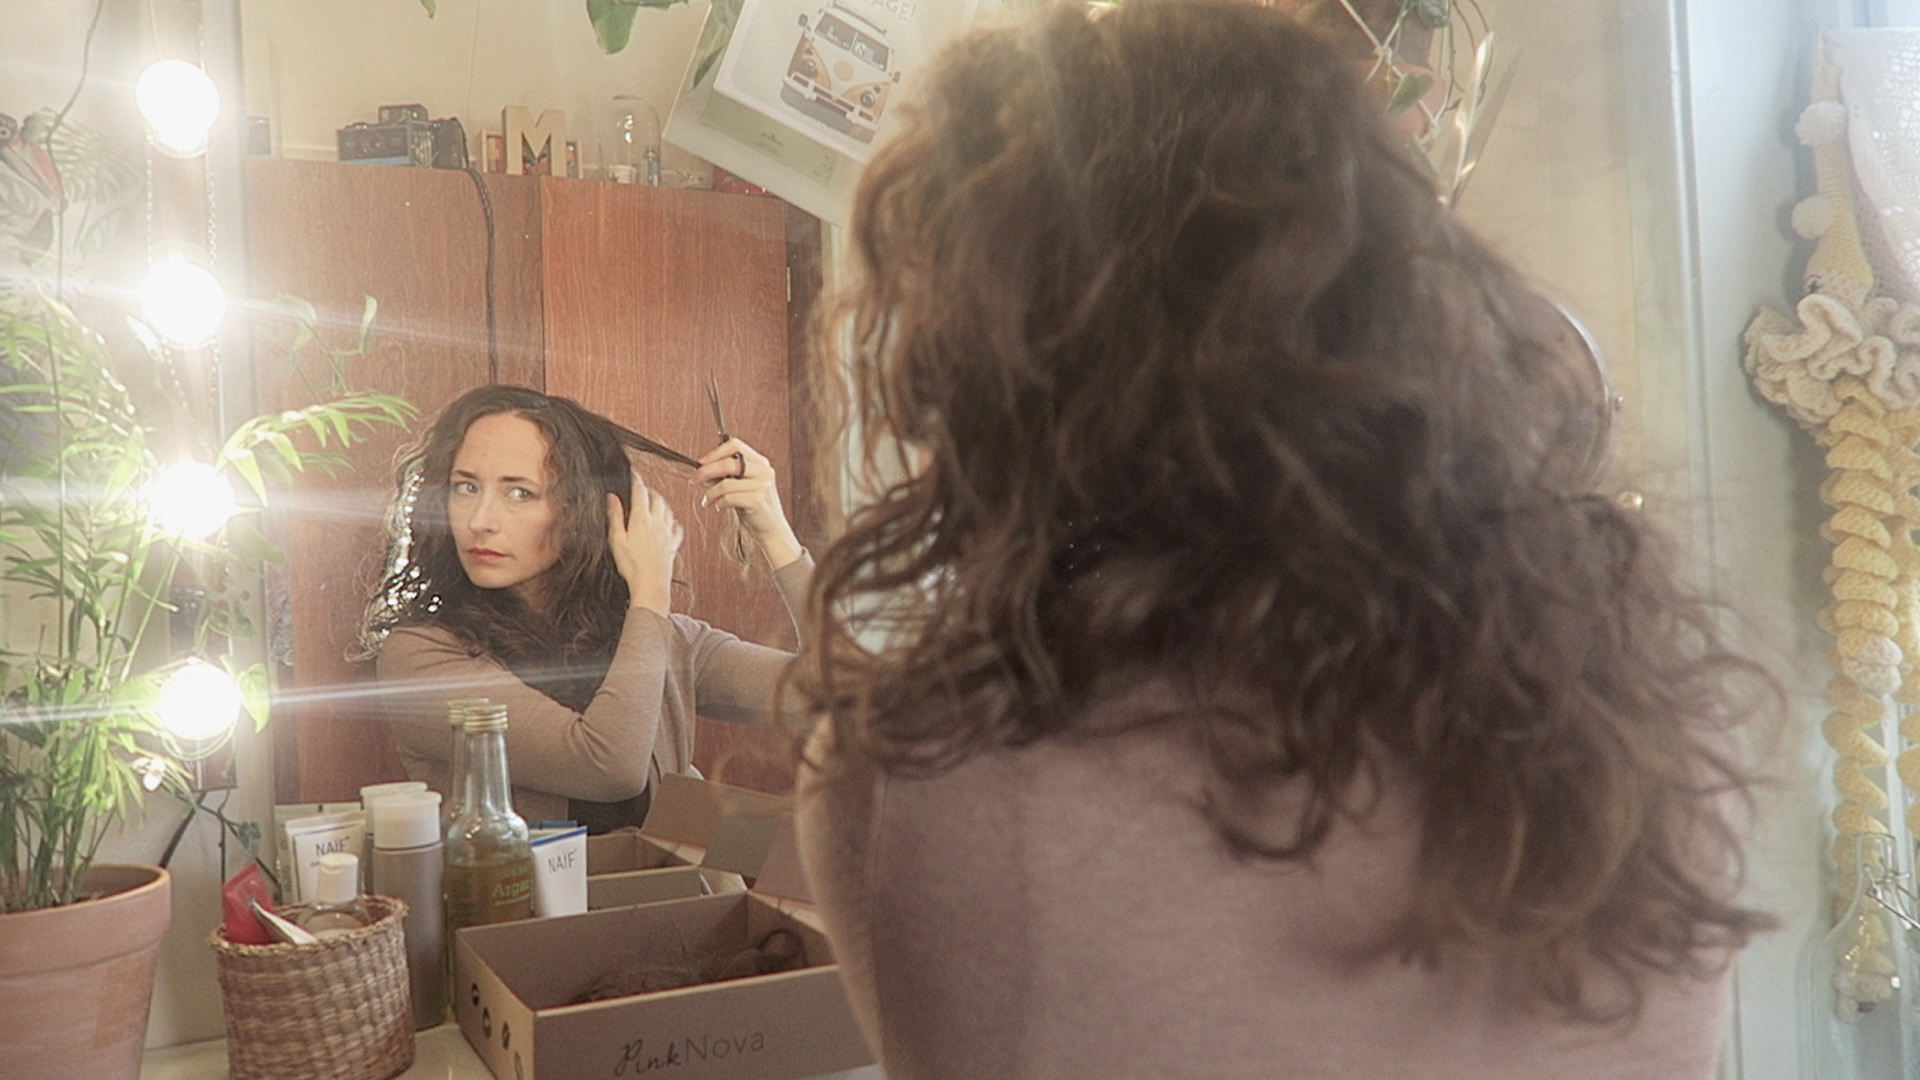
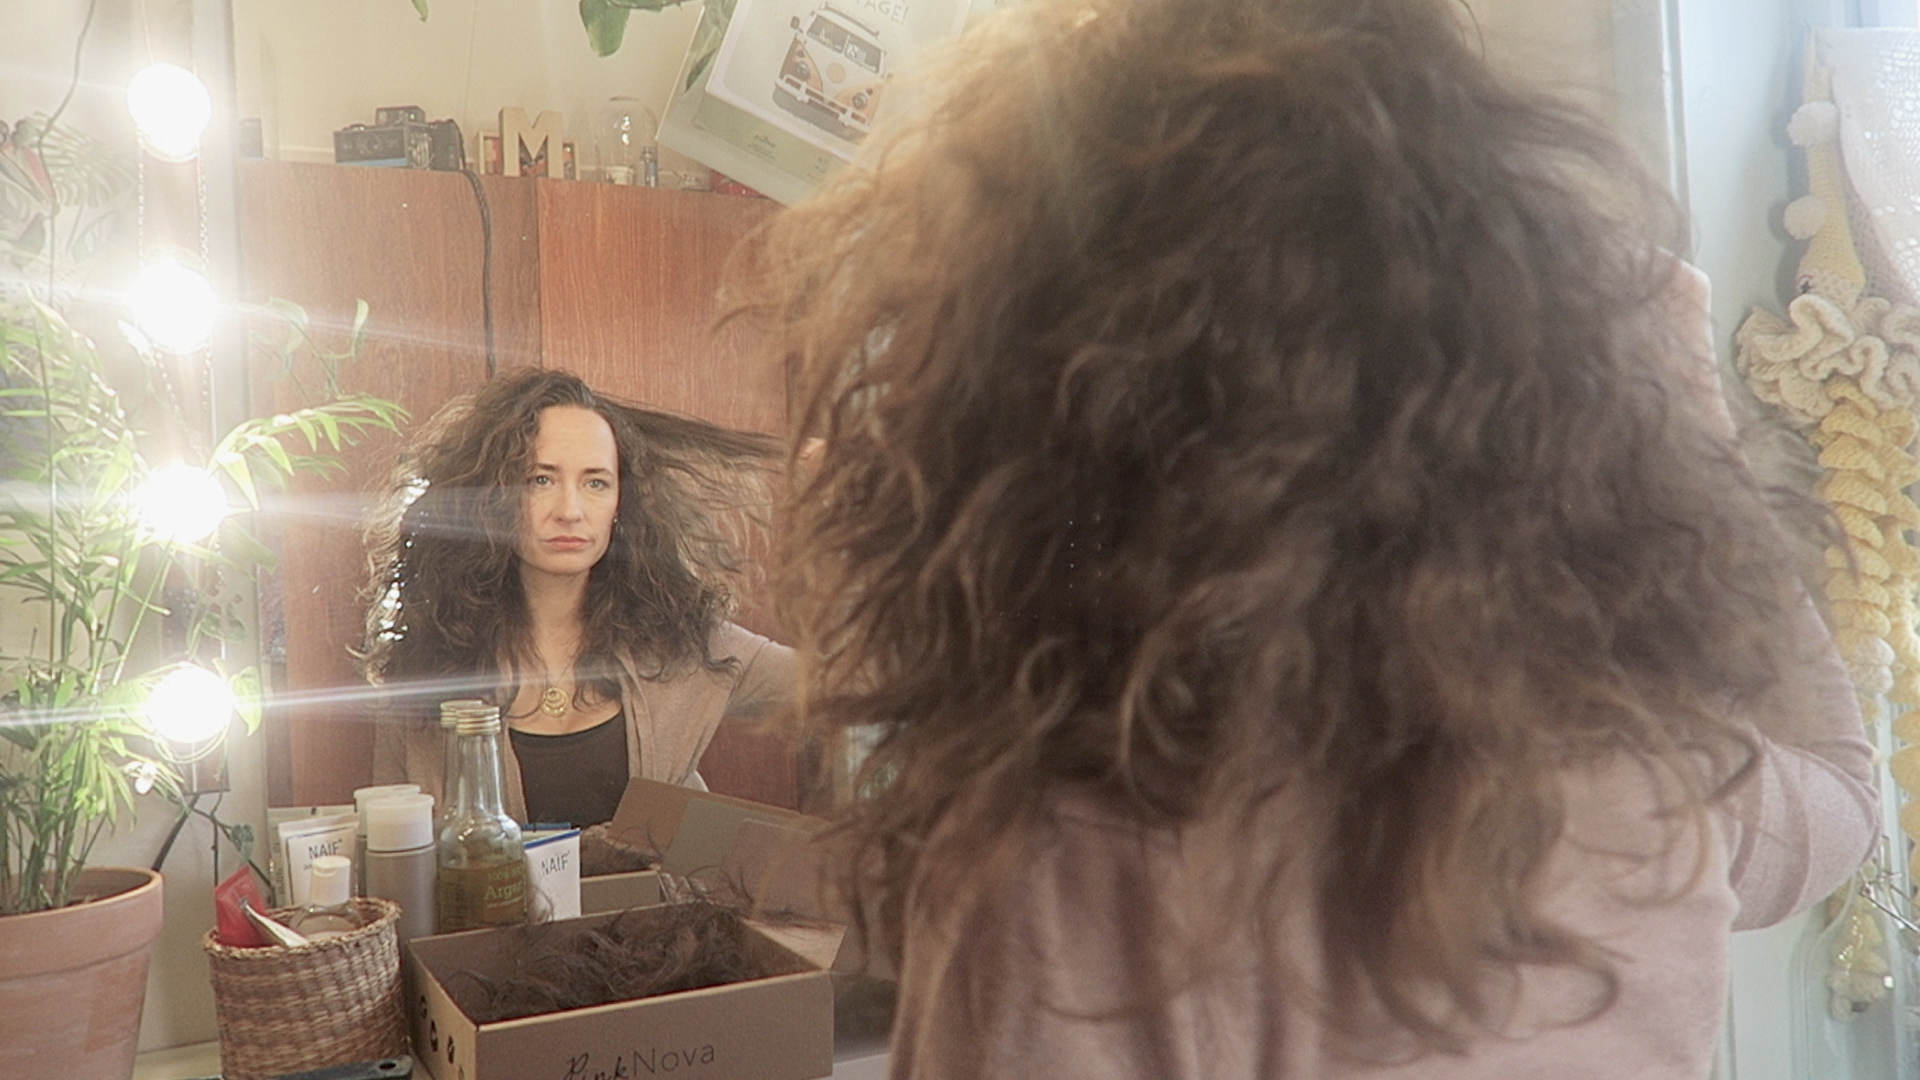
Let me show you how to cut your own curly hair in 4 easy steps in this DIY Hair cut. This is how I Cut My Own Curly Hair at home. And I’ve been using exactly this technique for the last 10 years. You can apply it to all different kind of haircuts.

Cutting your own curls may feel like a scary thing to do, but cutting curly hair is more about sculpting a beautiful form and overall shape into your head of curls than cutting in straight lines. Curly hair doesn’t answer to geometrics. It has its own set of rules. What those rules are is different for every head of curly hair. So getting to know your unique and one of a kind curls is key.
Look at your hair, study the curls… Which way do they twist, are they big or small curls? Curls can be different for every section of your head.

For example, in my case, I’ve noticed that the curls in the under layers of my hair are much stronger and smaller than the top part of my hair.

So when cutting your own curly hair you should adapt to your unique situation. To be able to do that, you start with dry hair! This is sooo important. When your hair is wet you won’t be able to see what you are doing and you will end up with hair that is too short or with a strange shape!

Music in this video is by:
Meydän – https://soundcloud.com/meydansound/

So start with dry hair!

Step 1:

Look. Look and analyze how your curls are falling. And decide which ones to cut, one by one.

Step 2:

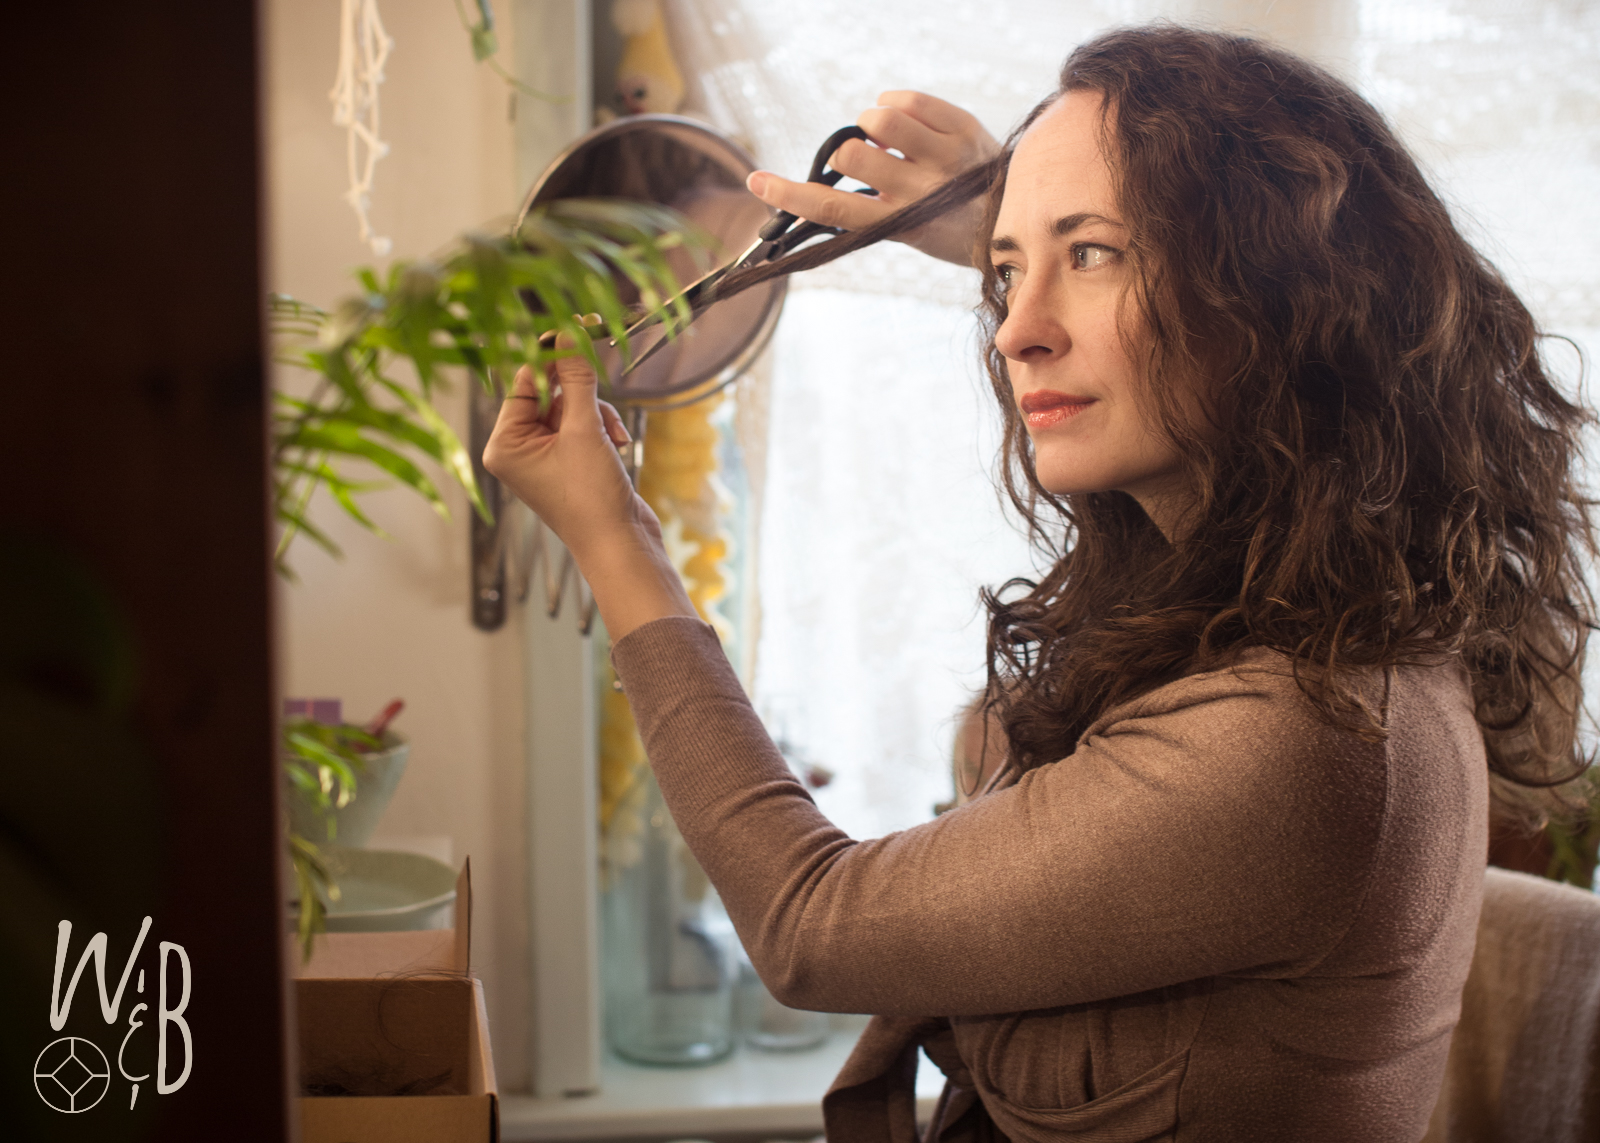
Twist – Once you decided witch curl must go shorter you twist the curl around your finger and hold.

Step 3:

Cut – Get your scissors and cut your curl in a downward movement. Never cut your curls off straight! It will look very unnatural

Repeat step 1-3 until you are happy with the shape.

Step 4: Brush & Finetune – Pull all the curls apart by brushing it. That way your curly hair will form a fuzzy mass where hairs that are too long will stick our and will be more noticeable. Also, the shape of the cut will come out more. This way you can finetune your cut until you are happy with the form.

7
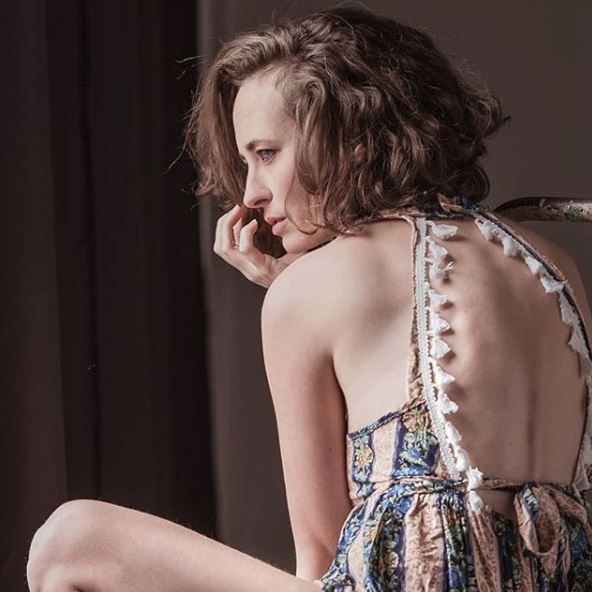
A few of the haircuts I cut myself over the last 10 years

That’s it!

After cutting it you can wash, dry and style it according to your own personal curly hair routine as usual.

Check out the video to see how I Cut My Own Curly Hair, and watch me  demonstrate this technique to give your curly hair the best haircut ever. 

Love,
  Jolanda, Michiel,
Miley Haley & Quinn

Share this blog post

[supsystic-social-sharing id='1']

How to cut your own curls

TAGS:
[st-tag-cloud]

COMMENTS:

You might also like to read:

[related-posts-thumbnails]

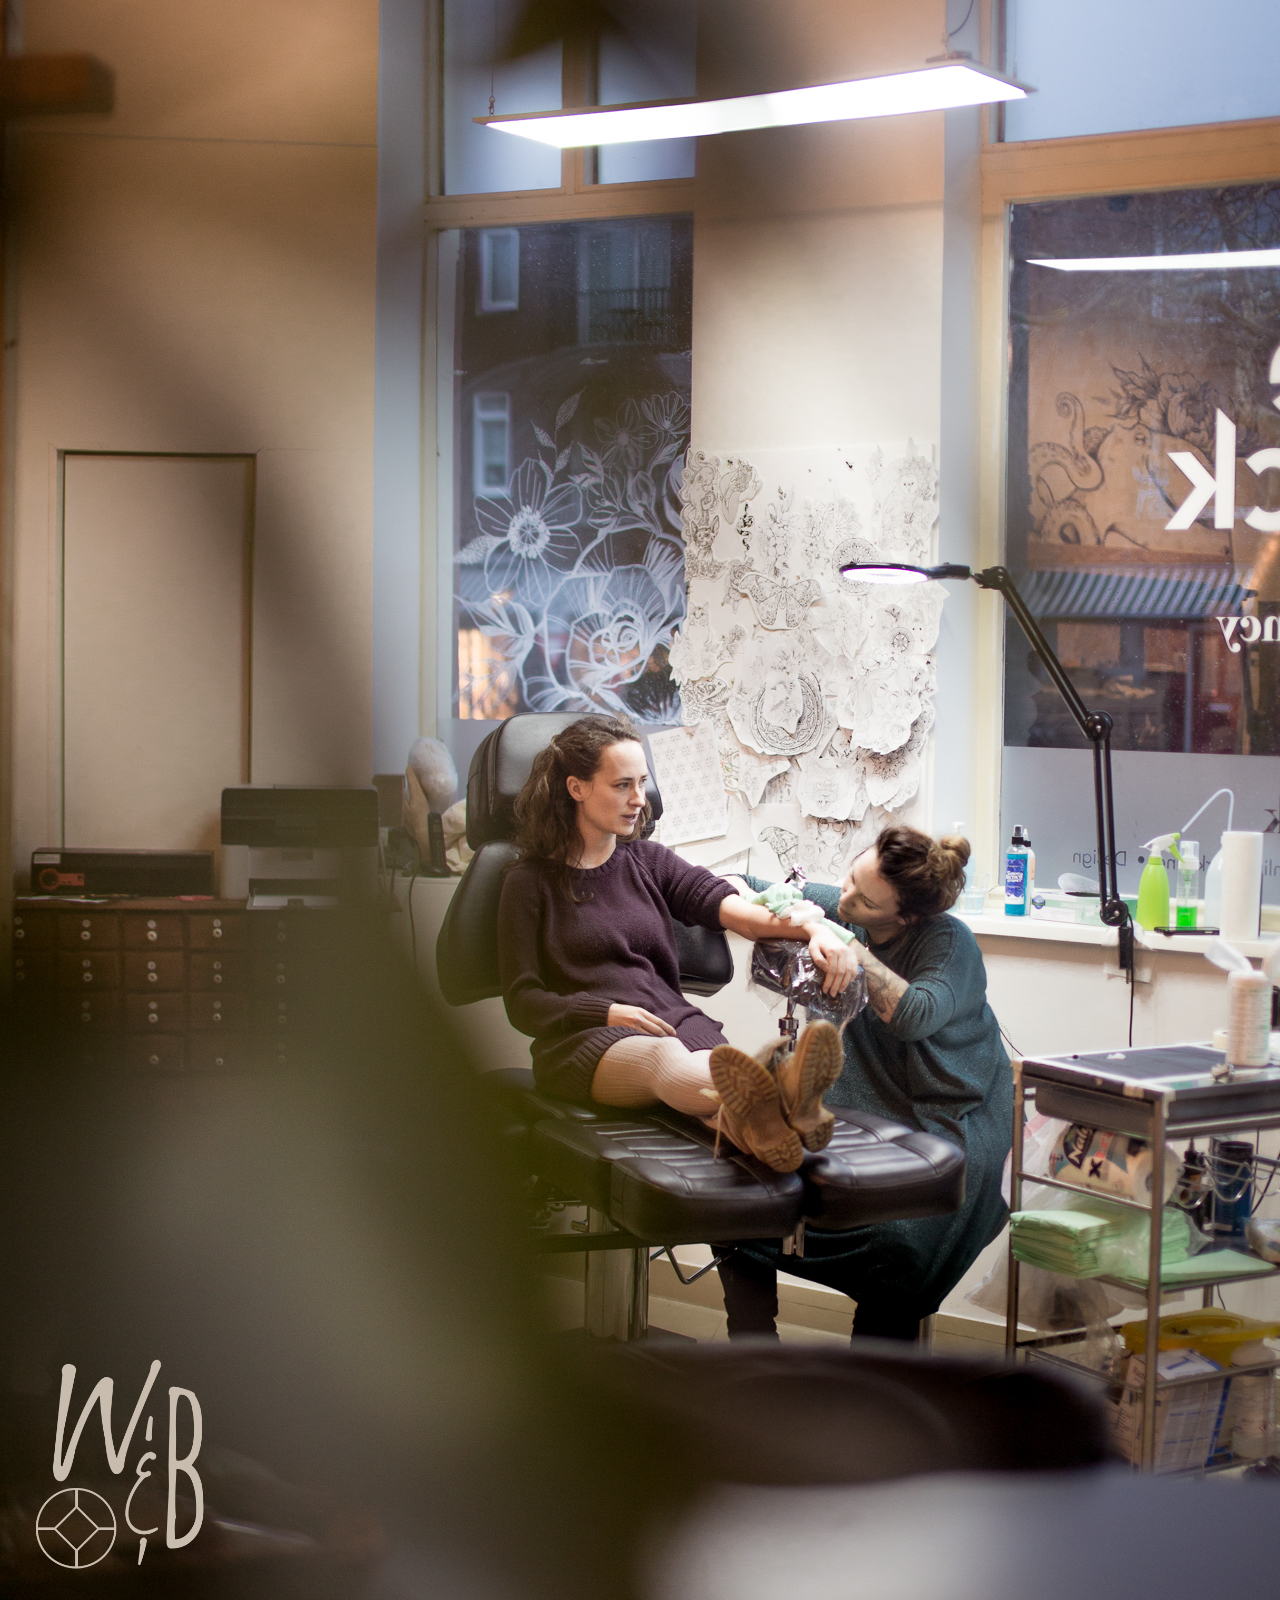
Getting my first tattoo

Yes!!! Finally! I Did it!


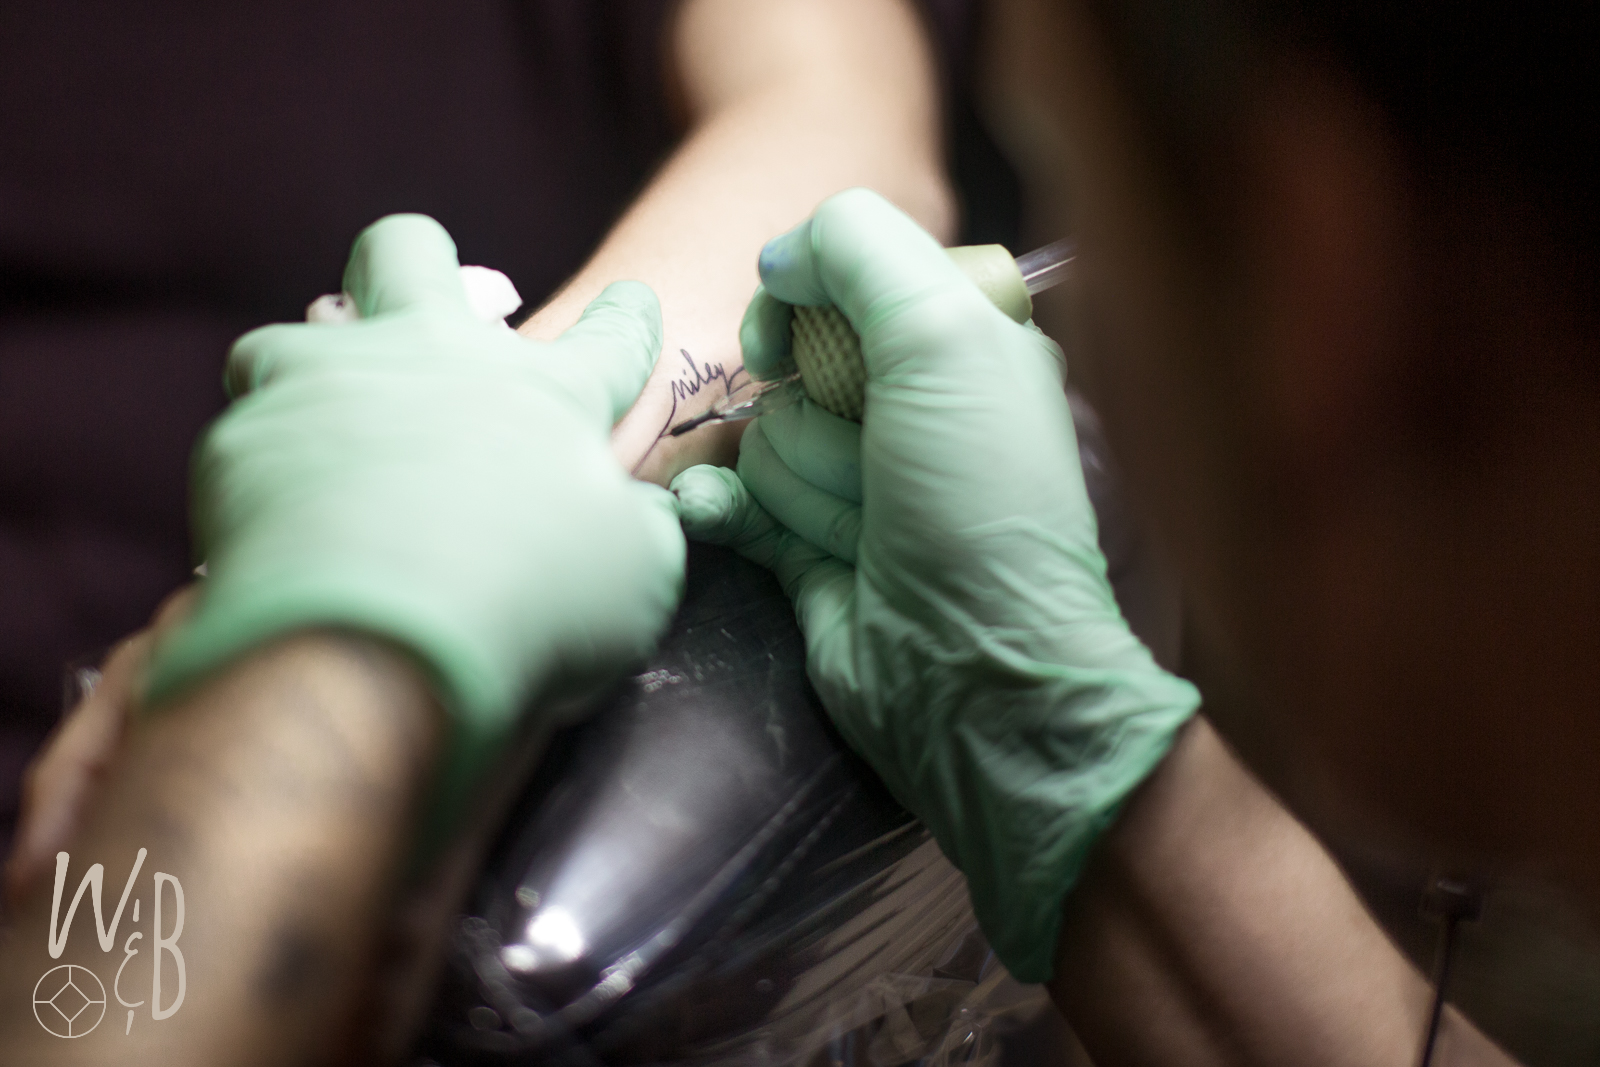
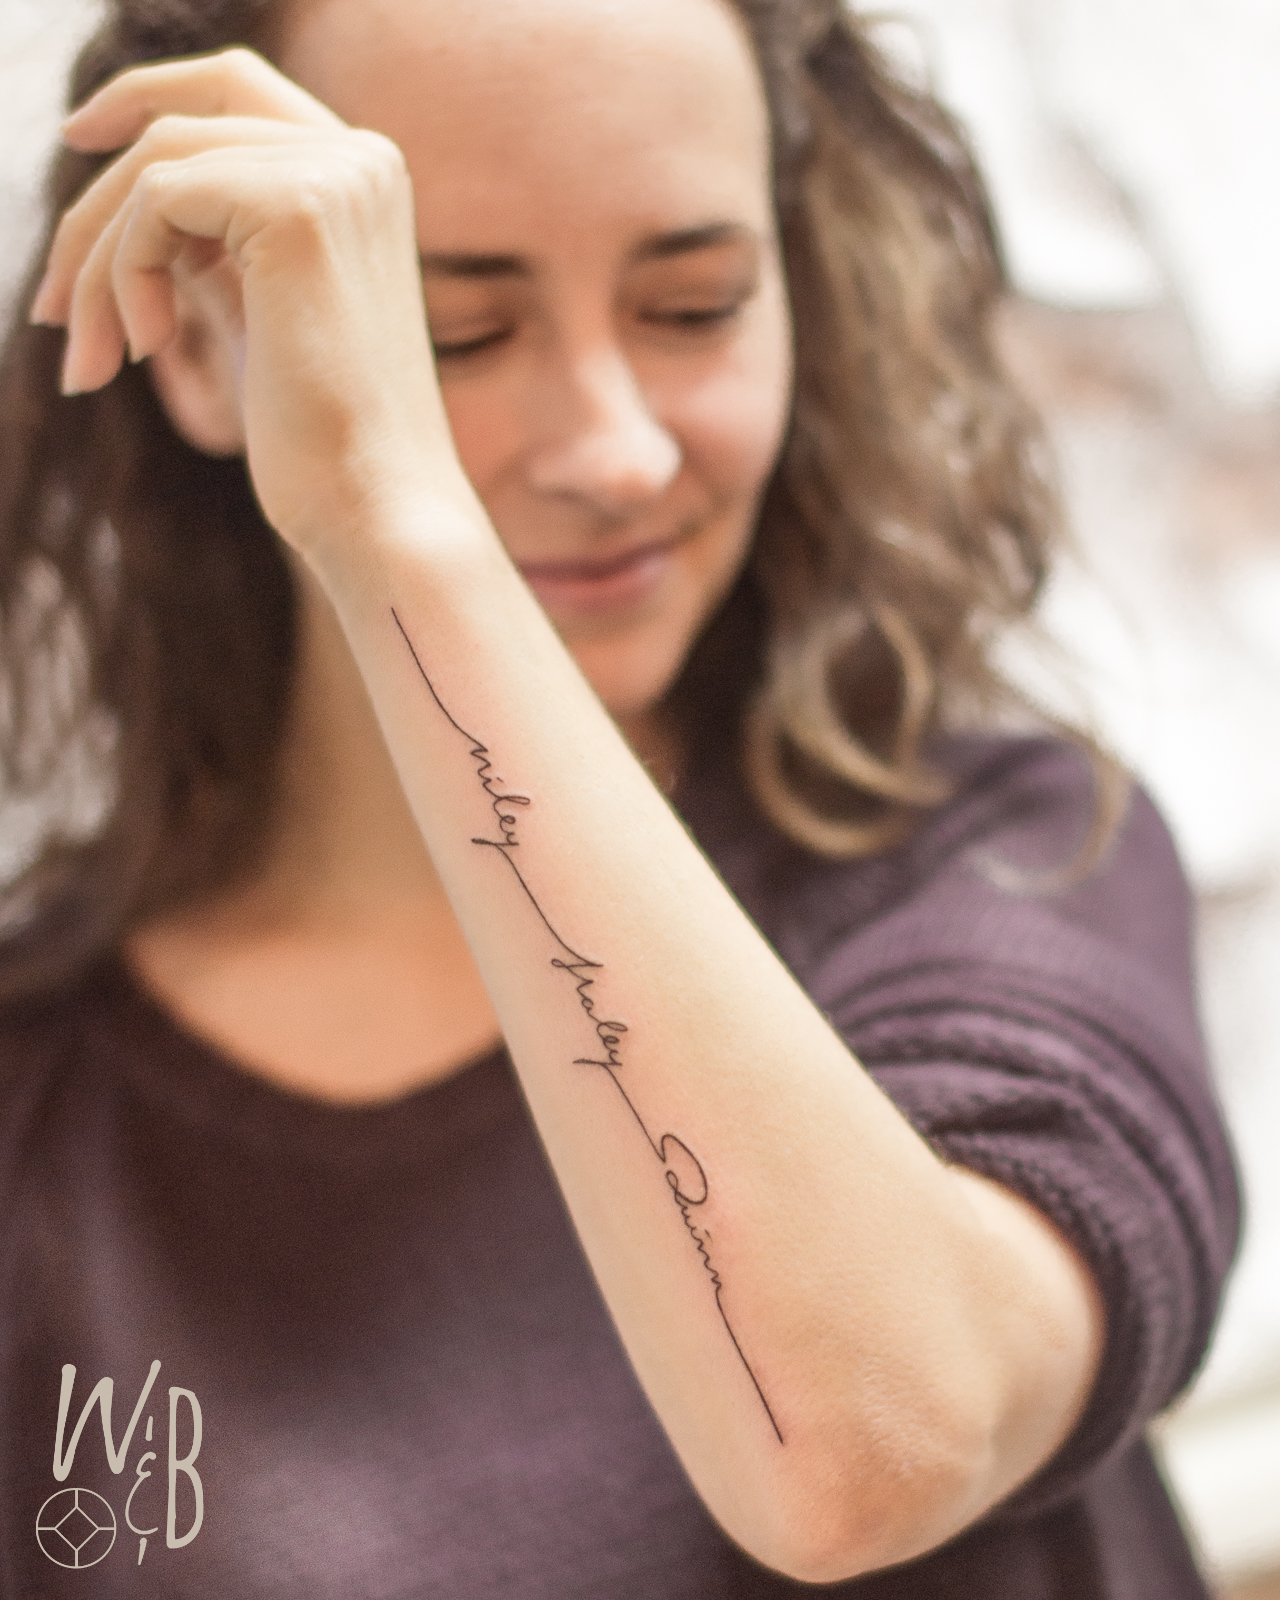
At first, it was a rather simple idea… a thin straight line from my elbow to my wrist within the middle the letters that spelled the name of my one and only baby girl. ____Miley____
But. I was still breastfeeding. And everyone strongly advised against it back then. (this was 7 years ago) Fair enough I thought So after 3 years of breastfeeding It became clear there would be another baby sooner or later. Might as well wait a bit and make it a line with two names.

Patience.

My second baby girl was born and I remember doodling on every piece of paper their names in one long connected line.  ____Miley____&___Haley____  Trying to get the shape and caligraphy just right.

Like practicing an autograph, The line had to have the perfect flow and casual hand-drawn feel to it, styled and still be straight and readable. Not too curly not to dull, but just interesting enough. And certainly not some standard existing Font. Besides that, I still had to wait. Because…still breastfeeding.

Haley became 1,5 and I started searching for the right Tatoo artist. I was prepared to travel If I’d found one further away. As long as the artist could make clean thin lines and I felt “right” about the person behind the needle. As I would wair his or her “mark” for the rest of my days, I was making sure It would be a positive experience.

And then I became pregnant with baby nr.3 The most beautiful little-unexpected surprise of our lives.  And by now, you must know, I had been waiting for 5 years to get this thing on my arm…  So back to the drawing board to add one more name.  ___Miley___Haley___Quinn___   Sometimes I even took a pen and drew it on my arm and took a selfie to see how it would look! Now I’m typing this I realize that this may sound a bit obsessed. Well, maybe I was.

When Quinn was still a newborn we were in a nearby town when we passed by this awesome looking tattoo shop. It wasn’t like any tattoo shop I’d ever seen. It was light, fresh, with a gorgeous mandala-logo on the window. Inside there were plants and beautiful artwork. The whole shop looked welcoming, soft, friendly and creative. So we walked in and we met Manon from Le Nou Tattoo. Her artwork is just amazingly full of feminine shapes and figures, detailed mandalas, Botanics, and subtle shades and razor-sharp fine lines Check out her Instagram here.  She was so friendly, relaxed with a calm confidence that just made me trust her instantly! But Quinn was still a Tiny baby. So I waited just a bit longer.

“The line had to have the perfect flow and casual hand-drawn feel to it.”

When Quinn got one-year-old I became impatient. A few years back my eldest daughter still breastfed occasionally until she was 5 years old. That would mean that it would take another whole four years before I could have my ultimate “mommy Tattoo”.


Breastfeeding and getting a Tattoo?

But why isn’t it a good Idea to get a Tattoo while breastfeeding? Mainly, If your tattoo would get infected you maybe would need Antibiotics that don’t go well together with breastfeeding. Some say there is a slightly bigger chance of infection because of a lower immune system and a bit thinner blood. But let’s be honest, I think those last two reasons have as much to do with delivering a baby and recovering from that than breastfeeding. I guess having a tattoo within the first 9 months after having a baby/pregnancy maybe isn’t a good idea either. Anyway, This is What the breastfeeding experts at La Leche League had to say about it. 


“I’m Hearing myself say “Michiel, I really think you have to hold my hand””

“Shurley the pain is going to get so much worse. But it wasn’t…

“this is it!?” I asked.”

“I suddenly became really nervous!
There was something I didn’t think of beforehand…
Would this hurt much!?”

The time is now

After 1,5 years of breastfeeding my babies aren’t that dependent on breastfeeding anymore, Its just a nice bonus for all the antibodies and such. But if I would have to skip one week for what reason so ever. She would survive just fine! Besides that, I wasn’t going to let a Tiny little tattoo get infected. A good licensed tattoo shop,  healthy lifestyle, Hygiene and common sense are your friends.

So I decided it was time. I sure as hell wasn’t going to wait until I am 38 to do this thing!
It already had waited for ages (7 years). And then last Oktober Michiel and my Mom surprised me for my 34th birthday with a booked appointment at “Le Nou“. The earliest date available was February the 7th. Wich says something about how good she is I guess.


February 7th, 2019

Happy as can be, with my hand-drawn line design perfected over the past 7 years. (being a bit of a neurotic perfectionist about it, but it was done.)  I’d never been more ready for this than for anything in my life!  Even a pregnancy takes less freaking time than it takes me to get a tiny little tattoo! I mean really!?

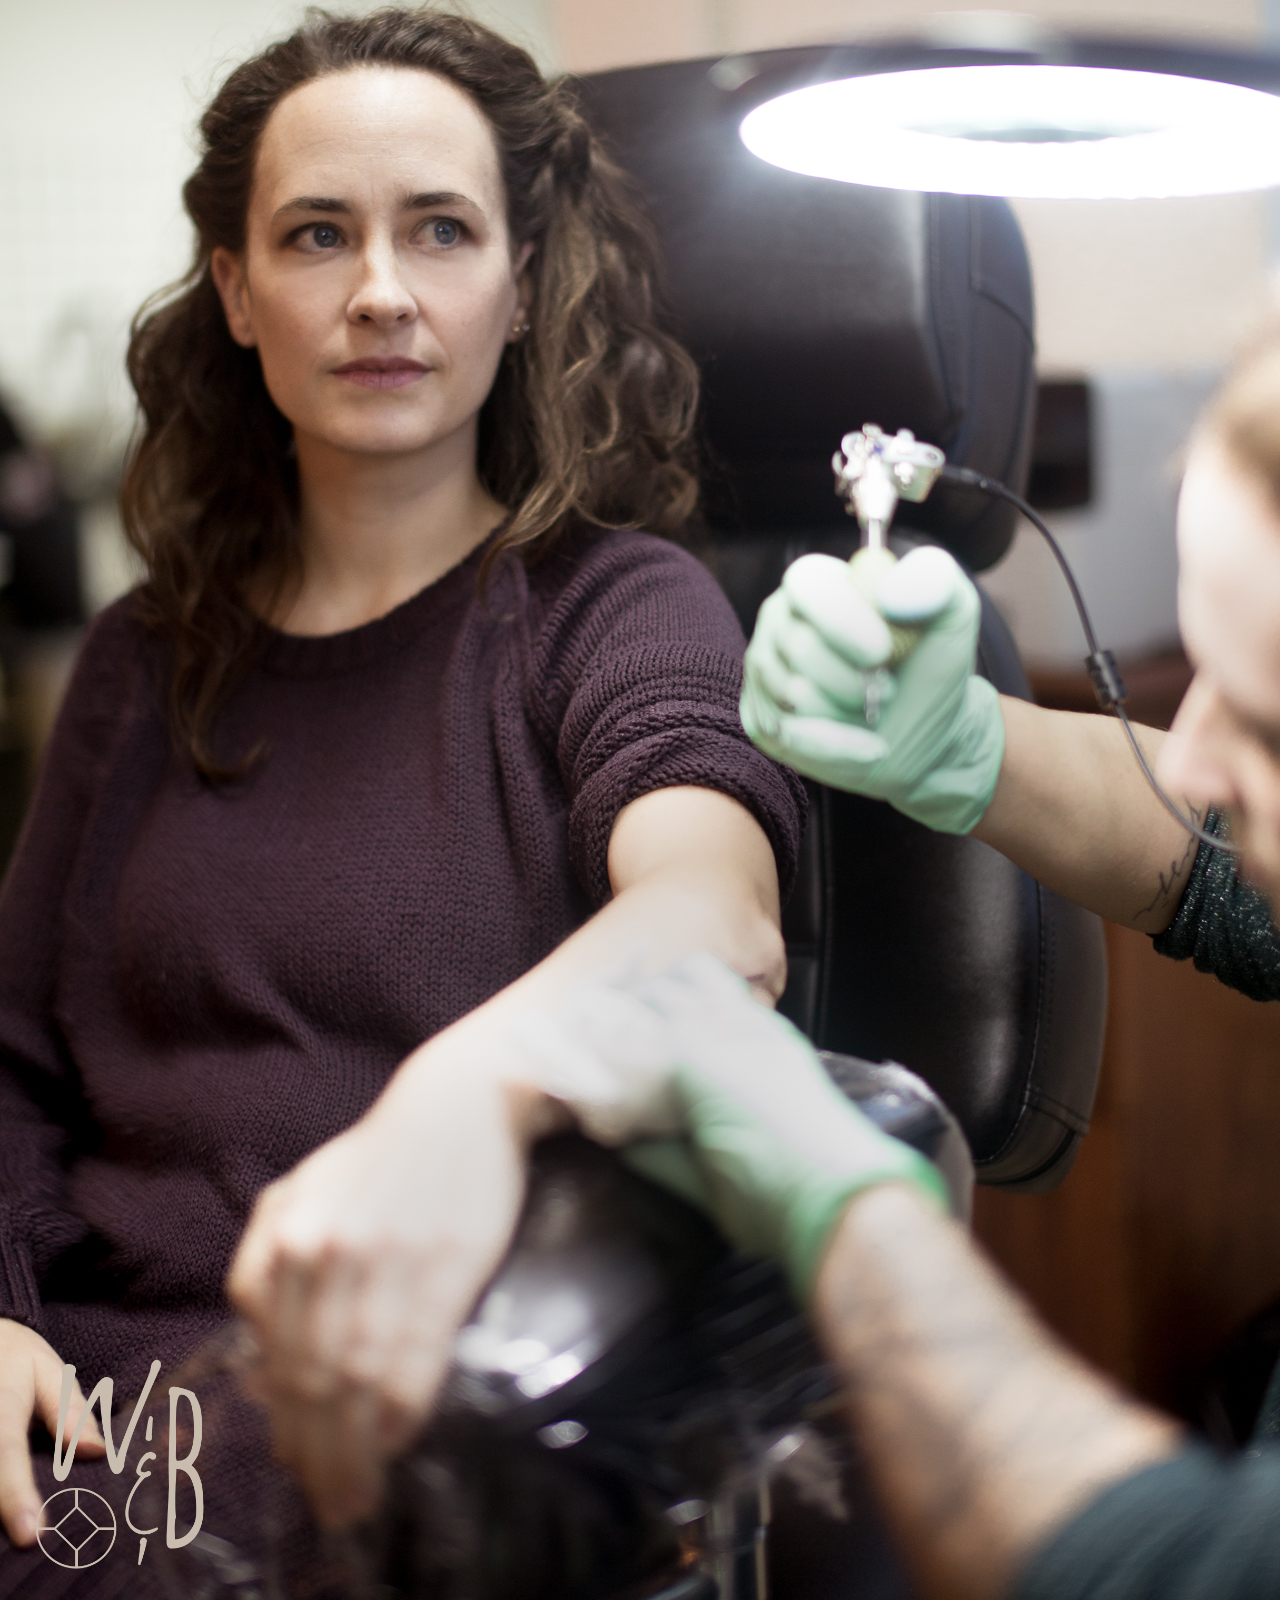
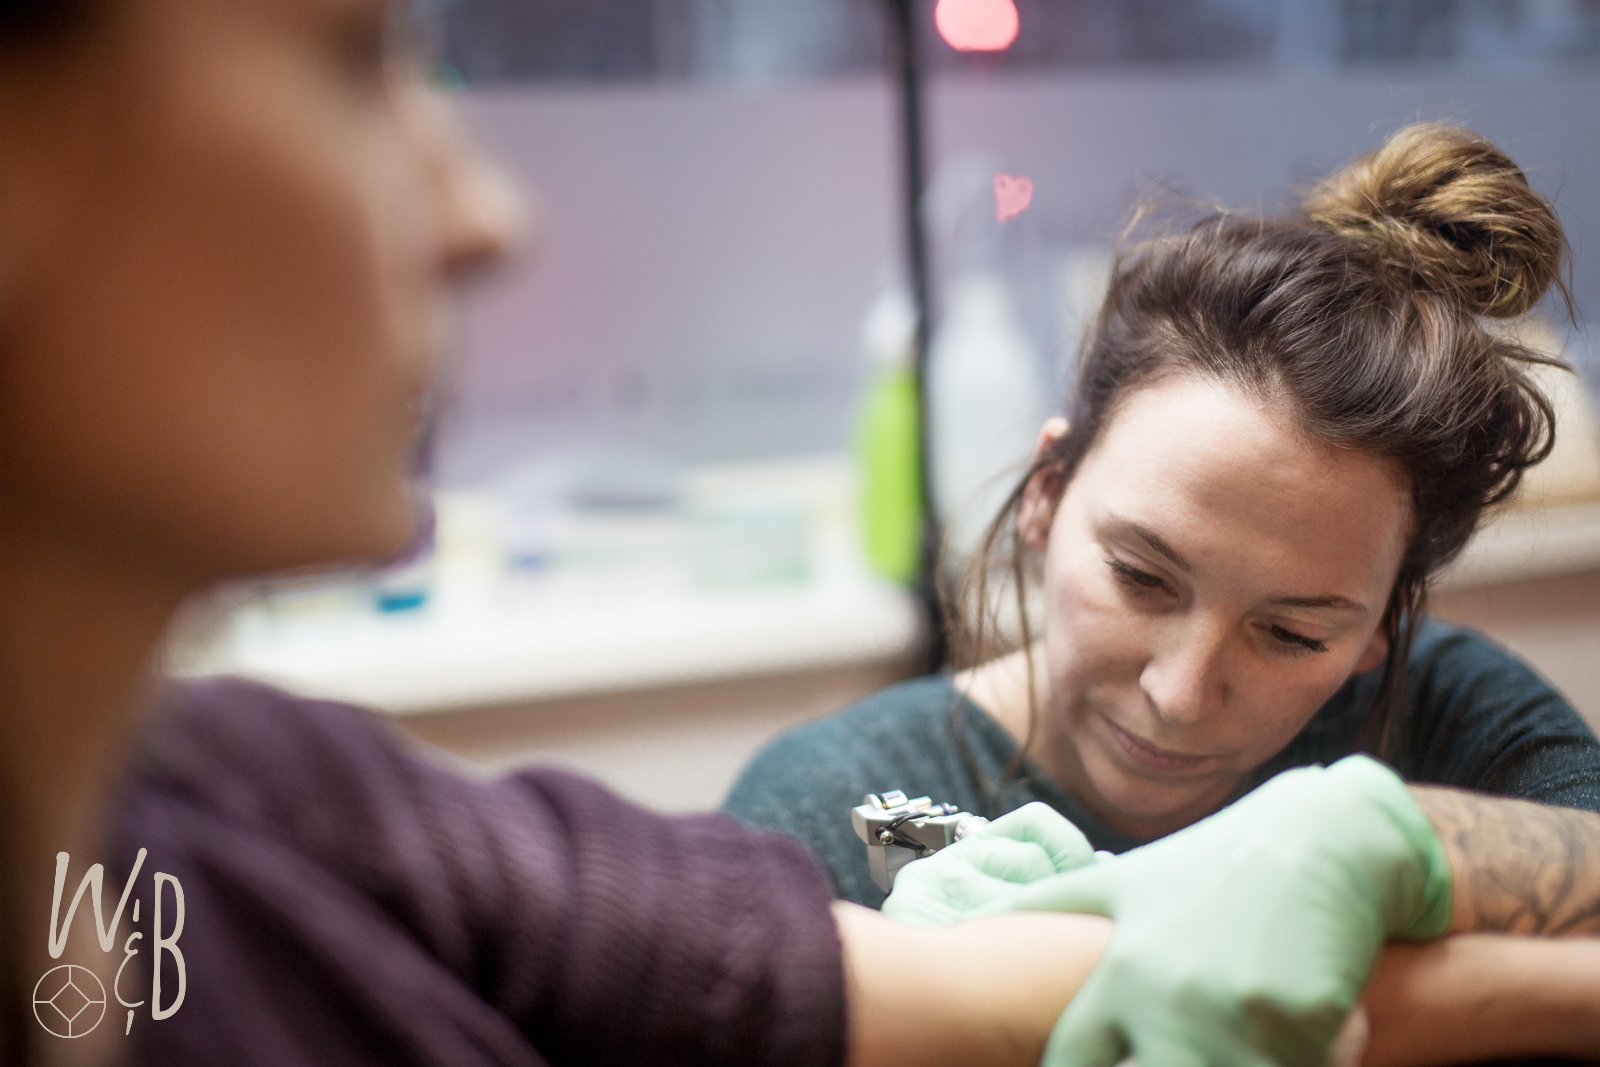
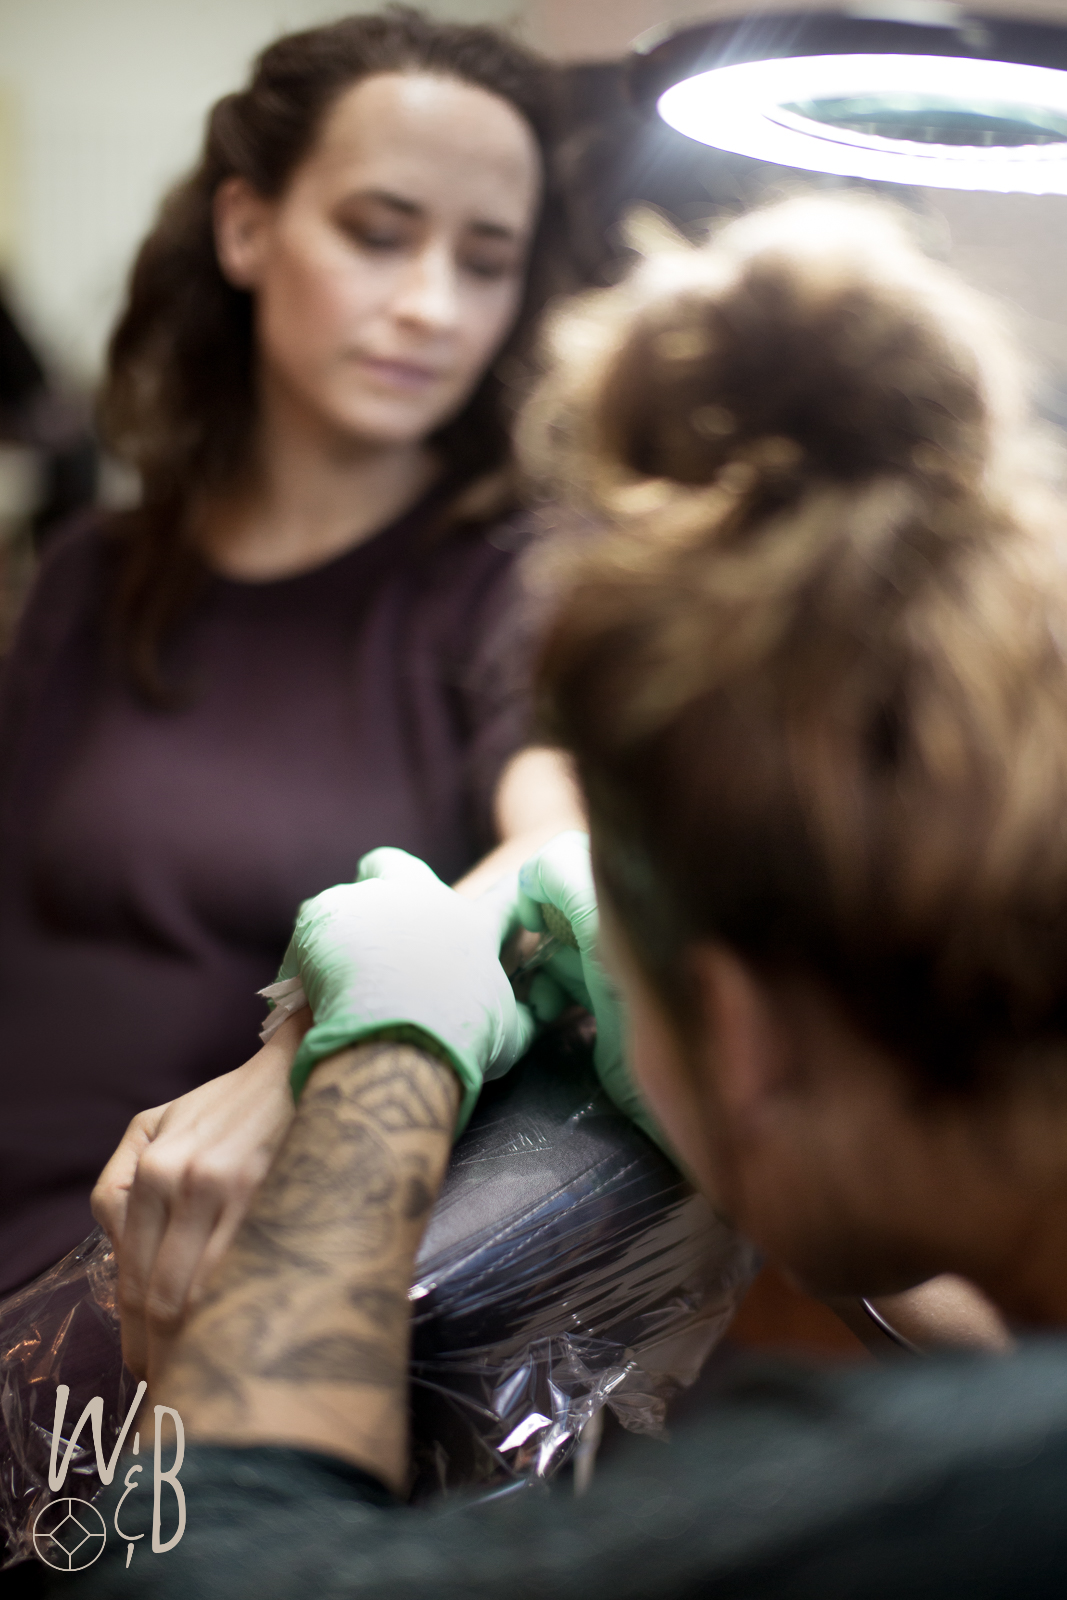
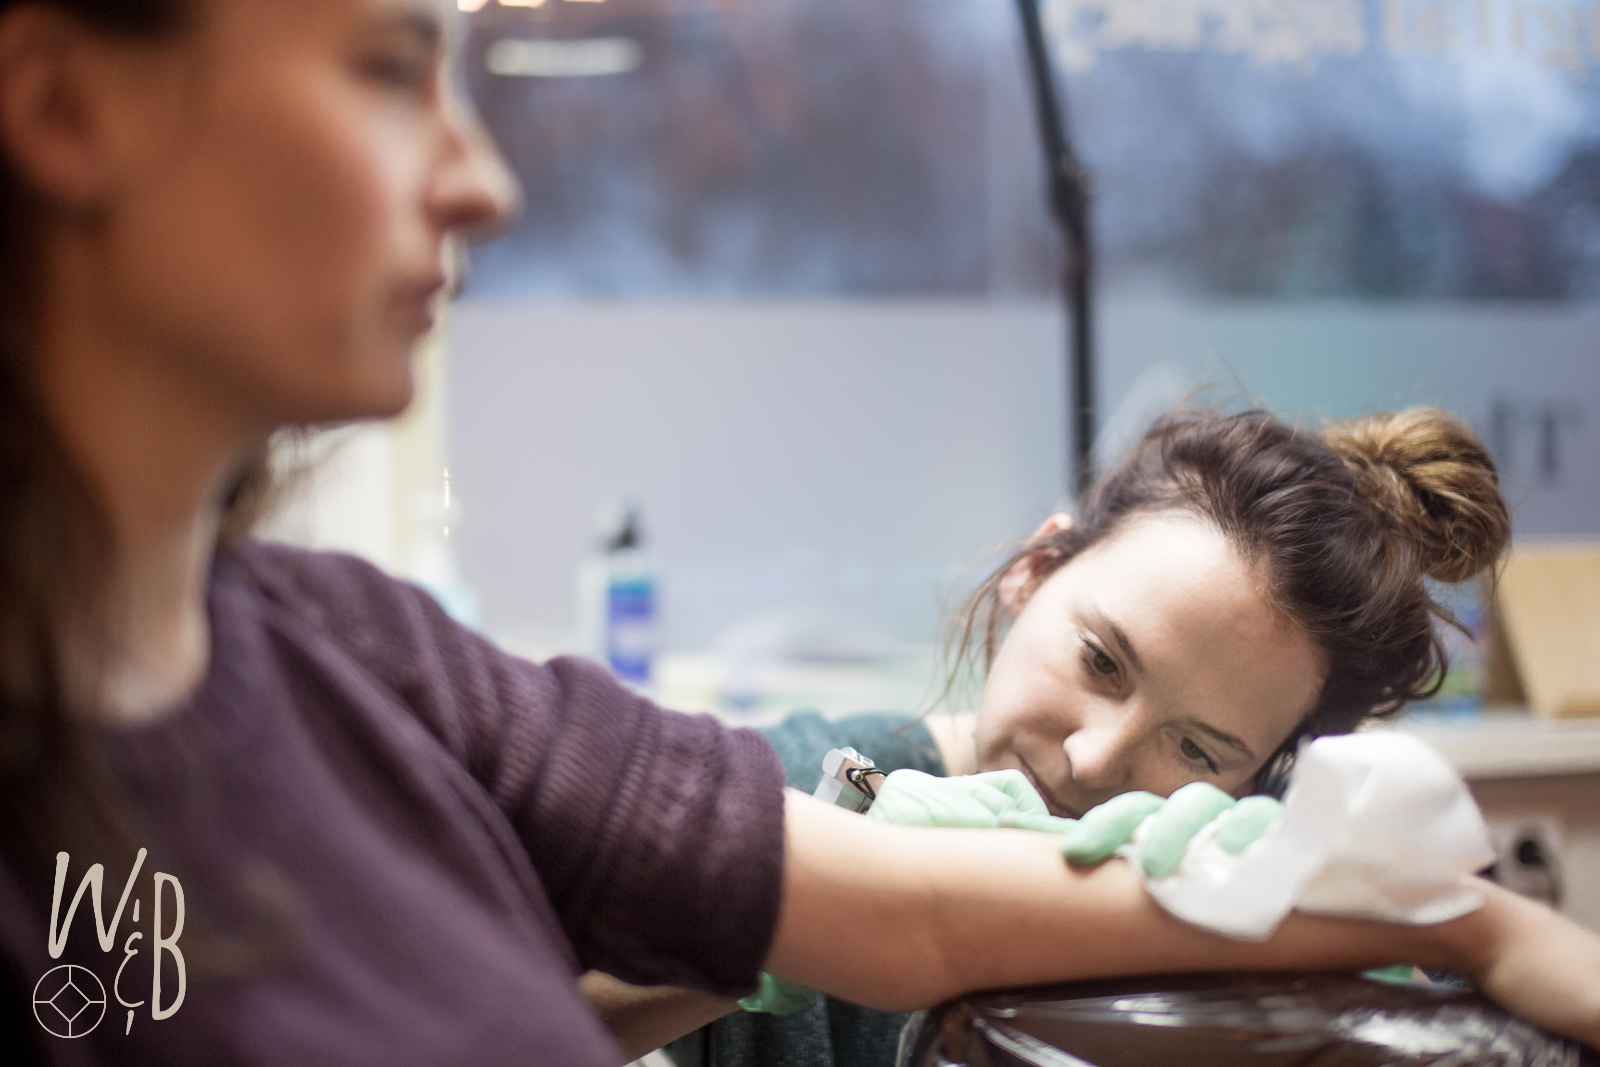
Only until the very last moment when a sat down and with the sight of the surprisingly friendly looking tattoo machine I suddenly became really nervous! There was something I didn’t think of beforehand…  Would this hurt much!? I had been so busy thinking of the design, artist, timing… and now only seconds to go and my heard was pounding like crazy. I’m Hearing myself say “Michiel, I really think you have to hold my hand”


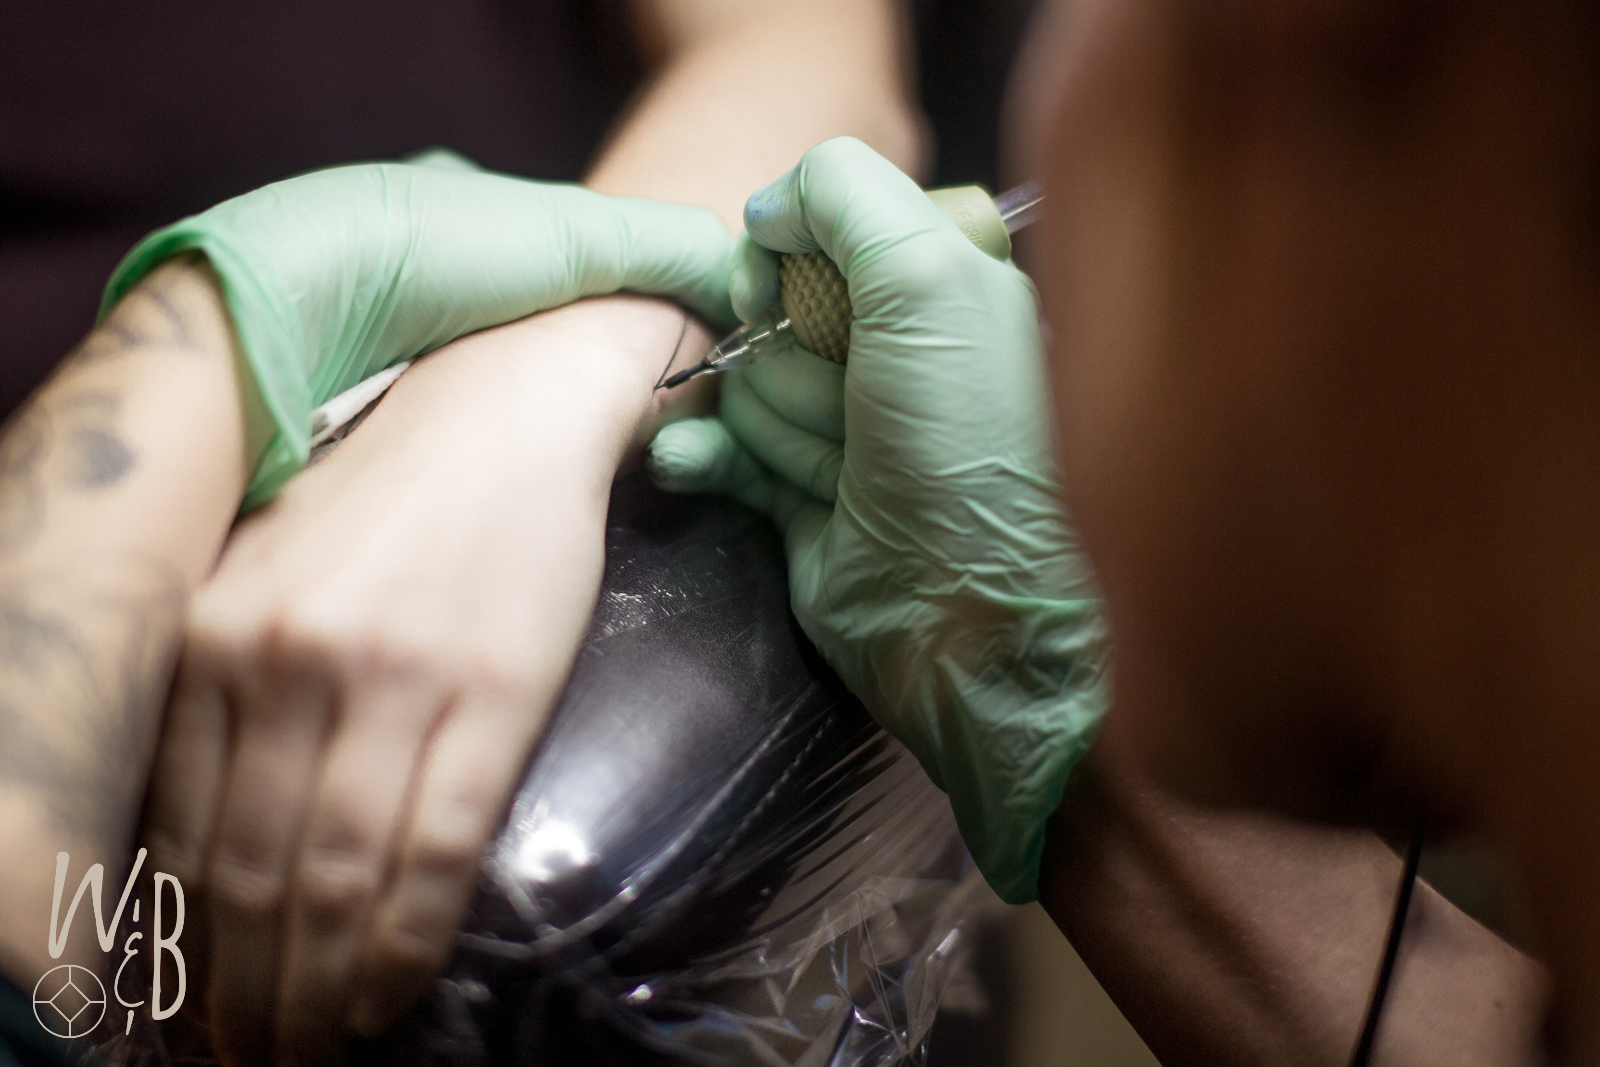
The sound of the buzzing needle and 3..2..1… 

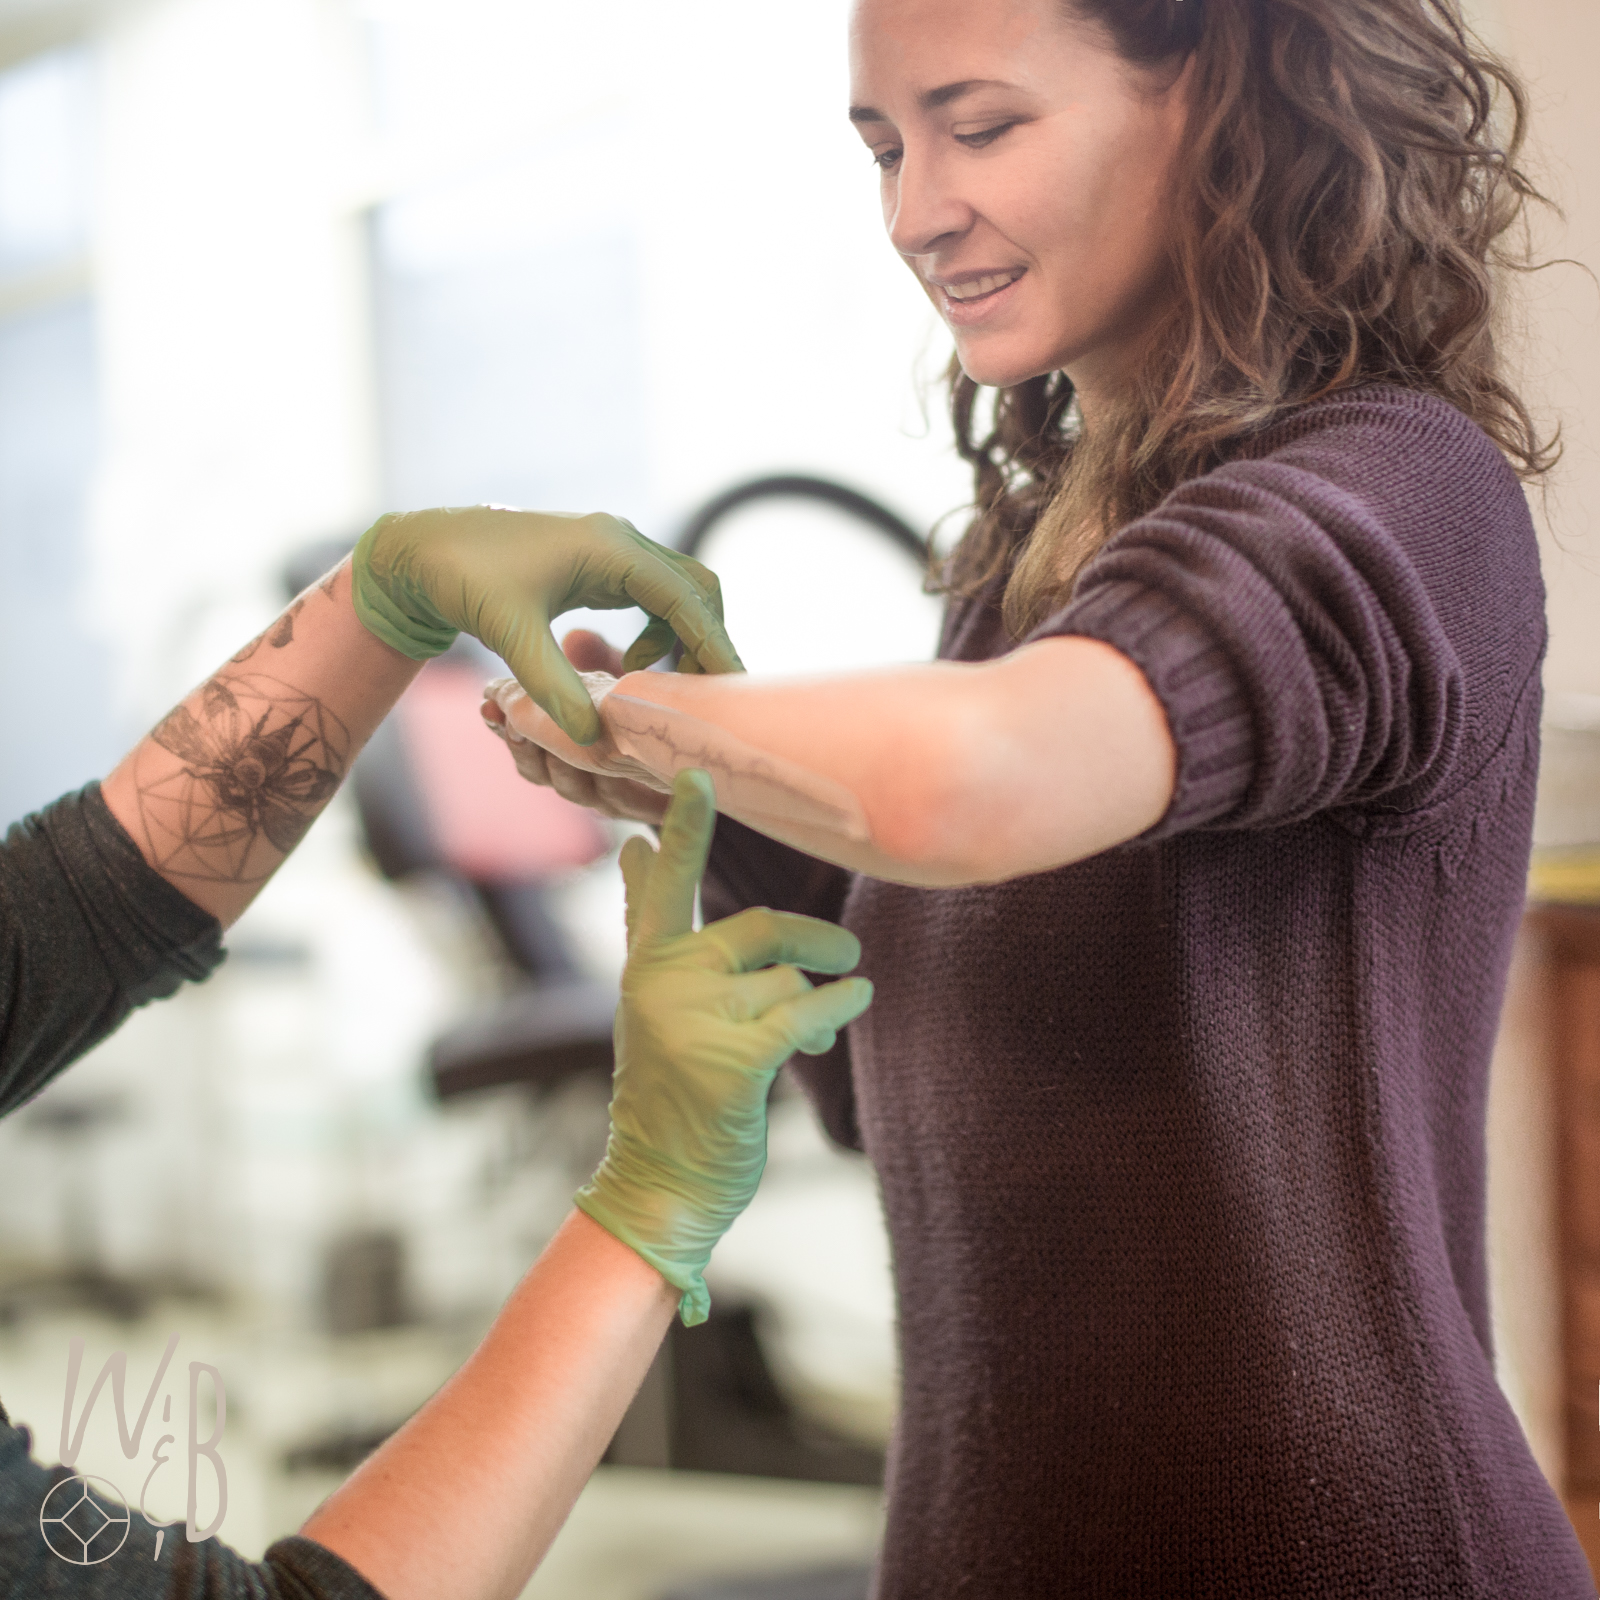
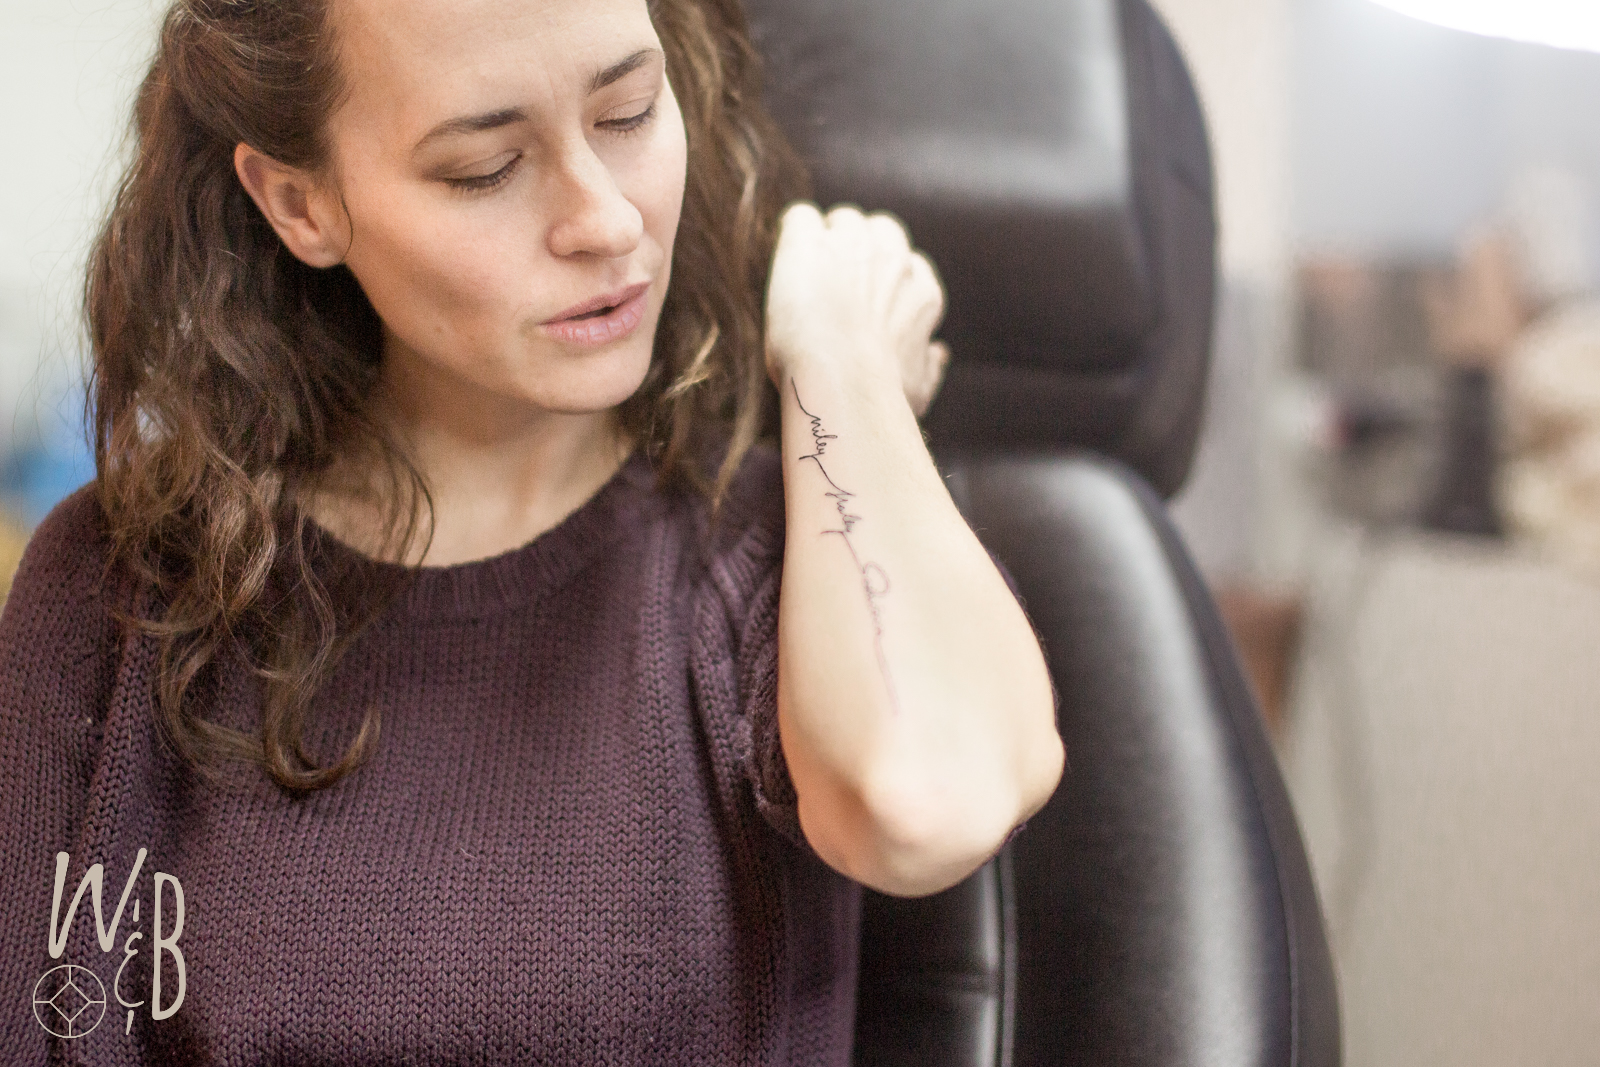
I remember thinking the first 10 seconds, this isn’t IT yet, It can’t be. Shurley the pain is going to get so much worse. But it wasn’t… “this is it!?” I asked.  “Yes, that’s it! Its actually get easier as I move towards your wrist!” WOW, What a relief! Feels a bit like sharp scratching. This didn’t hurt at all! It took no more than 20 minutes and than it was all done. Not a drop of blood or wound fluid had spilled. It looked sharp and dry. Even the redness wasn’t so bad. And I never was happier with a birthday gift!

Now 2 days later I still find myself looking at it and being so completely content with it. So happy I had to wait because now I have all 3 names in it. If I hadn’t had to wait until my breastfeeding days where over I would probably have done just the first name and later two separate tattoos with every new baby name. What I like about this one now is that what I thought would be just a cool design turned out to be a timeline. One continuous line, their names all connected. It’s perfect! Everything came together and I’m loving it!
LOVE it!
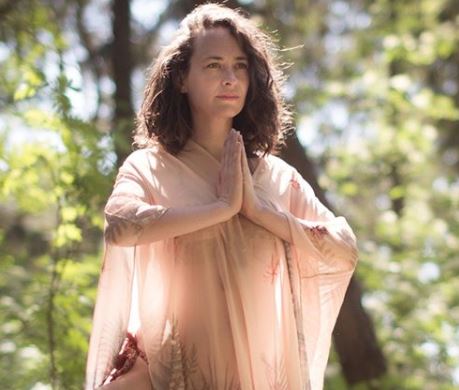
Thanks, Michiel for making the reservation and tanks mom for sponsoring half of it for my B-day, and last but not least thanks to Manon from LeNou Tattoo for doing an awesome job!
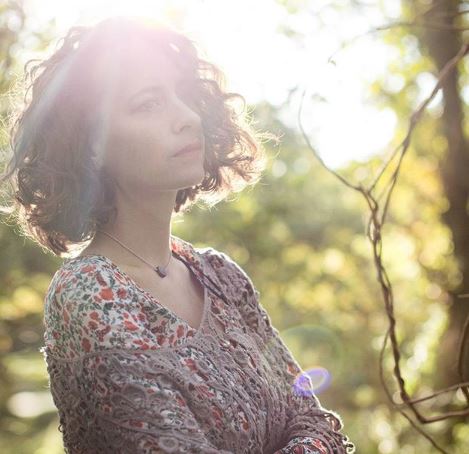
And to my three baby girls, Miley, Haley & Quinn, I love you forever, just like this tattoo.
Want to see the end result!? scroll down to see the rest of the photo series.

Love,  Jolanda


Going to Amsterdam

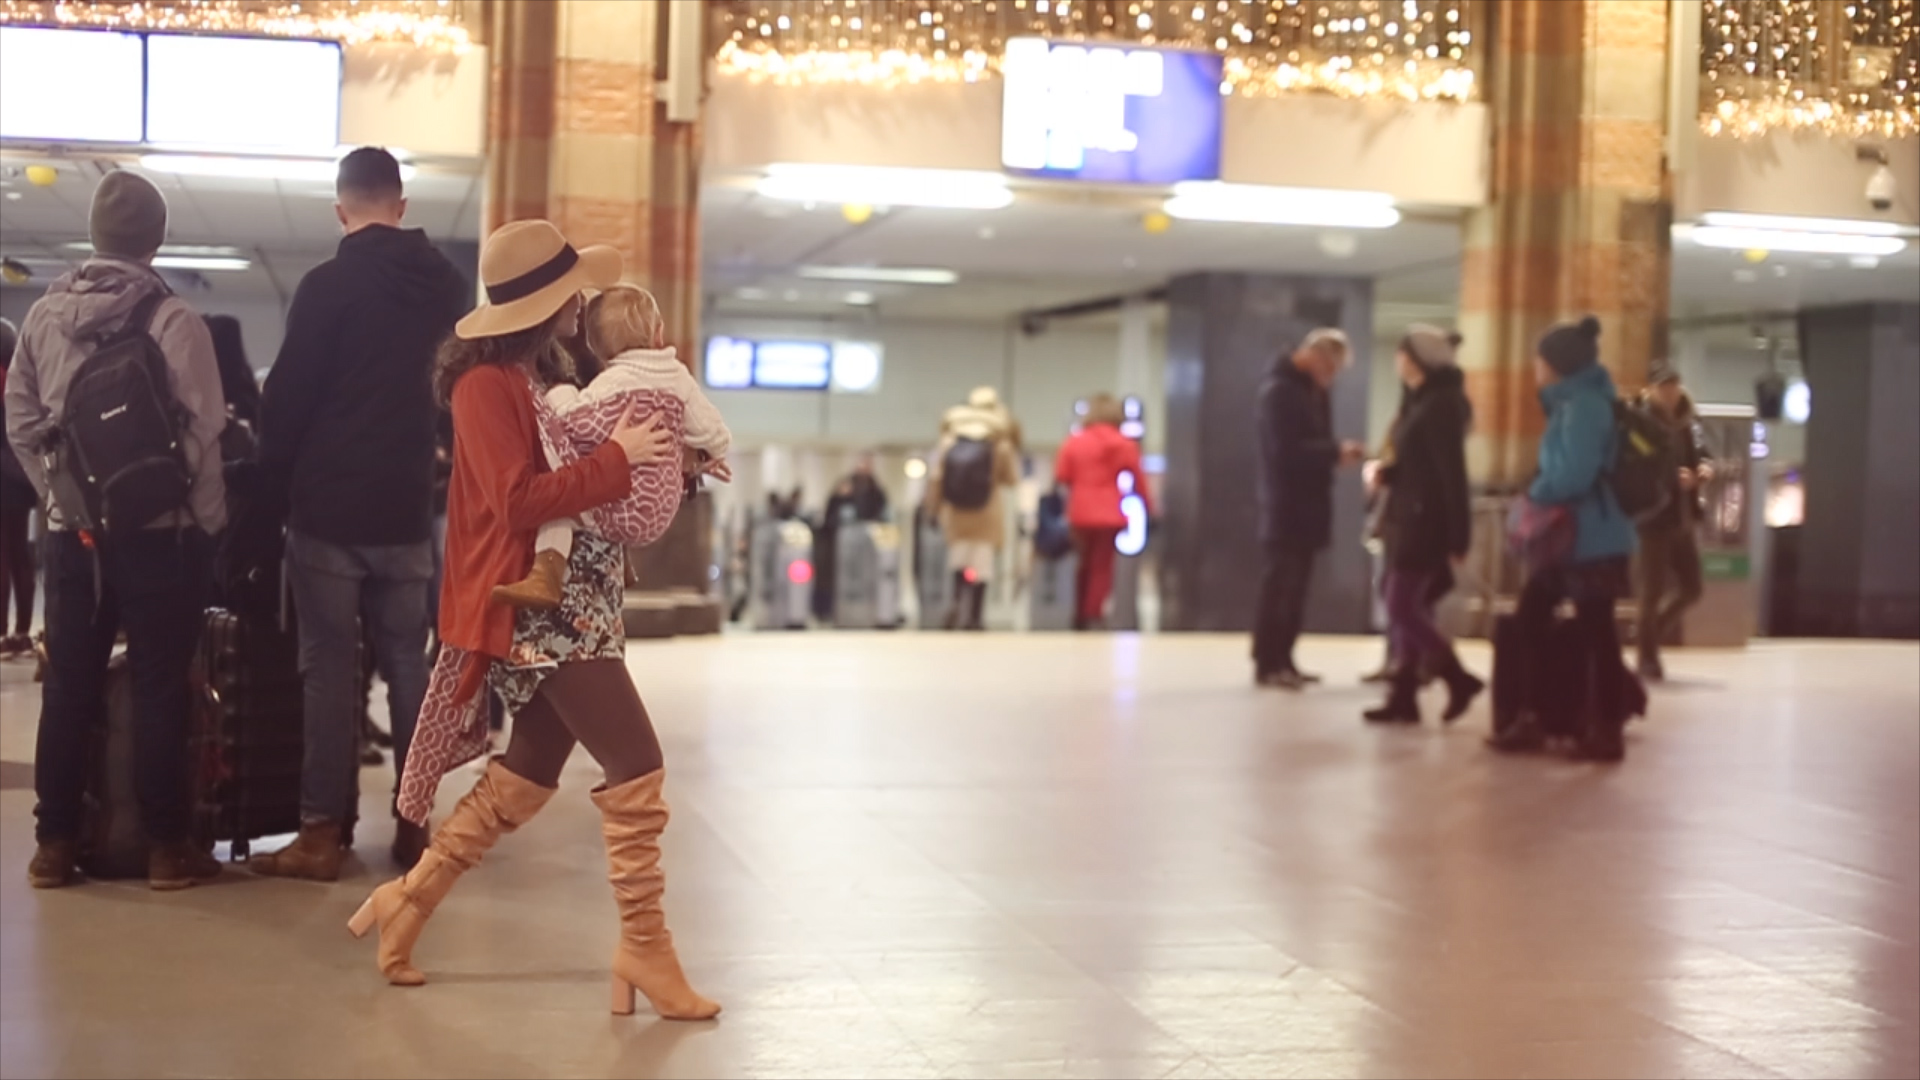
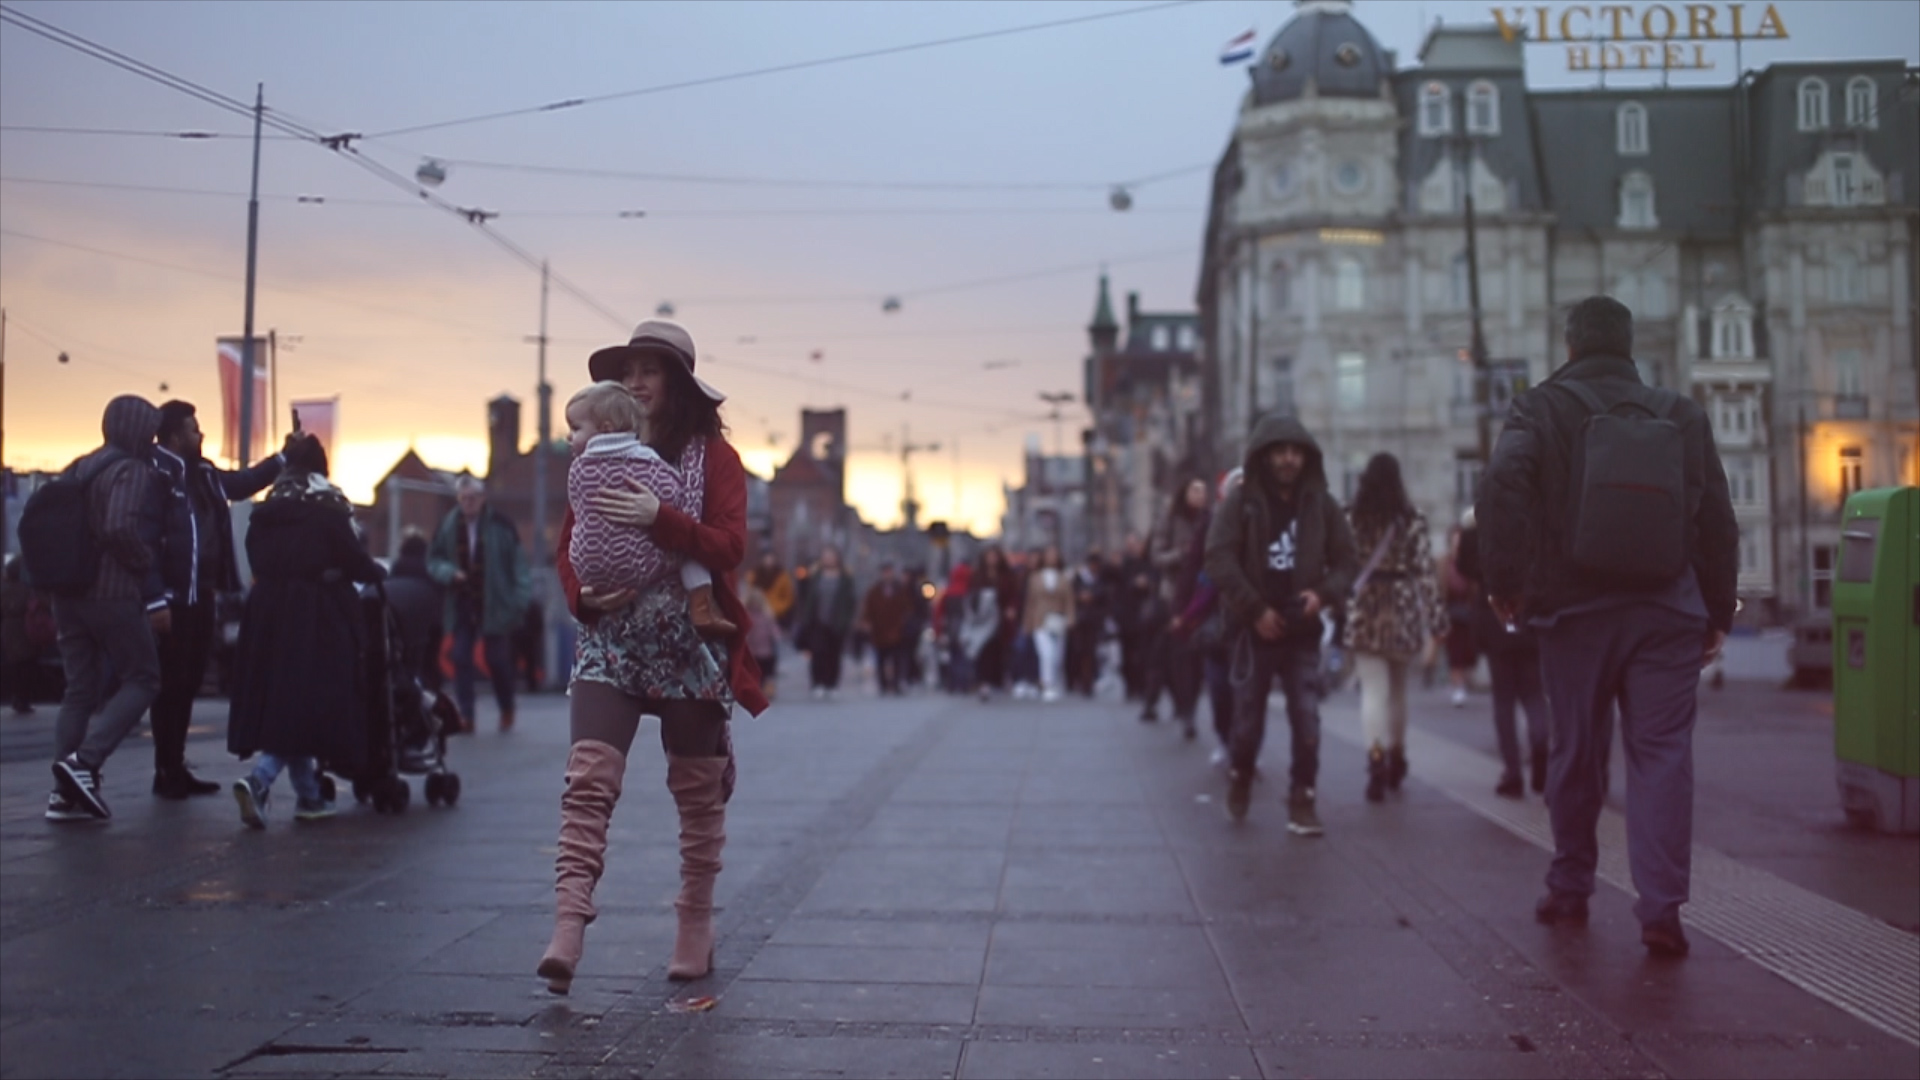
Let’s go to Amsterdam!

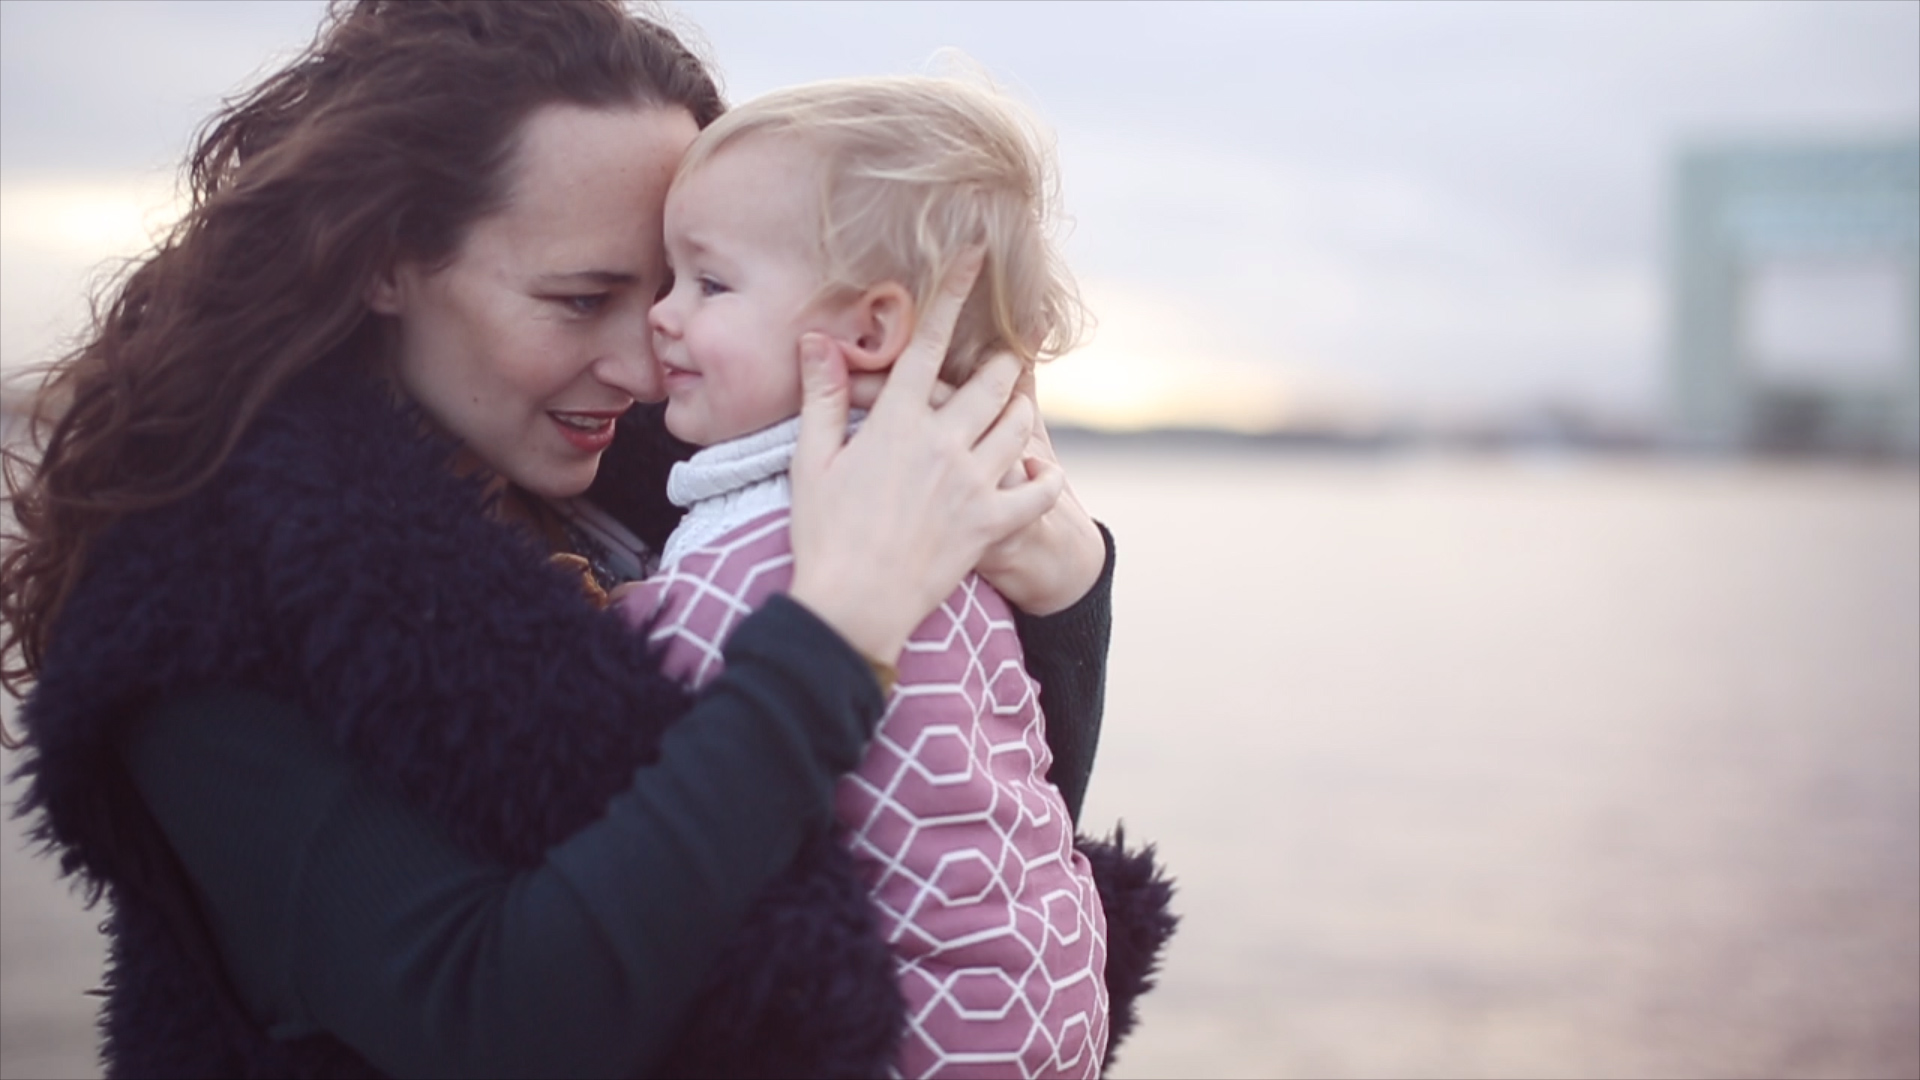
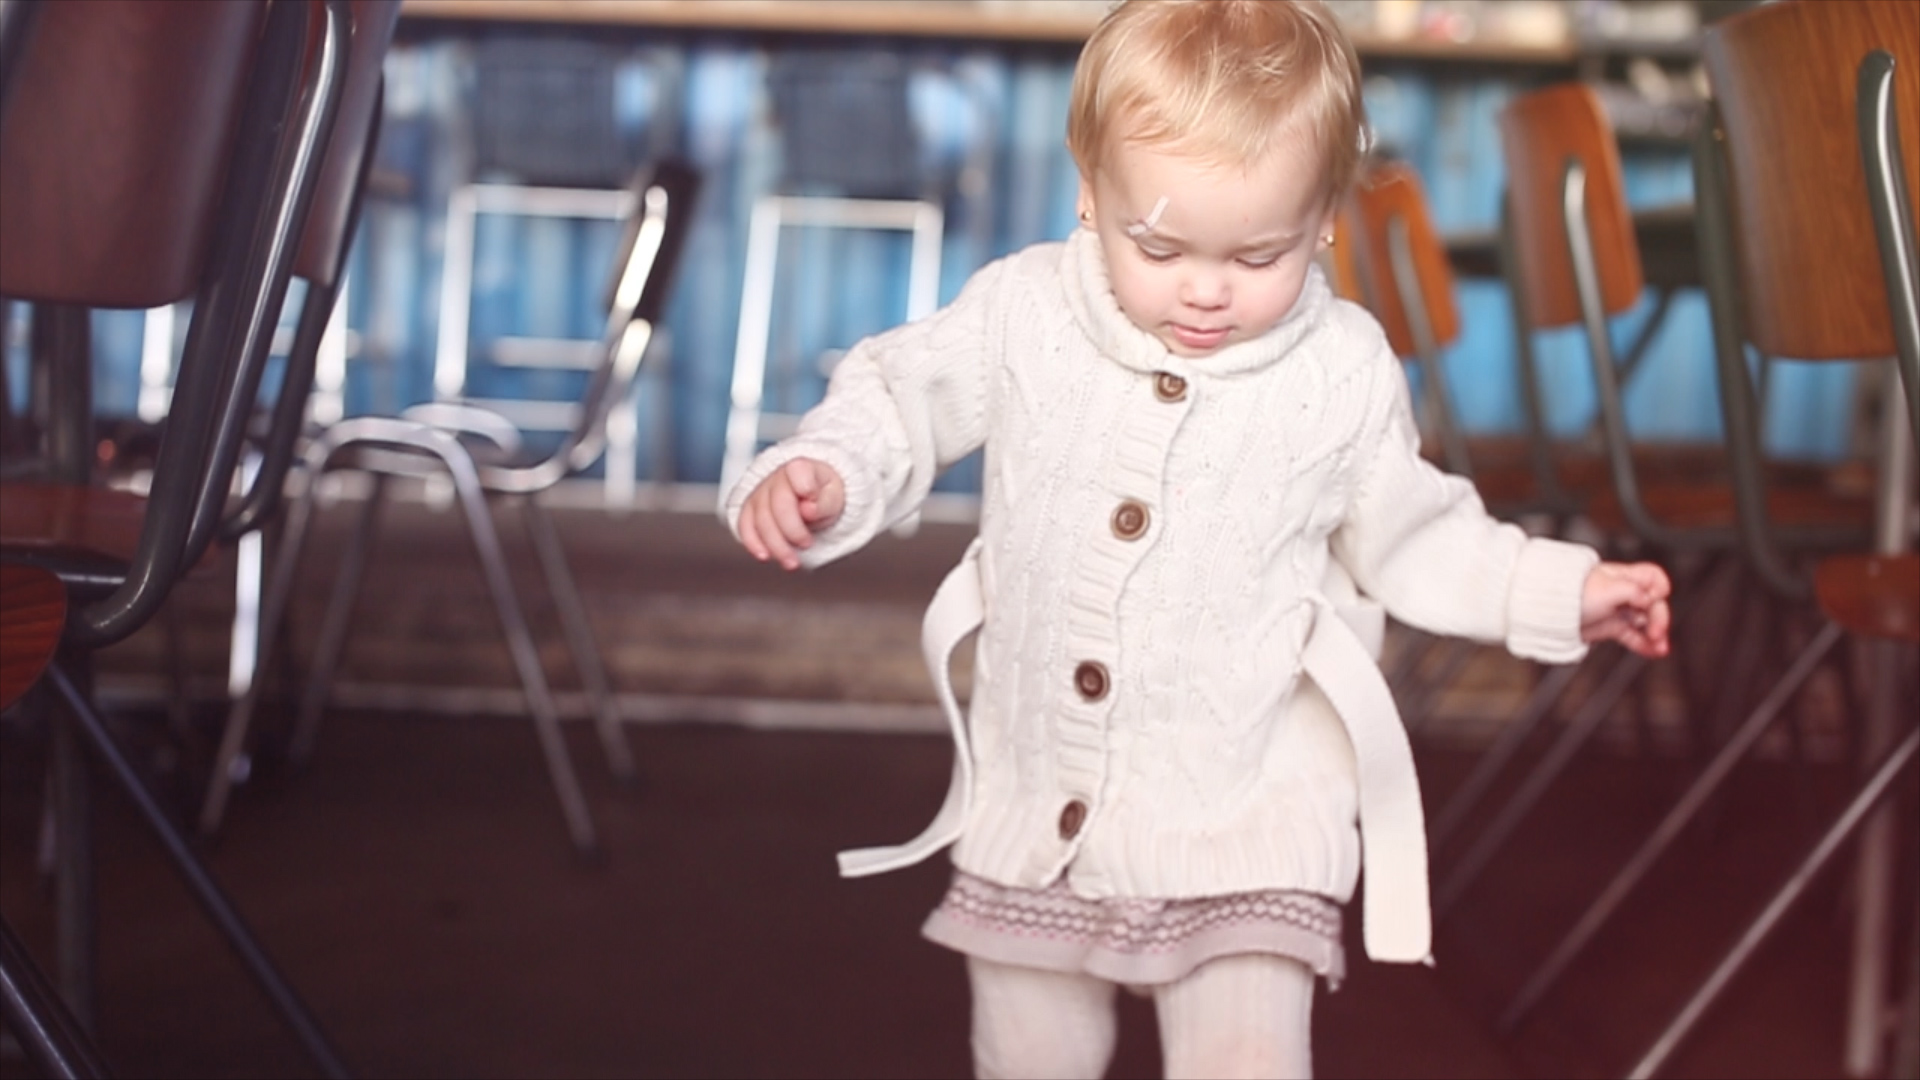
We will go and have a drink at the docs. (at Pllek) I will hold you close until you will feel secure enough to explore a bit.

I will drink my tea, with some honey and we will sit by the fire…
And then you will run through the cafe like you own the place.
Of course, it will be totally exhausting running after you the whole time. but I don’t mind.

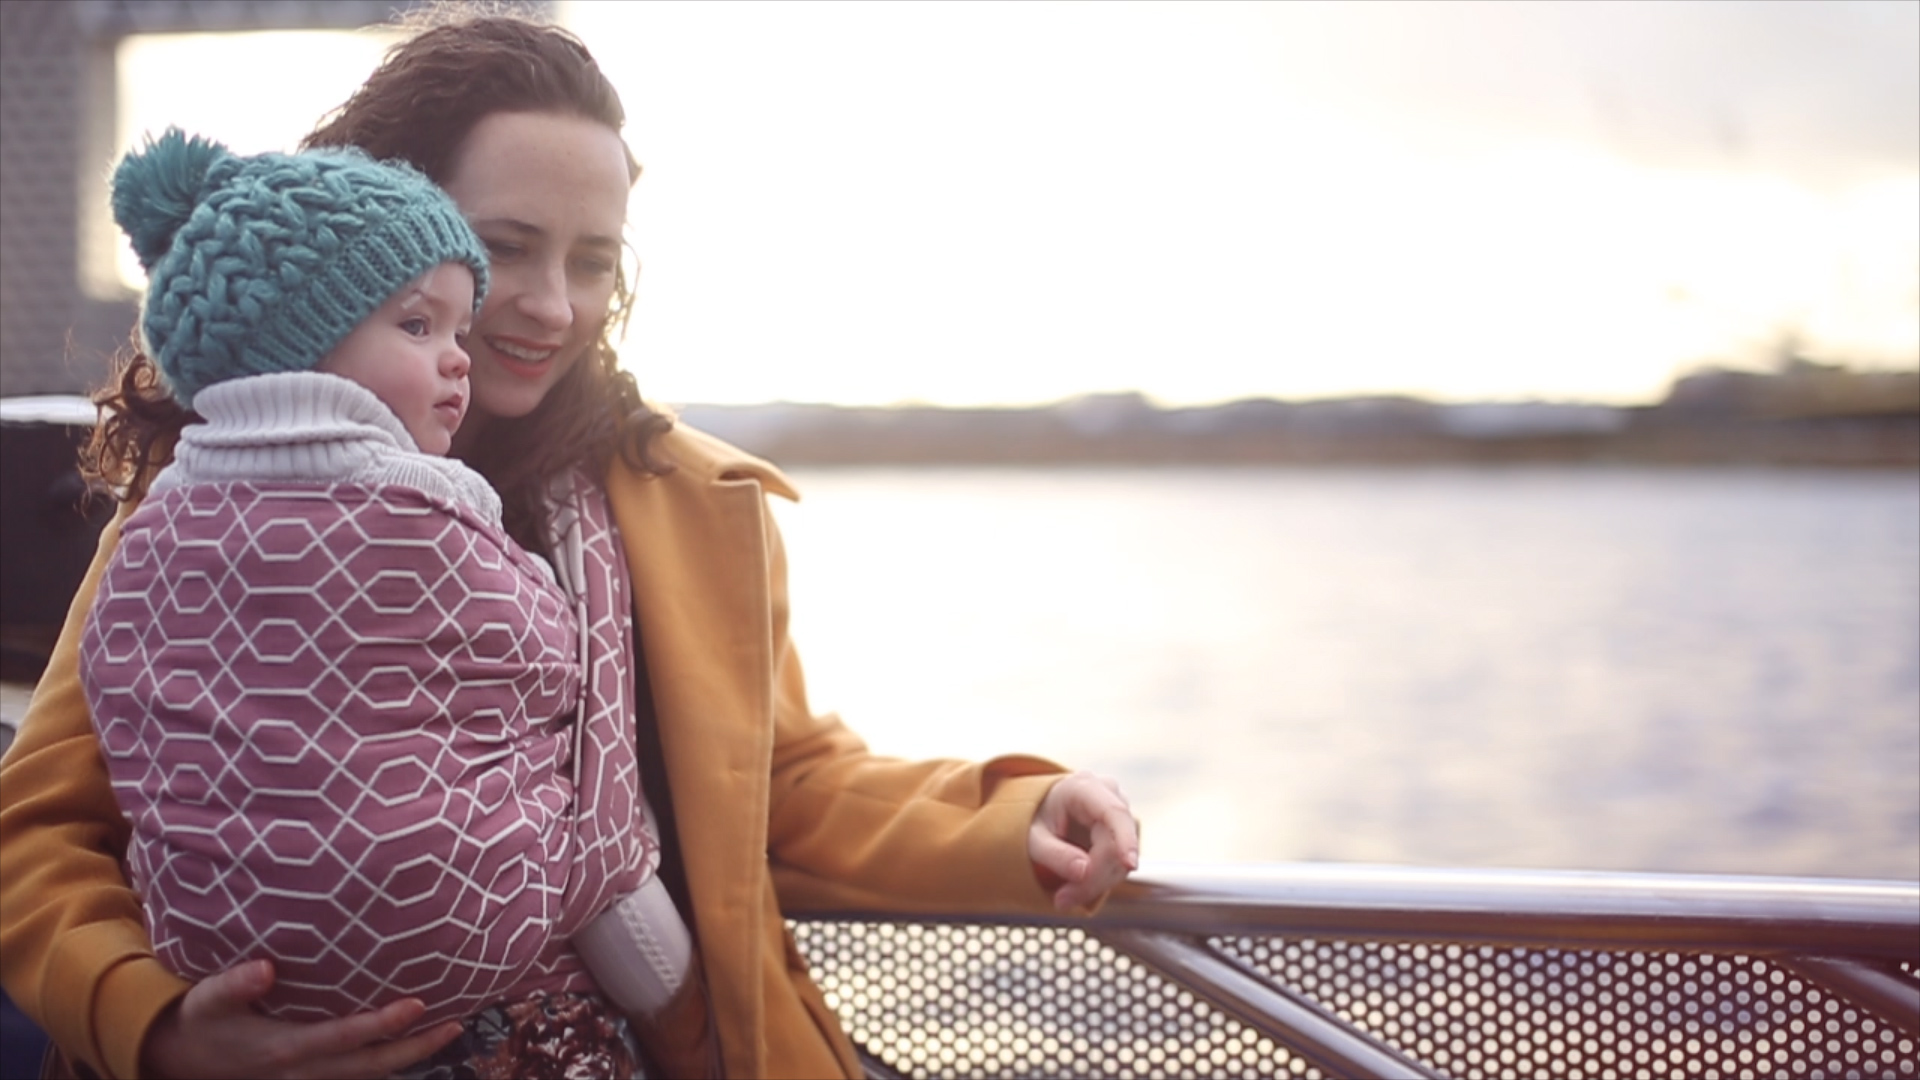
Then I will wrap you up high and warm up against me and we will take the ferry to the central station.
We are feeling tiny and light, passing people by left and right through the rushing crowds trying to board the fairy. And well be watching the water and buildings pass as we cuddle all the way there.

Ah Amsterdam
So many intriguing people, all different shapes and sizes, all going different places, living different lives.

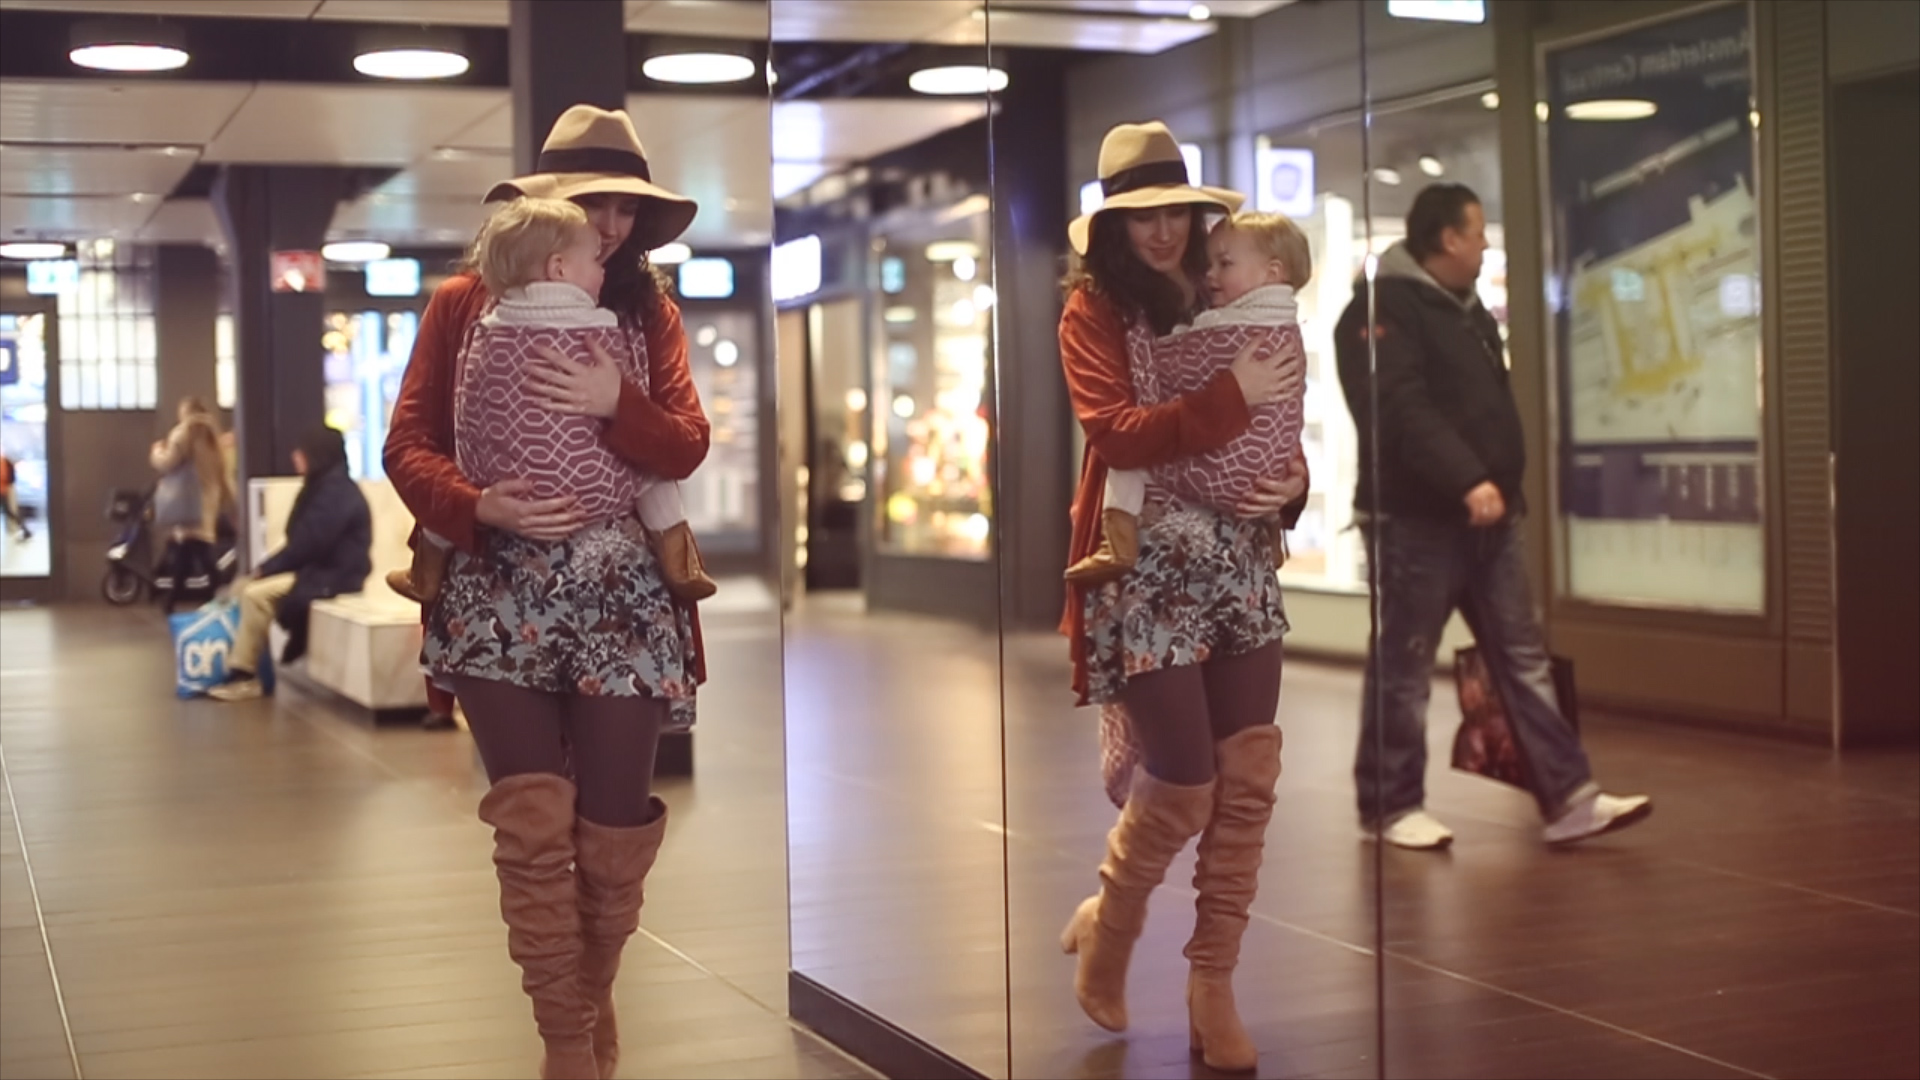
We will wander around a bit, maybe do some window shopping, and we will be all alone while being surrounded by so many others. Standing still, watching everyone rushes through their daily routine.

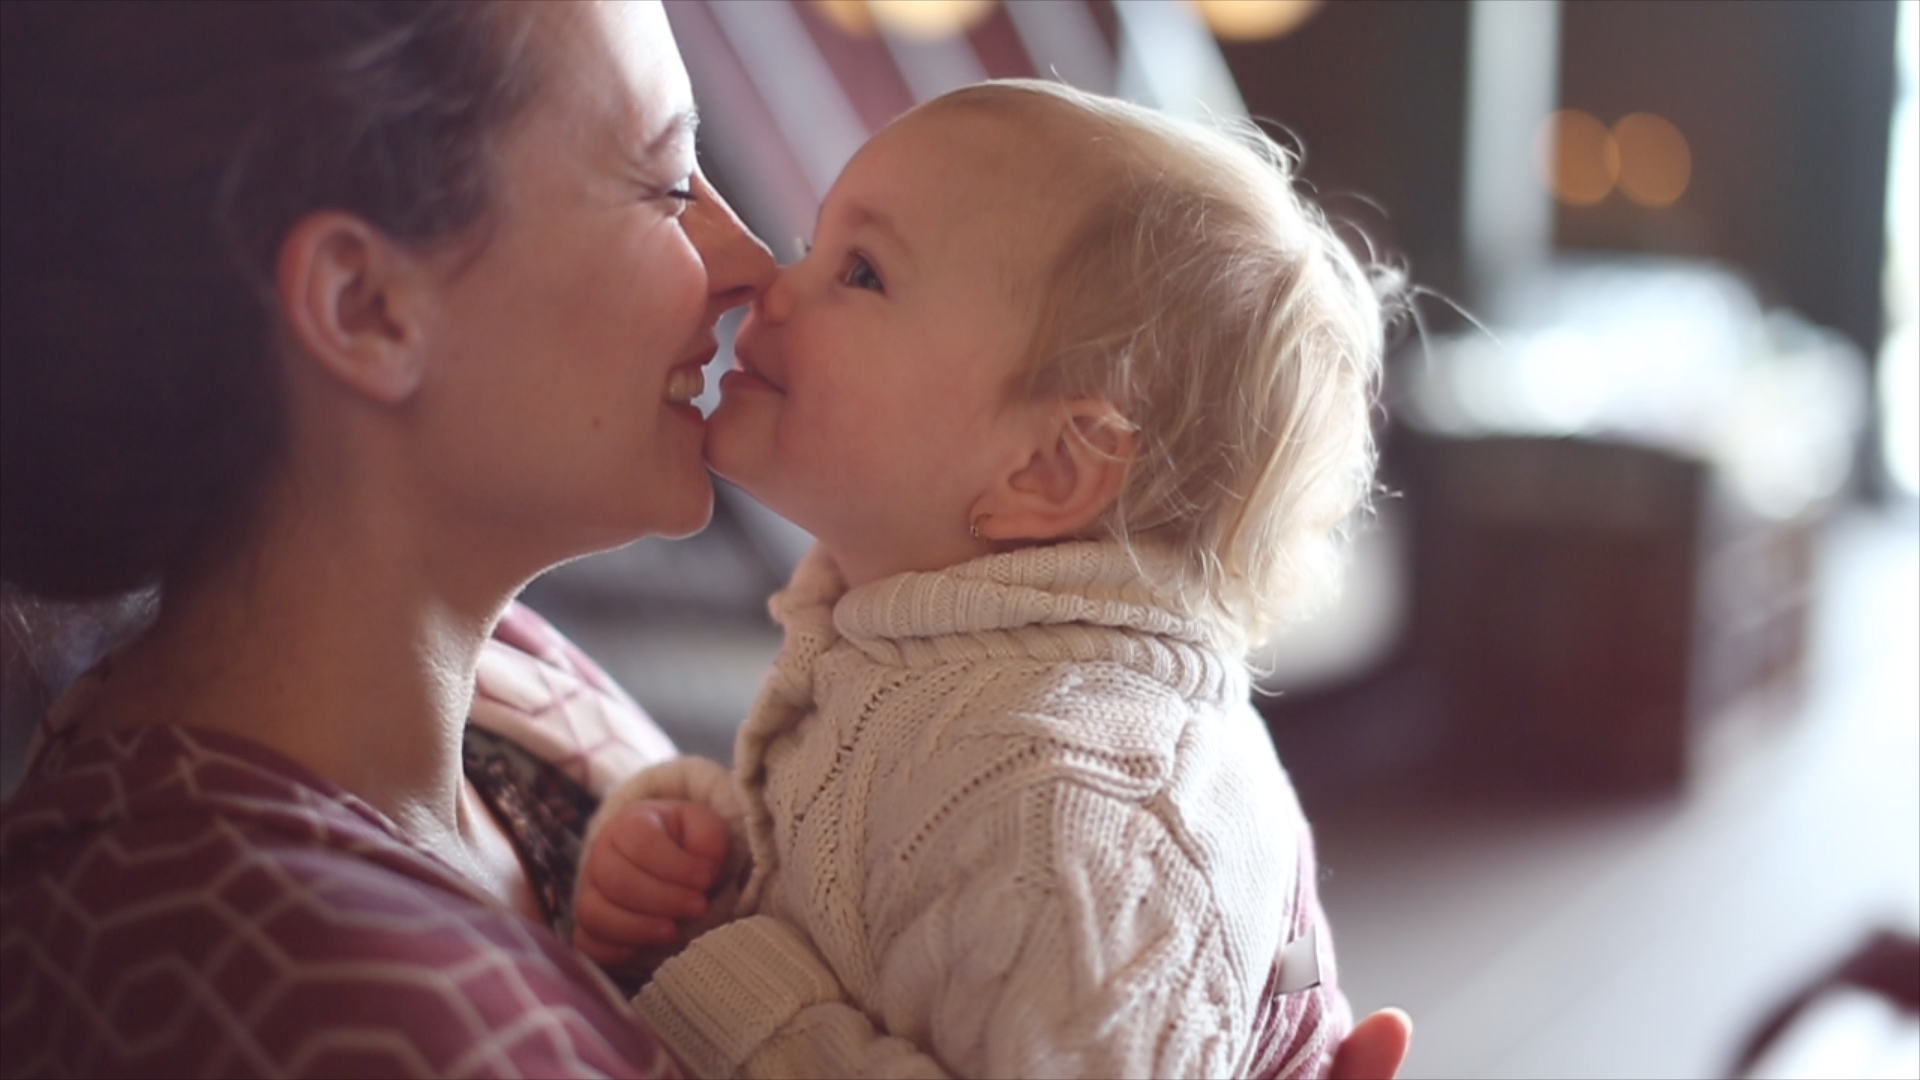
So glad to have you so close to me in my arms.
This is the city, my love. Is’nt it magical!?

Love,
  Jolanda, Michiel,
Miley Haley & Quinn

Music in this video is by:
Meydän – https://soundcloud.com/meydansound/

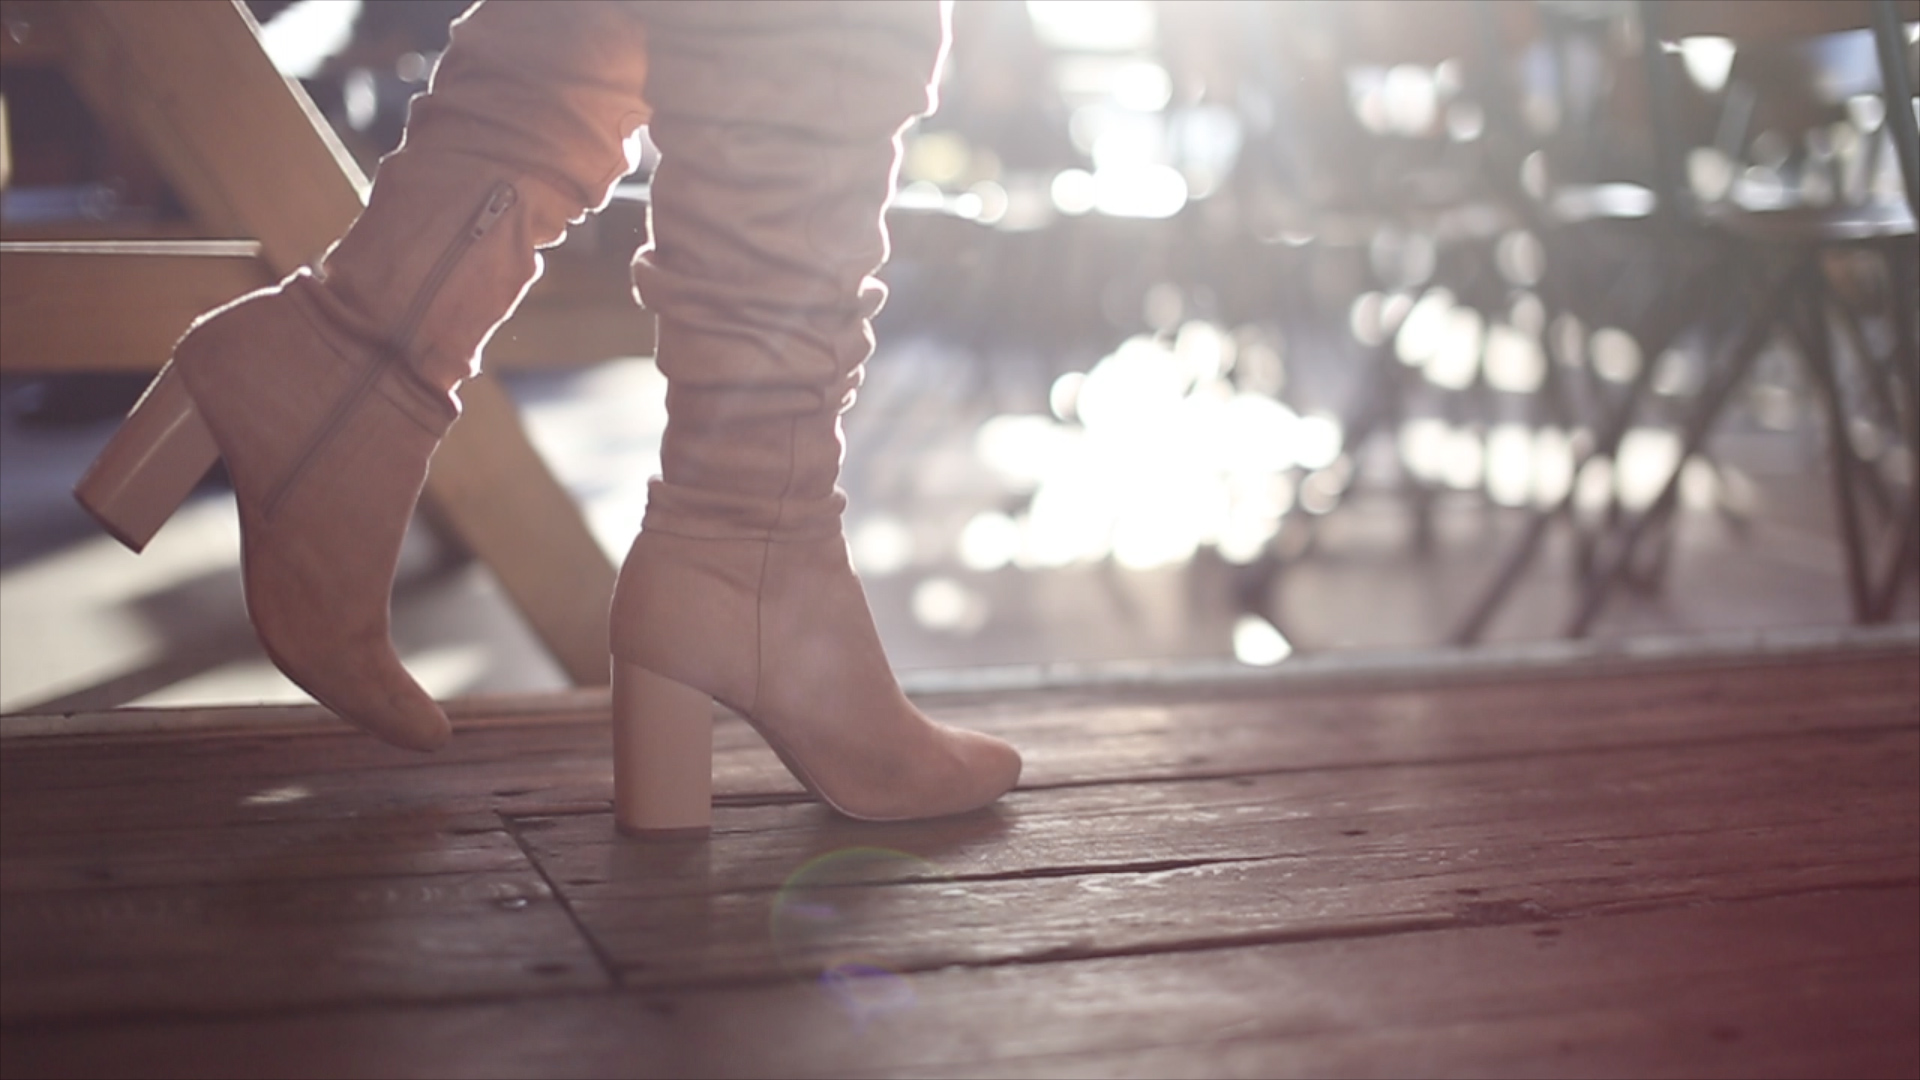
Babywrap is from: We are Wovens – Boots are from: H&M – 
Blue fauxfur coat from:  Zara – Big floppy hat from: H&M –  Orange vest: Pull and bear – Flower dress: Pull and bear

Share this blog post

[supsystic-social-sharing id='1']

Going to Amsterdam

TAGS:
[st-tag-cloud]

COMMENTS:

You might also like to read:

[related-posts-thumbnails]